When you buy an app, book, movie, or any other content from Apple’s vast ecosystem, the expectation is that it will function as advertised. But what if it doesn’t? What if you didn’t authorize the purchase, or the content simply fails to work as expected? Fortunately, Apple provides a mechanism for requesting a refund, but it’s not as straightforward as you might think. This guide will walk you through the maze of Apple’s refund policy and how to successfully reclaim your money.
Apple’s Refund Policy: Understanding the Basics
Before diving into the step-by-step guide, it’s essential to know the underlying policies that govern Apple’s refund process.
Apple only allows you to request a refund for purchases you’ve made in the last 90 days. Unlike Android’s Google Play Store, which offers a two-hour no-questions-asked refund period, Apple doesn’t offer automated refunds in the same way. This isn’t meant to be a feature that allows you to trial paid apps, although Android’s refund feature can be used in that way.
So, you’ve got a 90-day window to make your claim, and it isn’t an automated process. Apple’s customer service will review your request, which could take a day or two. They may even contact you for additional information.
Initiating the Refund Request: Three Routes to Choose From
Now that you know what to expect, let’s explore the various avenues to start your refund journey.
1. Directly Through Apple’s Website
iTunes just takes you to Apple’s website, so you can skip iTunes entirely and use Apple’s website itself. To do so, visit the Report a Problem page on Apple’s website. You could also access this website on your iPhone or iPad.
Here’s how to go about it:
- Visit the “Report a Problem” page on Apple’s website.
- Sign in with your Apple ID.
- Click on “Apps” and then click “Report a Problem” next to the app you wish to return.
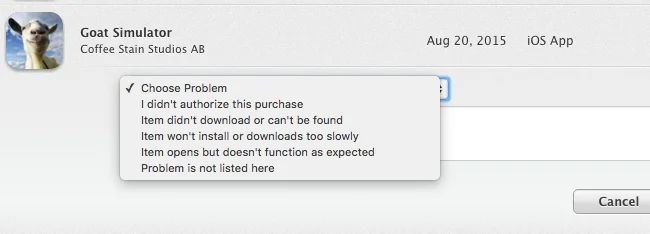
- Choose your reason for wanting a refund and describe the situation in the provided text box.
2. Via Your Email Receipt
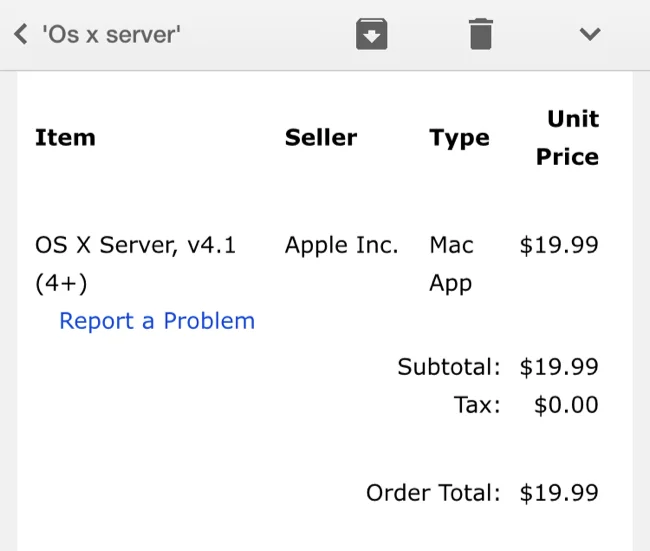
The receipt Apple emails to you include quick “Report a Problem” links you can use to report problems and request refunds, so you could start from your email. Open your email on your computer, iPhone, or iPad and search for the name of the app. This should find an email receipt for that app, emailed to you from Apple.
- Open the email receipt for the app.
- Click or tap on the “Report a Problem” link which takes you directly to Apple’s website.
- Provide the reason for the refund and any additional details.
3. Utilizing iTunes (Not Recommended)
Apple also offers this feature in iTunes on Macs and Windows PCs. As usual, iTunes is the clunkiest, slowest way to do this.
If you still want to proceed with iTunes, here’s how:
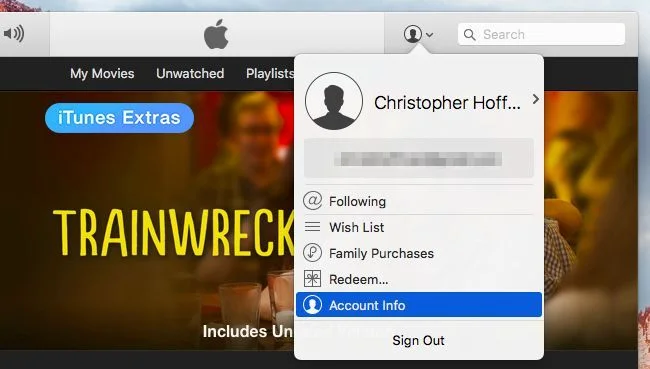
- Open iTunes and ensure you’re signed in.
- Go to “Account Info” by clicking on your profile picture at the top-right corner.
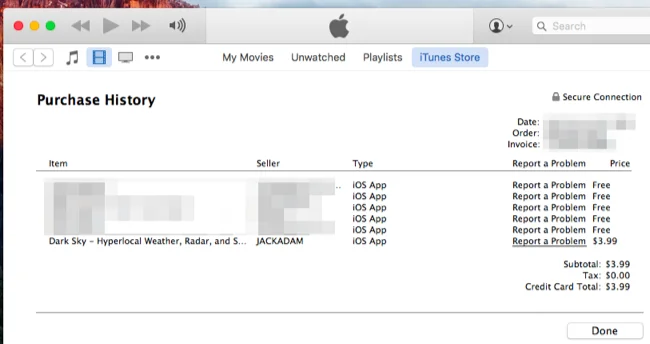
- Navigate to the “Purchase History” section.
- Locate the app, click on “Report a Problem,” and you will be redirected to Apple’s website for the same procedure outlined above.
Reasons for Requesting a Refund
Before submitting your request, you’ll have to specify why you want a refund. The reasons could range from:
- “I didn’t authorize this purchase.”
- “Item didn’t download or can’t be found.”
- “Item won’t install or downloads too slowly.”
- “Item opens but doesn’t function as expected.”
- “Problem is not listed here.”
After you provide a reason, Apple’s customer service will review your request. This may take a day or two, and you may be contacted for more information.
The Final Word: No Guarantees
While Apple has a system to process these requests, it’s worth noting that refunds are not guaranteed. If your issue is a technical one, you might be directed to contact the app’s developer for support. Therefore, it’s crucial to provide a clear and comprehensive explanation when requesting your refund.
By understanding the intricacies of Apple’s refund process and following these steps, you increase your chances of successfully retrieving your hard-earned money. Good luck!

