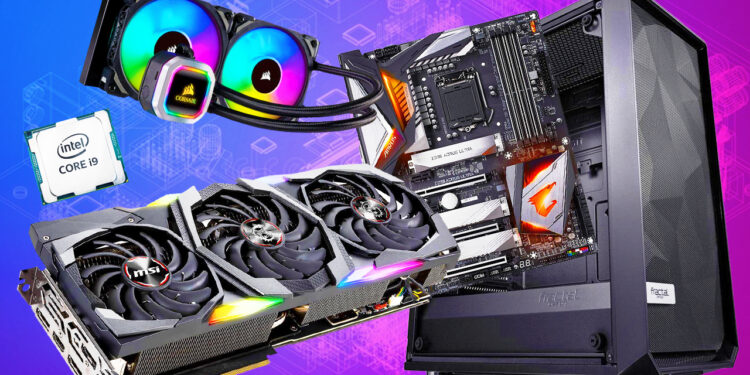
Building a custom PC is an empowering process that lets you create a machine tailored precisely to your needs, whether for gaming, content creation, professional applications, or general use. Unlike buying a pre-built computer, crafting your own allows you to handpick each component, adjust for budget constraints, and configure settings for optimal performance and longevity. This level of control and customization not only gives you the satisfaction of building a machine from the ground up but also provides long-term benefits, such as easier upgrades and deeper insight into your system’s inner workings.
However, the process can be complex, especially for beginners, as it requires an understanding of both the components and the steps involved in assembly, configuration, and troubleshooting. With the sheer variety of parts—ranging from CPUs and GPUs to cooling systems and power supplies—the choices can feel overwhelming. Whether it’s ensuring compatibility, managing airflow, or keeping within a budget, every detail affects the final performance and reliability of your PC.
In this guide, we’ll walk through over 90 essential tips, laid out sequentially, to help you navigate the journey of building a custom PC from start to finish. Covering everything from choosing parts to assembling, optimizing, and maintaining your build, these tips are designed to help you make well-informed decisions and avoid common pitfalls. By the end, you’ll be equipped to create a high-performing, future-proof PC that meets your needs perfectly and stands the test of time. Let’s get started!
Planning and Preparation
- Define the Purpose of Your Build – Before you start buying parts, consider what you’ll primarily use your PC for. Are you building a gaming rig, a workstation, or a machine for everyday tasks? Your build’s purpose will dictate your component choices, with gaming setups prioritizing a powerful GPU and high-refresh monitor, while workstations often benefit more from high-core CPUs, substantial RAM, and fast storage. Having a clear purpose ensures you focus on the components that matter most for your setup.
- Set a Realistic Budget for Components – Establishing a budget helps you allocate funds wisely, covering not only major components like the CPU and GPU but also essential parts like storage, cooling, and the power supply. For example, a gaming build might see 40% of its budget allocated to the GPU, while a video editing machine may prioritize a CPU with high multi-core performance. Leave room in your budget for future upgrades or adjustments, as initial estimates can shift based on availability and changing needs.
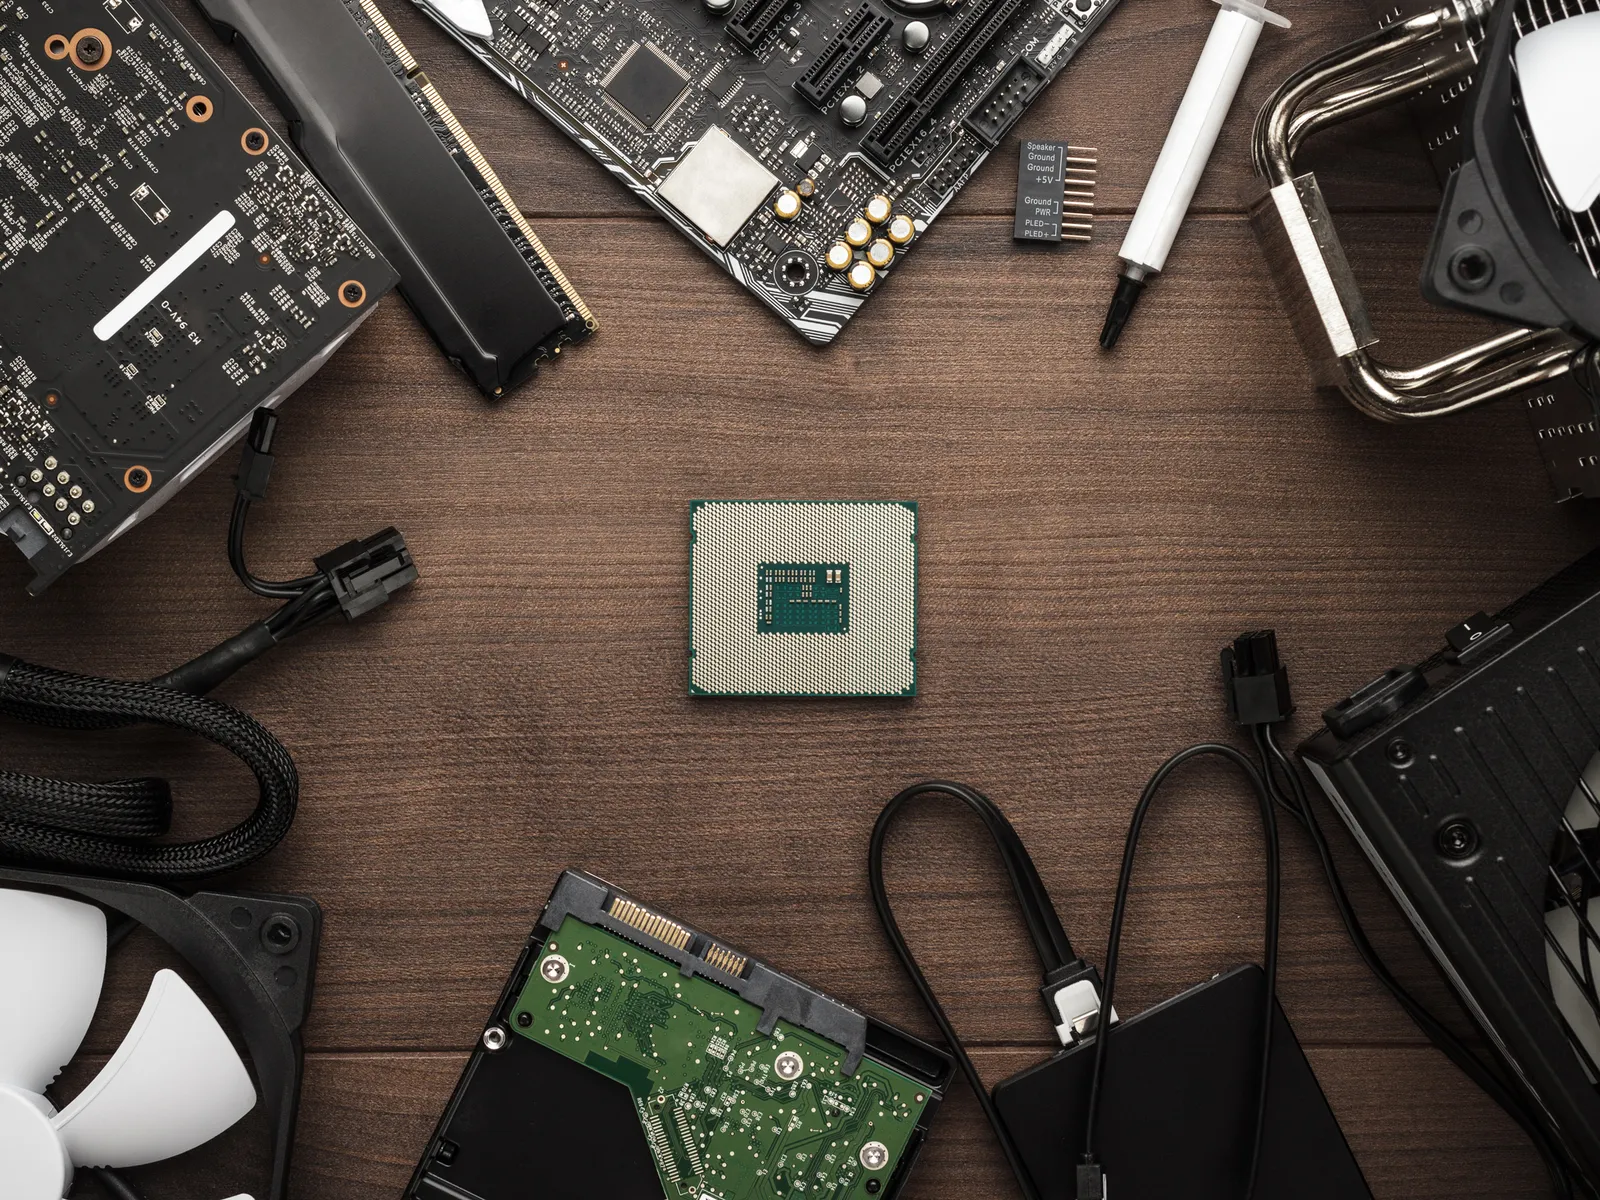
- Research the Role of Each Component – Understanding the basics of each component—CPU, GPU, motherboard, RAM, storage, and PSU—helps you make informed choices that align with your needs. Familiarize yourself with CPU speeds and core counts, GPU memory, motherboard sockets and compatibility, and RAM speeds and capacities. A solid understanding prevents bottlenecks and ensures that your system runs smoothly, with each component contributing effectively to the whole.
- Use a Part-Picking Tool to Confirm Compatibility – Websites like PCPartPicker allow you to visualize your build, confirm part compatibility, and even calculate power requirements. These tools are especially helpful for beginners, as they cross-reference compatibility and alert you to any potential issues between components. This extra step saves time, avoids costly mistakes, and provides a complete parts list, making assembly easier and reducing the chance of mismatches.
- Plan for Future Upgrades – When choosing components, think ahead to potential upgrades. Opt for a motherboard with extra RAM slots, a power supply with higher wattage, or a case that supports additional drives. Planning for upgrades gives your PC a longer lifespan, allowing you to enhance performance over time without a complete rebuild. This future-proofing approach is beneficial for those with limited budgets or evolving performance needs.
- Decide on Your PC’s Form Factor – PC cases come in various sizes, or form factors, such as full-tower, mid-tower, and mini-tower. Full-tower cases offer space for larger components and more cooling options, but they can be bulky. Mid-tower cases are popular for balanced builds, while mini-ITX cases are compact but may limit component choice and airflow. Select a form factor that fits your space and intended components, as the right size ensures compatibility and enhances airflow.
Selecting the Right Components
- Choose a High-Performance CPU Based on Your Needs – The CPU is your PC’s brain, affecting overall speed and efficiency. For gaming, focus on CPUs with high clock speeds, while multi-core processors are better for tasks like video editing or 3D rendering. AMD and Intel both offer powerful options, so research benchmarks to find a model that aligns with your workload and budget, as the right choice here can significantly enhance performance.
- Select a GPU for Graphics-Intensive Tasks – For gaming and graphic design, a powerful GPU is essential. Check benchmarks for the specific games or applications you plan to use to ensure the GPU meets your performance goals at your chosen resolution. Nvidia and AMD offer models with varying power and price points, so choose one that fits both your current needs and potential future demands for smooth, immersive experiences.
- Find a Compatible Motherboard with Key Features – The motherboard is the backbone of your build, connecting all components. Make sure it’s compatible with your CPU, RAM, and storage preferences. Additionally, look for features that will make your build more convenient, like Wi-Fi, multiple USB ports, and PCIe slots for expansion. A good motherboard also offers stability for overclocking if you plan to maximize performance.
- Pick the Right Amount and Type of RAM – For general usage, 16GB of RAM should be sufficient, but gaming and content creation benefit from 32GB or more. Also, consider RAM speed; faster RAM reduces latency in tasks, enhancing overall responsiveness. Check your motherboard for compatible RAM speeds and capacities, as using RAM within the manufacturer’s recommendations ensures stable performance.
- Invest in Fast and Sufficient Storage Options – An SSD (Solid State Drive) is a must for faster OS boot times and improved application loading. For even quicker access, consider an NVMe SSD. However, for large file storage, a high-capacity HDD is more economical. For a balanced setup, use an SSD for your operating system and programs, and a larger HDD for media files or less speed-sensitive storage needs.
- Choose a Quality Power Supply (PSU) – The PSU supplies power to all components, making quality essential for stability and longevity. Opt for an 80 PLUS certified PSU (Bronze, Gold, or Platinum), as these are more efficient and reliable. Calculate your total power needs based on your components and choose a PSU with a bit of headroom to handle future upgrades and prevent issues from underpowered setups.
Preparing for Assembly
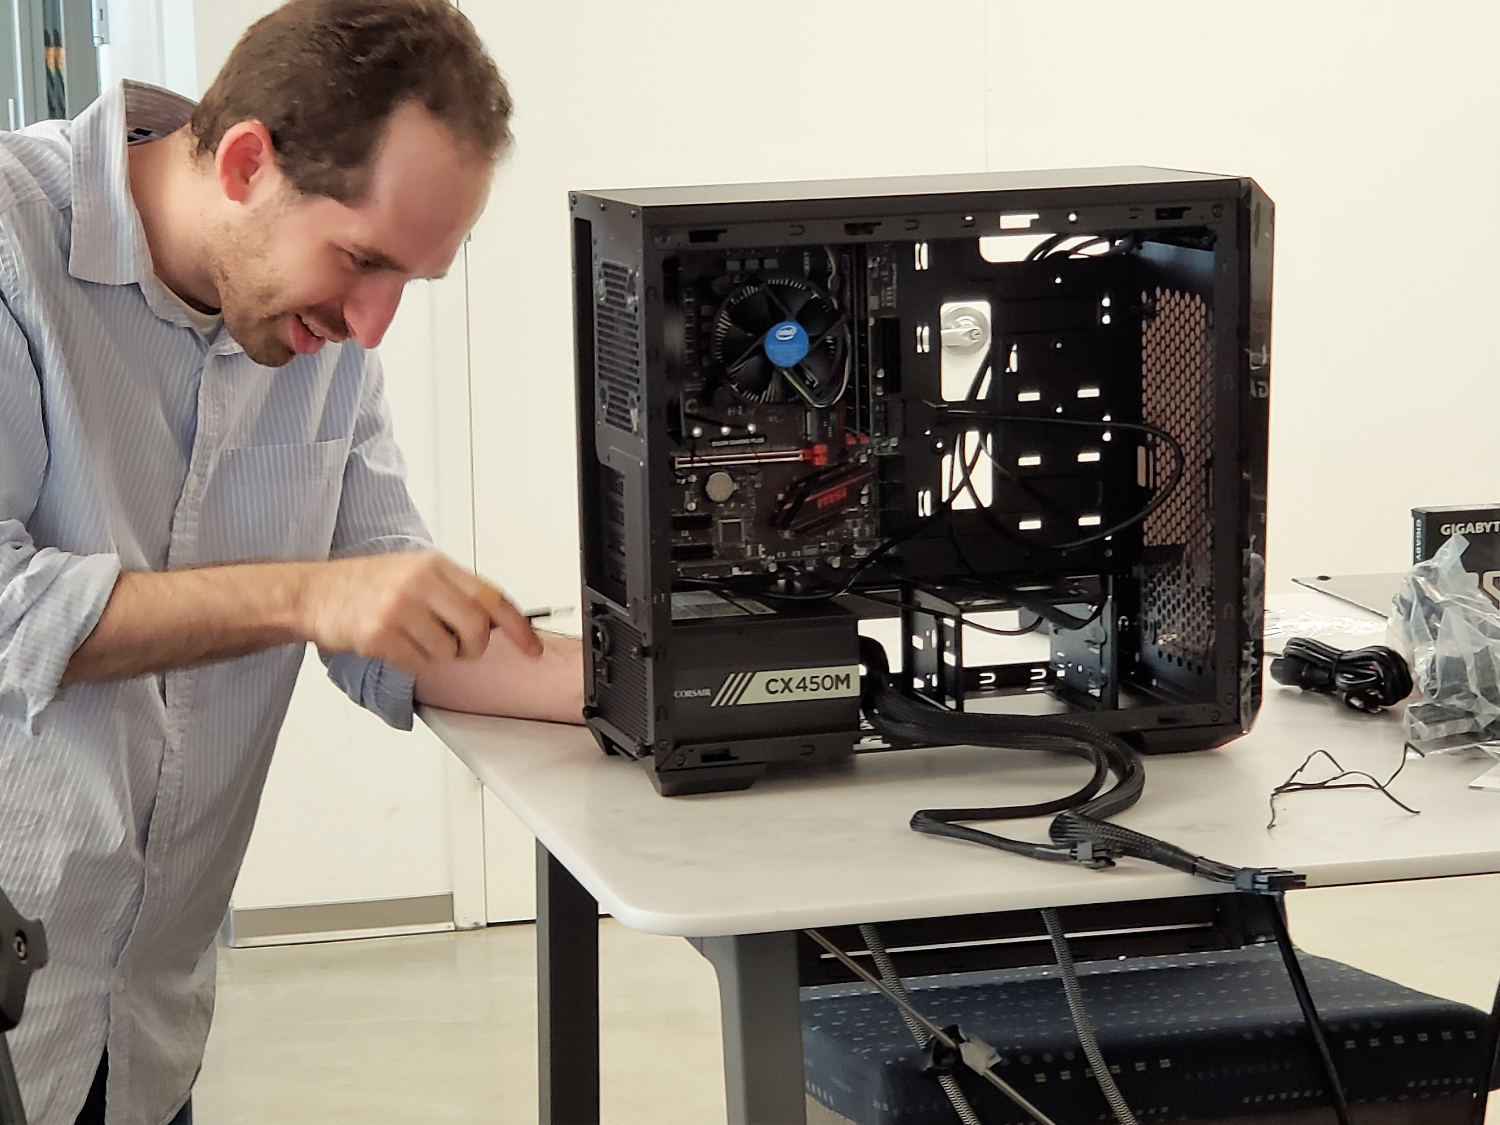
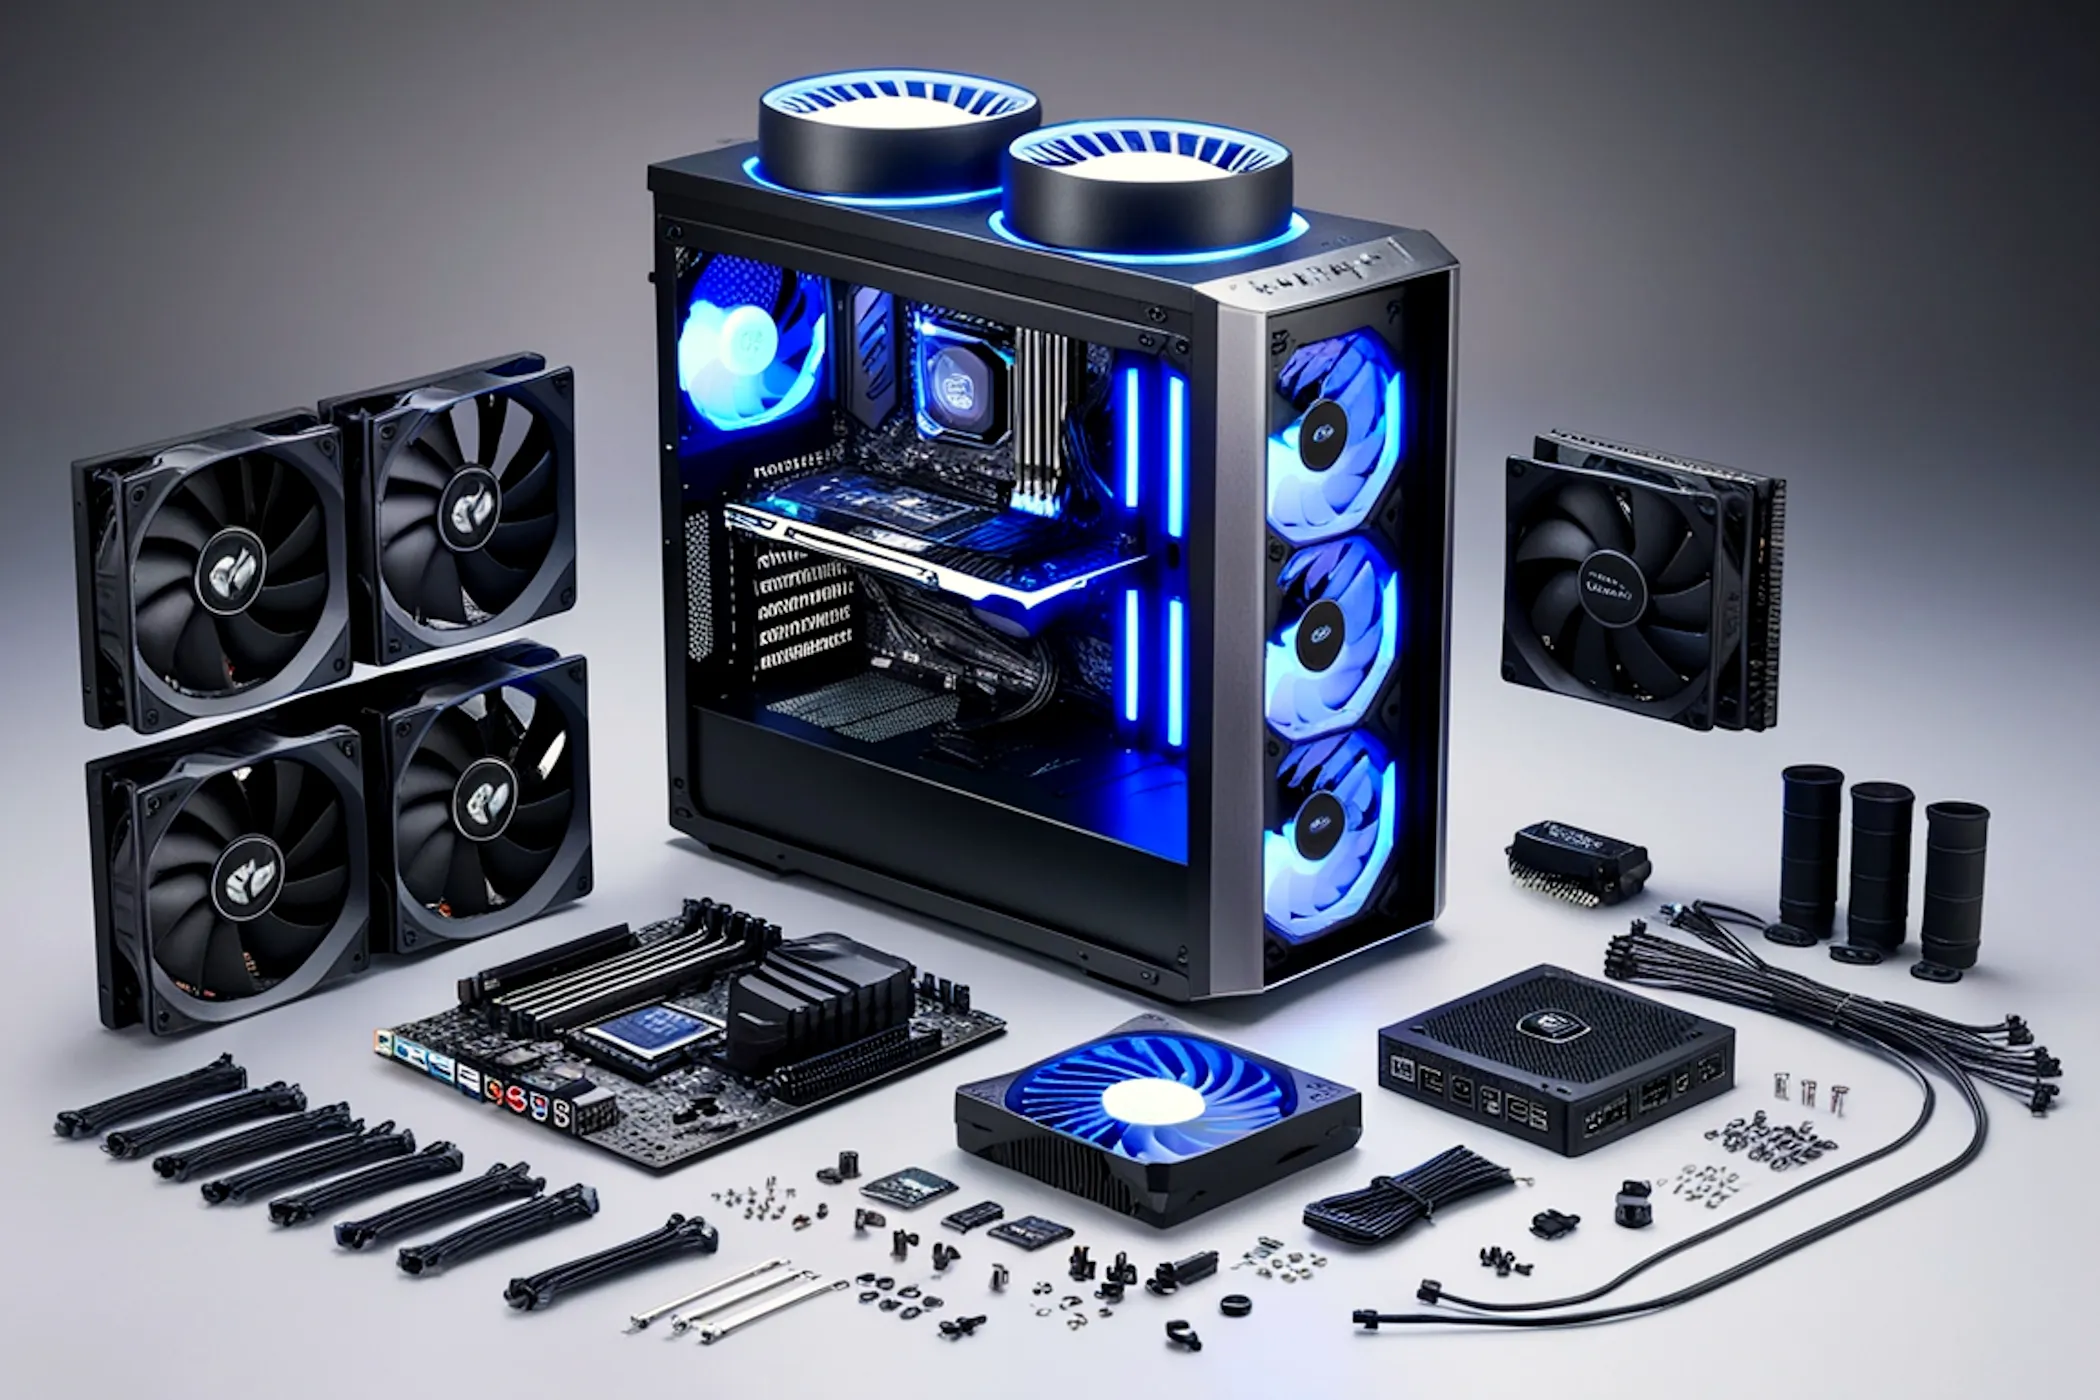
- Organize Your Workspace and Tools – Create a clean, spacious area with all the necessary tools before you start assembling. Have a screwdriver set, an anti-static wrist strap, and small containers for screws and other small parts ready. A well-organized workspace reduces mistakes, keeps you focused, and makes each step of the build more manageable and enjoyable.
- Install the CPU on the Motherboard First – It’s easier to install the CPU onto the motherboard before mounting it in the case. Carefully align the CPU with the socket to avoid damaging pins, and gently lock it in place. Taking this step outside the case reduces the risk of accidental mishandling or bending, which can be costly to fix.
- Apply Thermal Paste for Heat Transfer – If your CPU cooler doesn’t have pre-applied thermal paste, apply a pea-sized amount in the centre of the CPU. This paste enhances heat transfer between the CPU and the cooler. Avoid using too much, as excess paste can leak and create a mess, leading to poor cooling efficiency.
- Mount the Motherboard Securely with Standoffs – Motherboard standoffs prevent short circuits by keeping the motherboard elevated. Use all the standoffs provided, align them with the motherboard holes, and avoid over-tightening screws to prevent damage. This creates a stable base for the rest of the components, ensuring a safe and stable connection.
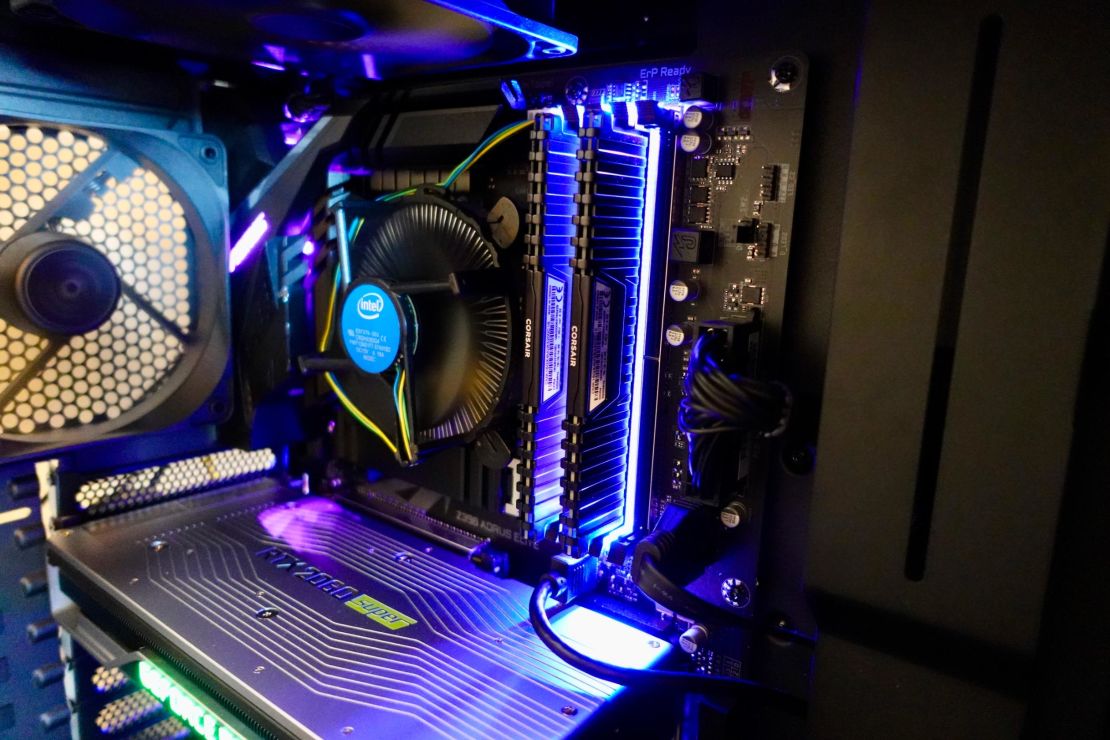
- Install RAM Modules in the Right Slots – For dual-channel setups, install RAM sticks in the slots recommended by the motherboard manual. This configuration boosts performance by allowing the CPU to access memory more efficiently. Secure the modules gently, making sure they click into place to avoid memory issues during boot-up.
- Secure Storage Drives in Their Bays – Most cases offer dedicated mounting brackets or bays for SSDs and HDDs. Secure these drives using the provided screws or tool-free mounts, which keep them stable and prevent damage during operation. Ensure your drives are connected to the correct SATA or M.2 slots for optimal performance.
Assembly and Cable Management
- Connect the Power Supply (PSU) First – Before installing the PSU into the case, connect the 24-pin motherboard cable, 8-pin CPU connector, and any necessary PCIe power cables. Attaching these cables outside the case makes installation easier, especially in tight spaces, and allows for better cable management.
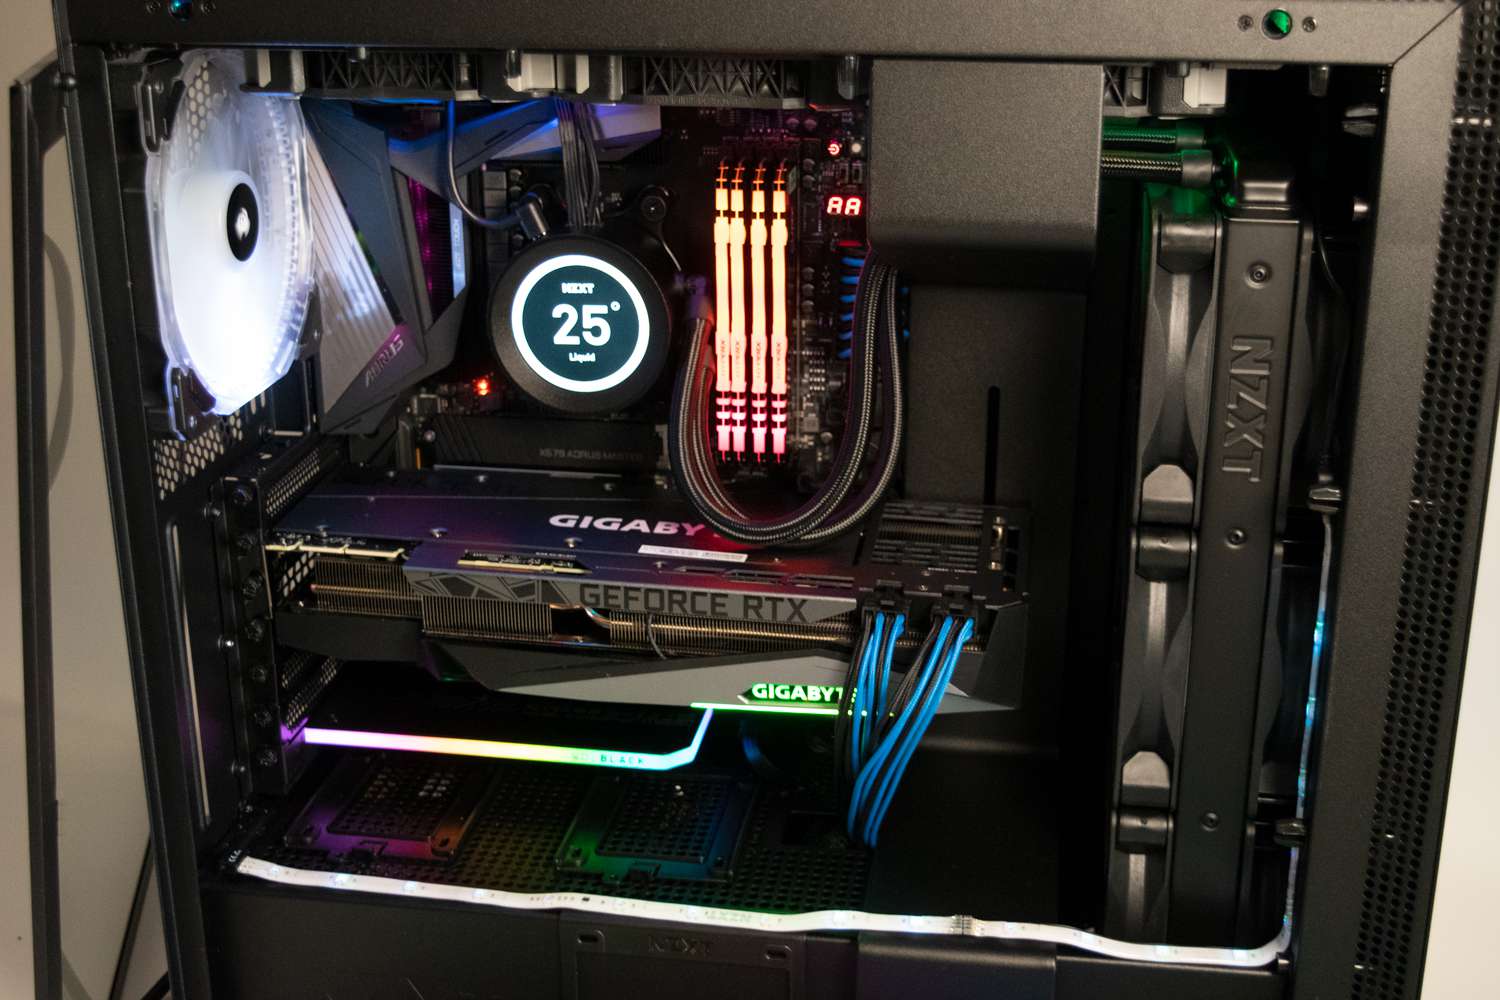
- Install the GPU Last to Save Space – Since the GPU is typically large, install it after the motherboard, RAM, and storage drives are secure. This keeps the area around the PCIe slot clear, making it easier to manage cables and access other connectors without obstruction. Align the GPU carefully and screw it in place for stability.
- Use Cable Ties for Clean Management – Good cable management improves airflow and keeps the interior organized. Use cable ties or Velcro straps to bundle cables together and route them behind the motherboard tray. Tidy cable management also makes future upgrades easier and adds a professional look to your build.
- Install Case Fans for Optimal Airflow – Arrange fans for effective airflow, typically with intake fans at the front and exhaust fans at the rear or top of the case. This setup helps maintain a cool environment, reducing temperatures and extending component life. Fans with adjustable speeds let you balance cooling and noise levels.
- Connect Front Panel Cables Carefully – Attach the front panel connectors (power button, USB ports, and audio jacks) to the motherboard following the manual’s diagram. Properly connecting these small cables ensures all front I/O ports work, making it easy to control and access your system.
- Double-Check Power and Data Connections – Before powering on, confirm all power cables (24-pin, 8-pin, PCIe) and data cables (SATA or M.2) are securely attached. Loose connections can prevent your PC from booting or cause stability issues, so taking a final check ensures everything is ready.
Testing and Optimizing Performance
- Run a Minimal Boot Test – Perform an initial power-on test with only the CPU, one RAM stick, and the GPU to ensure your main components are working. If it boots successfully, proceed with the full assembly; if not, troubleshoot before adding additional parts to save time.
- Enable XMP for RAM Speeds – In the BIOS, enable XMP (Extreme Memory Profile) to allow your RAM to run at its advertised speed. This setting maximizes memory performance, which is especially beneficial for gaming and other memory-intensive applications.
- Install the Operating System on an SSD – Installing your OS on an SSD (preferably NVMe for speed) dramatically reduces boot times and improves responsiveness. This setup optimizes your PC’s overall speed, making it faster than an OS on a traditional HDD.
- Install and Update Drivers for Stability – After installing the OS, update drivers for your GPU, motherboard, and other peripherals. Updated drivers help improve performance and compatibility, reducing the risk of crashes or malfunctions.
- Run Stress Tests to Validate Stability – Use software like Prime95 for the CPU and FurMark for the GPU to run stress tests. These tests reveal potential stability or cooling issues, helping you identify and fix any problems early on, ensuring long-term stability.

Advanced Configuration, Optimization, and Maintenance
30. Monitor Temperatures Using Software Tools – Programs like HWMonitor, CoreTemp, or MSI Afterburner allow you to monitor CPU, GPU, and system temperatures. Regular monitoring helps you spot overheating early and ensures your cooling setup is effective, extending component lifespan and maintaining performance.
31. Set Custom Fan Curves in BIOS – Most motherboards allow you to set custom fan curves that adjust fan speed based on temperature. This control helps you maintain optimal temperatures during intense tasks while keeping fan noise low during light usage, ensuring a balanced and quiet experience.
32. Organize Internal Cables for Better Airflow – Keeping cables managed and out of airflow paths is essential for cooling. Use cable ties to secure bundles and route cables behind the motherboard tray whenever possible. Clean cable management not only improves airflow but also makes future upgrades and maintenance easier.
33. Enable Fast Boot in BIOS for Quicker Startups – If supported by your motherboard, enable Fast Boot in BIOS. This setting bypasses certain system checks, shortening boot time. Use it only after confirming your PC is stable, as it skips some hardware diagnostics during startup.
34. Run Benchmark Tests to Measure Performance – Programs like Cinebench for CPU, 3DMark for GPU, and CrystalDiskMark for storage provide benchmark scores, helping you gauge your build’s performance. These tests give a baseline for comparing future upgrades or troubleshooting any performance dips.
35. Adjust Windows Power Settings for Efficiency – Go to Windows power settings and choose a power plan based on your needs: “High Performance” for maximum speed during heavy tasks or “Balanced” for everyday use. Fine-tuning power settings can optimize both energy consumption and performance.
36. Back Up Your System and Important Files – Regular backups ensure you won’t lose data in case of hardware failure. Use cloud storage, an external drive, or a NAS (Network Attached Storage) device for backups. Setting up regular backups prevents data loss and simplifies recovery in case of issues.
37. Install a Reliable Antivirus Program – Antivirus software protects your system from malware, which could slow down or compromise your PC. Windows Defender is an excellent built-in option, but third-party programs like Bitdefender offer additional features for advanced protection, keeping your PC safe during downloads and browsing.
38. Enable System Restore for Easy Troubleshooting – In Windows, enable System Restore to create restore points. If a driver or update causes instability, you can roll back to a previous configuration without losing files, making it easier to troubleshoot software-related issues.
39. Disable Unnecessary Startup Programs – Too many startup programs can slow boot times. In Task Manager, review which programs run on startup and disable the ones you don’t need immediately. A lean startup list helps your PC start faster and improves performance.
40. Regularly Clean Out Dust from Components – Dust buildup restricts airflow and leads to overheating. Every few months, use compressed air to blow dust out of fans, heatsinks, and case filters. Regular cleaning prevents heat buildup and keeps your system running efficiently.
41. Install High-Quality Thermal Pads for Extra Cooling – Consider adding thermal pads to components like VRMs (voltage regulator modules) on the motherboard, especially if you’re overclocking. Thermal pads help with heat transfer, protecting sensitive components and improving overall stability.
42. Check and Update Drivers Regularly – Stay on top of driver updates, particularly for the GPU, motherboard, and network adapter. Updated drivers improve compatibility, stability, and performance. Manufacturers release updates to address bugs, so check for updates periodically.
43. Partition Your Drives for Better Organization – Partitioning drives can help organize data, making it easier to separate system files from personal data. For example, create a partition for the OS and another for files. Partitioning can also make future OS reinstalls simpler without risking personal data.
44. Use Cable Sleeves for Aesthetic and Protection – Sleeving cables not only improves the appearance of your build but also protects cables from wear and tear. Sleeved cables are beneficial in high-movement areas, adding durability while keeping the build looking neat.
45. Install Dust Filters on Intake Fans – If your case doesn’t include dust filters, consider adding them to intake fans. Dust filters help prevent dust from entering your PC, reducing the need for frequent cleaning and keeping your components cooler for longer.
46. Set Up a Dual-Monitor Setup for Productivity – Dual monitors can enhance productivity, allowing you to multitask more efficiently. Set up your display settings for proper alignment and resolution. A well-optimized setup provides seamless visuals and maximizes workspace.
47. Optimize Your GPU Settings for Performance – Many GPU drivers, such as Nvidia Control Panel, offer settings to optimize performance. Enabling settings like “Threaded Optimization” or adjusting anti-aliasing can improve graphics quality and frame rates, enhancing your gaming or visual experience.
48. Consider Overclocking for Extra Performance – If your CPU or GPU supports it, try overclocking to push performance further. Increase clock speeds gradually and test stability after each adjustment. Ensure your cooling setup can handle the extra heat, as overclocking can increase temperatures.
49. Use Power Management Tools for Efficiency – Some third-party tools allow fine control over power settings, which can be beneficial for laptops or PCs that need to balance performance with power savings. Tools like Intel’s XTU or AMD’s Ryzen Master allow for granular power adjustments.
50. Invest in a High-Quality Surge Protector – Power surges can damage your PC, so protect it by plugging it into a surge protector. For areas with frequent power fluctuations, consider an Uninterruptible Power Supply (UPS), which provides backup power and protects against sudden outages.
51. Run Periodic Disk Cleanup for Efficiency – Windows’ Disk Cleanup tool helps free up space by deleting unnecessary files. Clear out old downloads, temporary files, and system files to improve storage efficiency. Regular cleanups keep your OS and storage optimized, preventing slowdowns.
52. Use Custom Fan Controllers for Easy Adjustments – Fan controllers allow manual control over fan speeds without entering the BIOS. Look for controllers with display screens or dials to make fan adjustments easy, providing cooling flexibility and reducing noise based on workload.
53. Organize Desktop and File Folders – Keep your digital workspace organized by setting up folders for documents, media, and applications. A clean, organized file system not only saves time but also improves system efficiency, especially for productivity-focused builds.
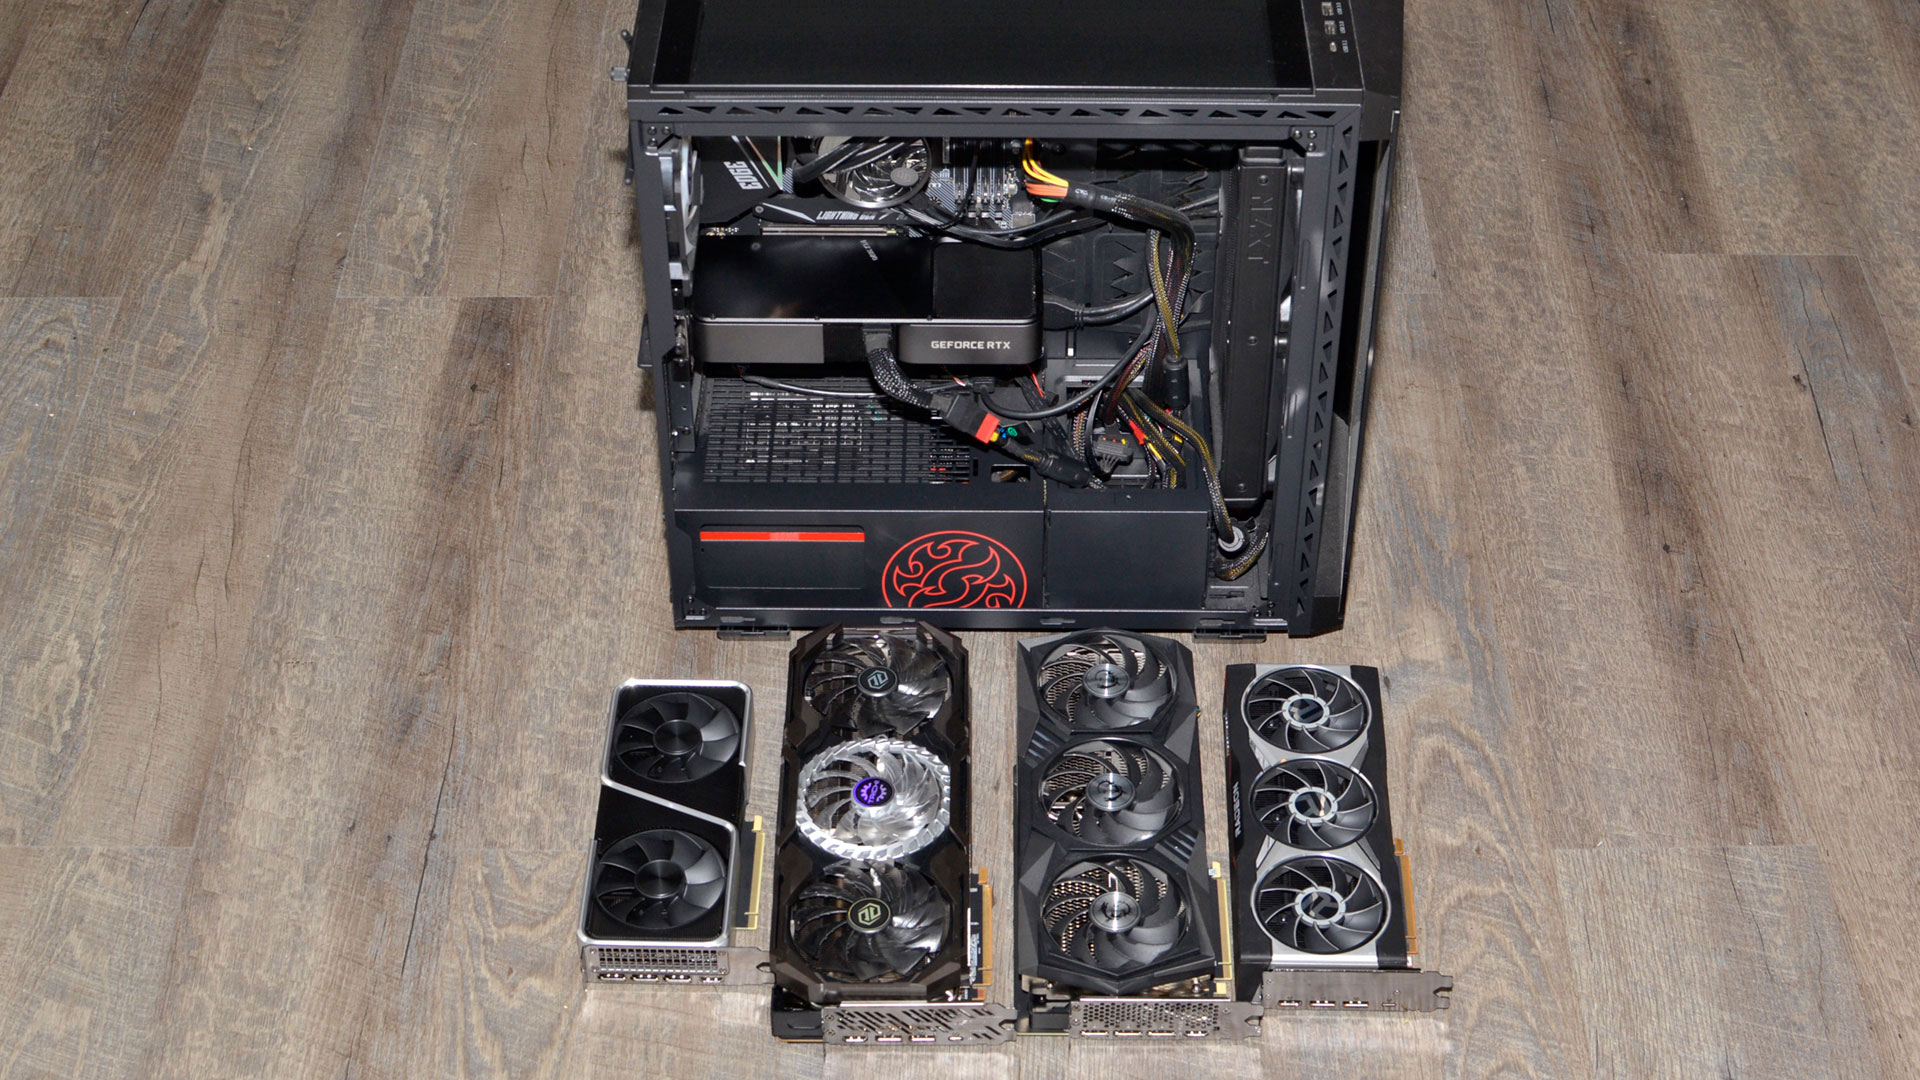
54. Disable Indexing on SSDs to Preserve Speed – Windows indexing can slow down SSDs by cataloging files continuously. Disabling indexing improves SSD performance, especially if you don’t need rapid search functionality. This setting adjustment prolongs SSD lifespan by reducing unnecessary write cycles.
55. Set Up a Virtual Machine for Testing – Virtual machines (VMs) let you test software or alternative operating systems without risking your main OS. Programs like VirtualBox and VMware create safe environments for experimentation, useful for developers or curious users exploring different systems.
56. Regularly Check for BIOS Updates – BIOS updates can enhance compatibility, performance, and security. Check your motherboard’s website for updates, especially if you’re using newer hardware. Carefully follow instructions for safe installation, as BIOS updates can improve system stability.
57. Try a Custom OS for Specialized Tasks – While Windows is popular, Linux distributions like Ubuntu or Debian are great for development, and some distros require minimal resources. Consider using a specialized OS for tasks like web development or data science.
58. Configure BIOS Boot Order for Faster Startup – Set your OS drive as the primary boot device in BIOS to reduce boot time. This setup skips unnecessary checks on other drives, helping your PC boot directly from the main drive, which saves time every time you start up.
59. Use Dual-Boot Setup for Multiple OS Options – Dual-booting allows you to install two operating systems on separate partitions or drives. This setup is useful for users who want both Windows and Linux, as it lets you switch between OS environments without affecting performance.
60. Set up a VPN for Secure Browsing – VPNs (Virtual Private Networks) protect your privacy, especially on public networks. They’re essential for users handling sensitive data or accessing restricted content. A reliable VPN adds security to your online activities.
61. Optimize Gaming Performance Through Settings – Most games have advanced settings for graphics, resolution, and effects. Adjust settings based on your GPU’s capability to balance visual quality and frame rate, optimizing performance for smooth gameplay.
62. Keep Learning About PC Hardware Trends – Technology changes rapidly, so staying informed about new releases and trends helps you maintain and upgrade your PC effectively. Follow tech news and online forums for the latest on hardware improvements, allowing you to plan upgrades efficiently.
63. Use Sleep Mode to Save Energy – Putting your PC in sleep mode when not in use saves energy and lets you resume quickly. For extended inactivity, Hibernate is even more power-efficient while preserving your work, ideal for users concerned with energy savings.
64. Invest in Ergonomic Accessories for Comfort – A comfortable workspace is essential, especially for long PC sessions. Consider ergonomic items like an adjustable chair, keyboard wrist rest, or monitor stand to reduce strain, improving your overall experience and productivity.
65. Label External Drives for Quick Identification – If you use multiple external drives, label them for easier access and organization. This saves time when searching for specific files and keeps your digital workspace orderly, which is particularly helpful for content creators.
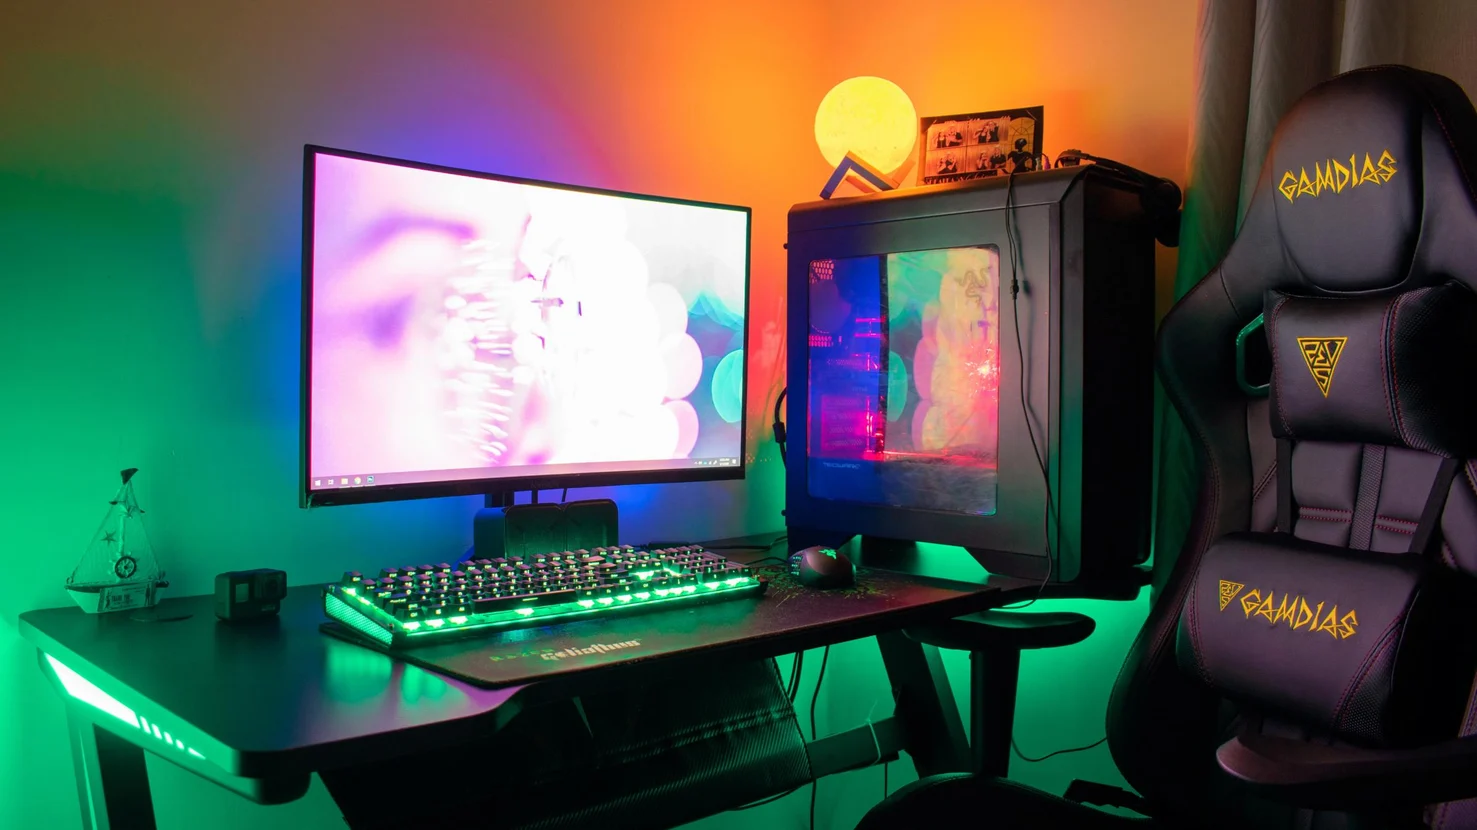
66. Set Up System Restore Points Regularly – Restore points act as backups of your system configuration, allowing you to revert to a previous state if you encounter issues. Create restore points before major updates or changes, as they simplify troubleshooting.
67. Test Peripherals for Compatibility Before Use – Unique peripherals like VR headsets or speciality keyboards require certain drivers or system requirements. Check compatibility to ensure a seamless experience and avoid hardware conflicts that could impact performance.
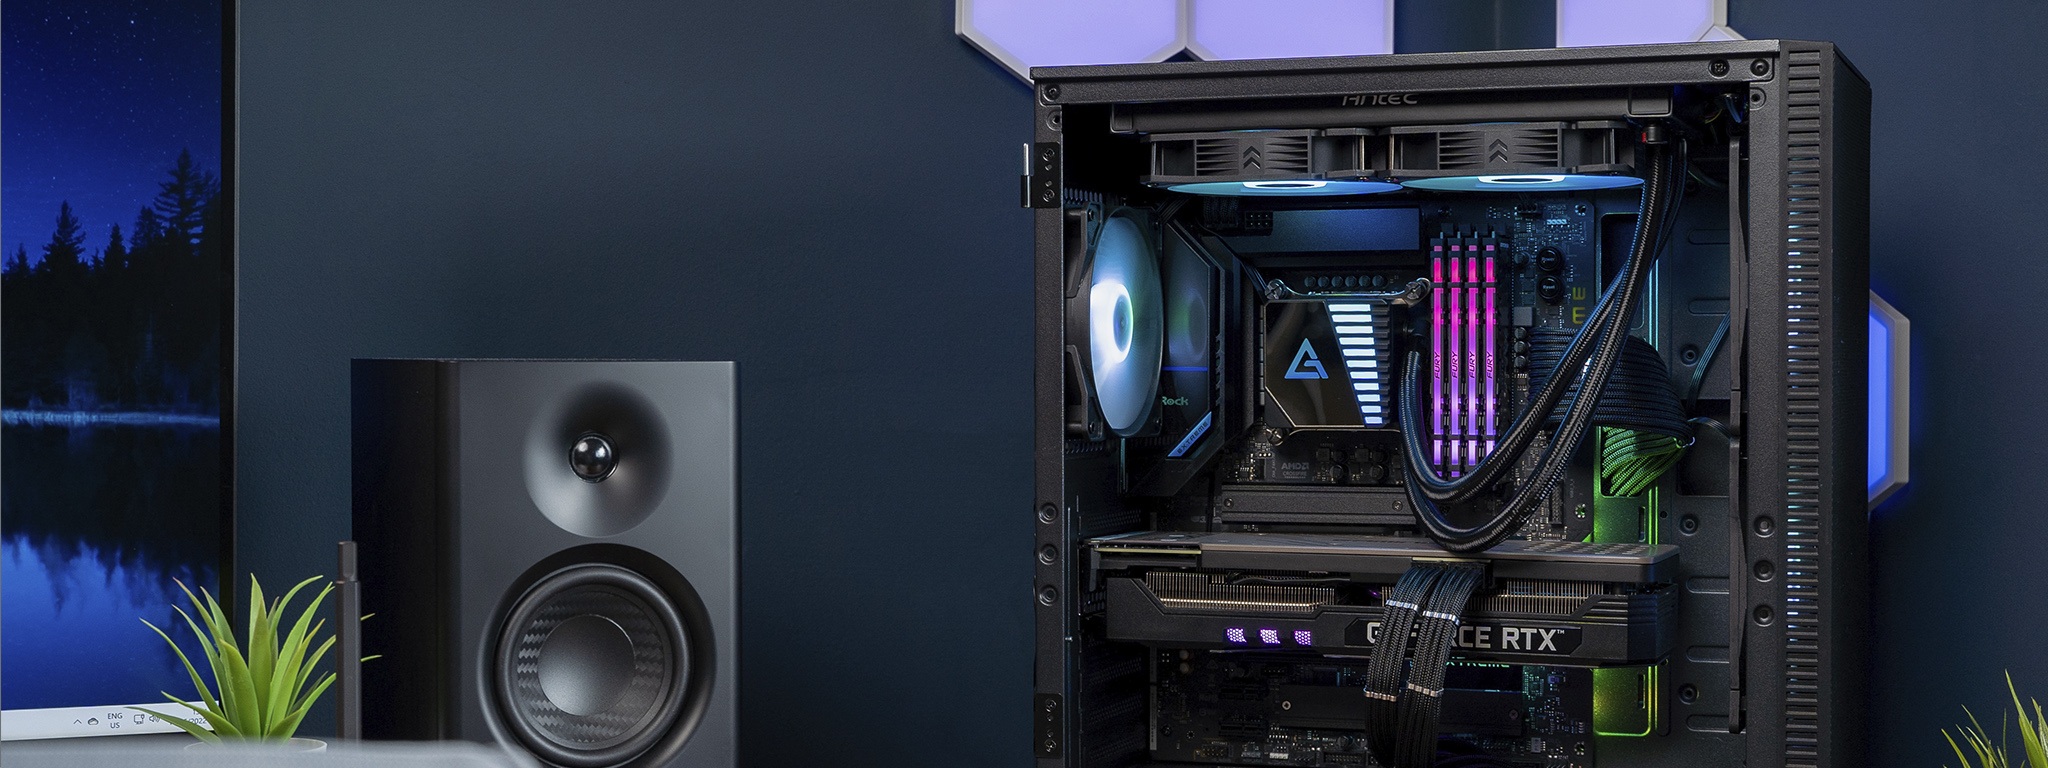
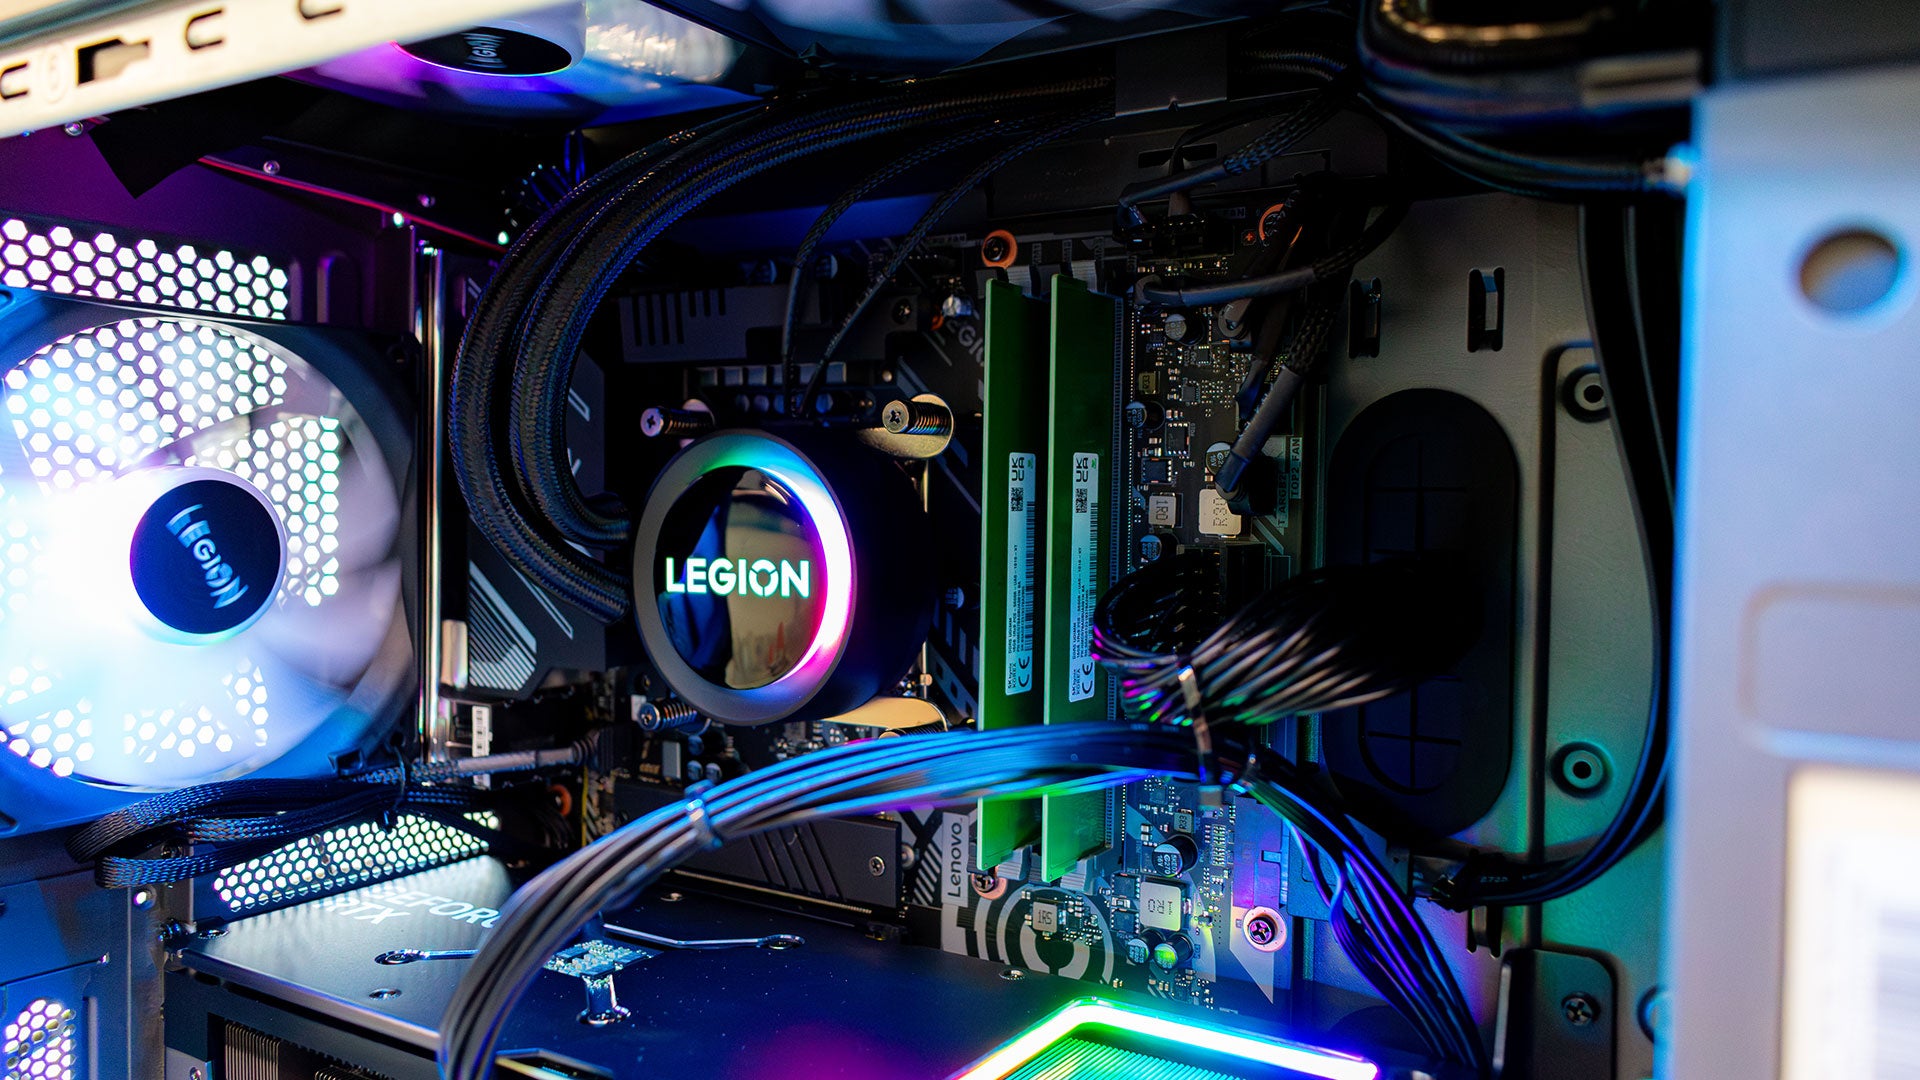
68. Upgrade System Cooling with Water-Cooling Kits – For enthusiasts, water cooling provides efficient heat management and can support overclocking setups. Custom or AIO (all-in-one) water-cooling kits keep high-performance CPUs and GPUs cooler than air alone, though they require extra setup and maintenance.
69. Enable Overclocking with Safe Limits – Carefully overclocking your CPU or GPU can boost performance, but do so gradually and monitor temperatures. Overclocking is an advanced technique that, when done safely, can maximize your system’s capabilities without compromising stability.
70. Create Shortcuts for Frequent Programs – Place shortcuts for frequently used programs on your desktop or taskbar. This setup saves time and streamlines your workflow, whether for productivity or gaming, by putting essential applications within easy reach.
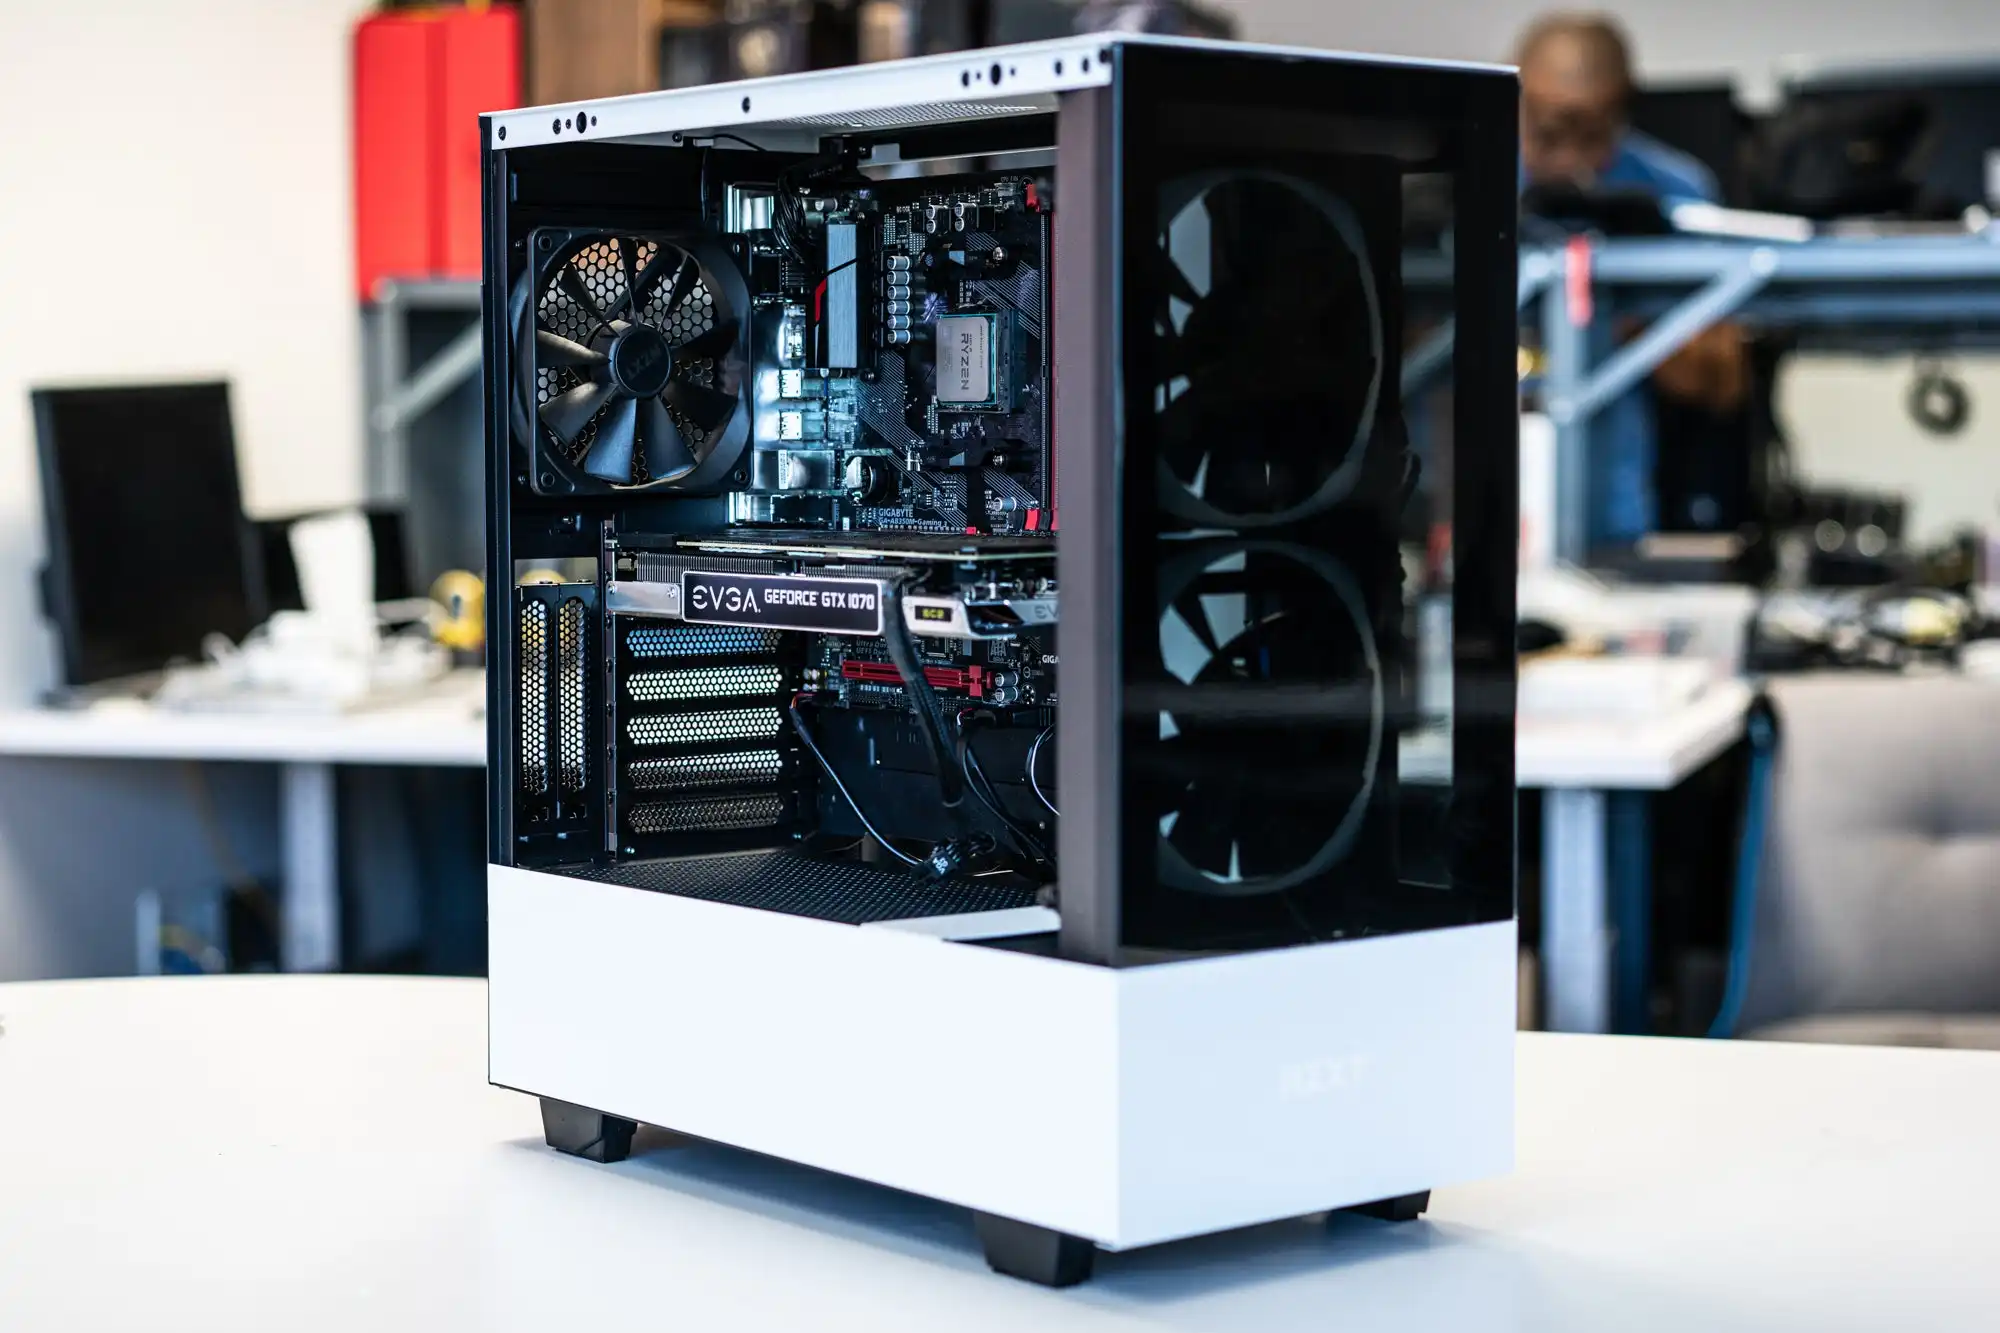
Fine-Tuning and Long-Term Maintenance
- Use Custom Desktop Themes for Organization – Customizing your desktop with themes or icon layouts can help keep your workspace organized. Programs like Fences or Rainmeter add widgets and layouts to keep important information, apps, and files at your fingertips for a cleaner, more efficient setup.
- Run Regular Stress Tests for Stability – Even after initial setup, periodic stress tests help check system stability under heavy loads. Use tools like Prime95 for the CPU and FurMark for the GPU to identify any hardware or cooling issues early on, ensuring reliable long-term performance.
- Optimize BIOS Settings for Maximum Efficiency – In the BIOS, turn off any unnecessary features to reduce boot times and improve efficiency. Disabling unused ports, controllers, or onboard sound can streamline performance, particularly in high-demand systems where every resource counts.
- Disable Visual Effects for Faster Response – Disabling visual effects like animations and transparency in your OS can boost speed, particularly for less powerful systems. This adjustment frees up resources, providing a snappier and more responsive experience.
- Use Disk Defragmenter for HDDs – HDDs benefit from regular defragmentation, which organizes data for faster access. However, don’t defragment SSDs, as it can reduce their lifespan. Windows offers a built-in tool that helps you run this task automatically on a schedule.
- Upgrade RAM for Future-Proofing – RAM is one of the easiest upgrades to install. If you anticipate higher workloads or new software, consider adding more RAM, which can make a significant difference in multitasking and overall performance, especially for productivity or creative applications.
- Set Up Cloud Backups for Essential Files – Cloud storage provides off-site backups, protecting against hardware failures. Services like Google Drive, Dropbox, or OneDrive offer automatic backups, ensuring that even if your PC fails, your important files are safe and accessible from anywhere.
- Run a Full System Scan Monthly – Regular antivirus scans help detect and eliminate malware that might impact performance or compromise security. Schedule full system scans at least once a month to keep your PC safe and functioning smoothly.
- Enable S.M.A.R.T. Monitoring for Drives – Many drives support S.M.A.R.T. (Self-Monitoring, Analysis, and Reporting Technology), which can alert you to potential drive failures. Using this monitoring helps you spot issues early and back up data before a failure occurs.
- Organize USB Cables and Peripherals – Tangled USB cables can create clutter, so use cable organizers or sleeves to keep them tidy. Keeping your peripherals organized improves workspace aesthetics and prevents accidental disconnections or damage.
- Create Shortcuts for Common Tasks – Keyboard shortcuts for common tasks streamline workflows and save time. Shortcuts for opening frequently used programs, switching between windows, or managing files make daily tasks faster and easier.
- Install a Dedicated Sound Card for Audio – For users needing high-quality audio, a dedicated sound card or external DAC (digital-to-analog converter) offers improved sound over motherboard audio, making a noticeable difference for music production, gaming, and multimedia.
- Use Task Scheduler for Routine Tasks – Task Scheduler automates maintenance, like disk cleanup or virus scans. Setting up scheduled tasks keeps your PC clean and secure without requiring manual intervention, making it ideal for ongoing upkeep.
- Keep Your Graphics Drivers Up to Date – GPU drivers improve performance, fix bugs, and ensure compatibility with new games. Regularly updating your GPU driver, especially before playing new games, maximizes frame rates and prevents visual issues.
- Check for and Eliminate Bottlenecks – If you notice slowdowns, identify any performance bottlenecks. Use monitoring software to see if the CPU, GPU, or RAM is maxed out and consider upgrading the most constrained component to boost overall system efficiency.
- Consider Installing a Tempered Glass Side Panel – For PC enthusiasts, tempered glass side panels provide a clear view of your components. While this is primarily aesthetic, a transparent side panel also allows easy inspection of parts without opening the case.
- Set Up User Profiles for Shared PCs – Multiple user profiles allow each user to have their personalized desktop, applications, and settings. This organization keeps a shared PC clutter-free, providing tailored experiences and preventing accidental setting changes.
- Run Resource Monitors to Track Usage – Tools like Windows Task Manager or MSI Afterburner show real-time CPU, GPU, and memory usage. Monitoring resource allocation helps detect if any component is underperforming or being overworked, allowing adjustments to improve balance.
- Enable RAID for Redundant Storage – For data protection, RAID (Redundant Array of Independent Disks) configurations offer backup options. RAID 1 mirrors data, providing redundancy, while RAID 0 speeds up data access. Choose a RAID setup based on your storage and reliability needs.
- Use Power-Saving Settings When Idle – Setting your PC to sleep or reduce power usage when idle conserves energy. For desktops, these settings reduce power bills, while on laptops, they prolong battery life, making power management a smart, energy-efficient choice.
- Experiment with Linux for Lightweight Usage – Linux distributions like Ubuntu or Fedora are efficient and work well on low-power builds. They’re ideal for light tasks or programming, and since Linux is free, it’s also a budget-friendly OS for simple or secondary machines.
- Organize Games and Apps by Type – Group games and applications by category on your desktop or in folders. Sorting them this way allows quick access to what you need and reduces clutter, improving overall workflow and aesthetics.
- Explore Hardware Monitoring Widgets – Programs like Rainmeter offer customizable widgets that display system stats like temperature, CPU usage, and memory. Desktop widgets provide real-time information, allowing you to keep track of system health at a glance.
- Use Third-Party Software for Fan Control – Some fans and AIO coolers offer proprietary software for precise control over fan speeds and cooling settings. Tools like Corsair iCUE or NZXT CAM let you optimize cooling for demanding tasks or quiet operations.
- Upgrade Cooling for Heavy Loads – If you notice high temperatures or if you’re overclocking, consider adding extra cooling. Additional case fans, a larger CPU cooler, or even custom water-cooling loops can help maintain safe temperatures and boost performance during intensive tasks.
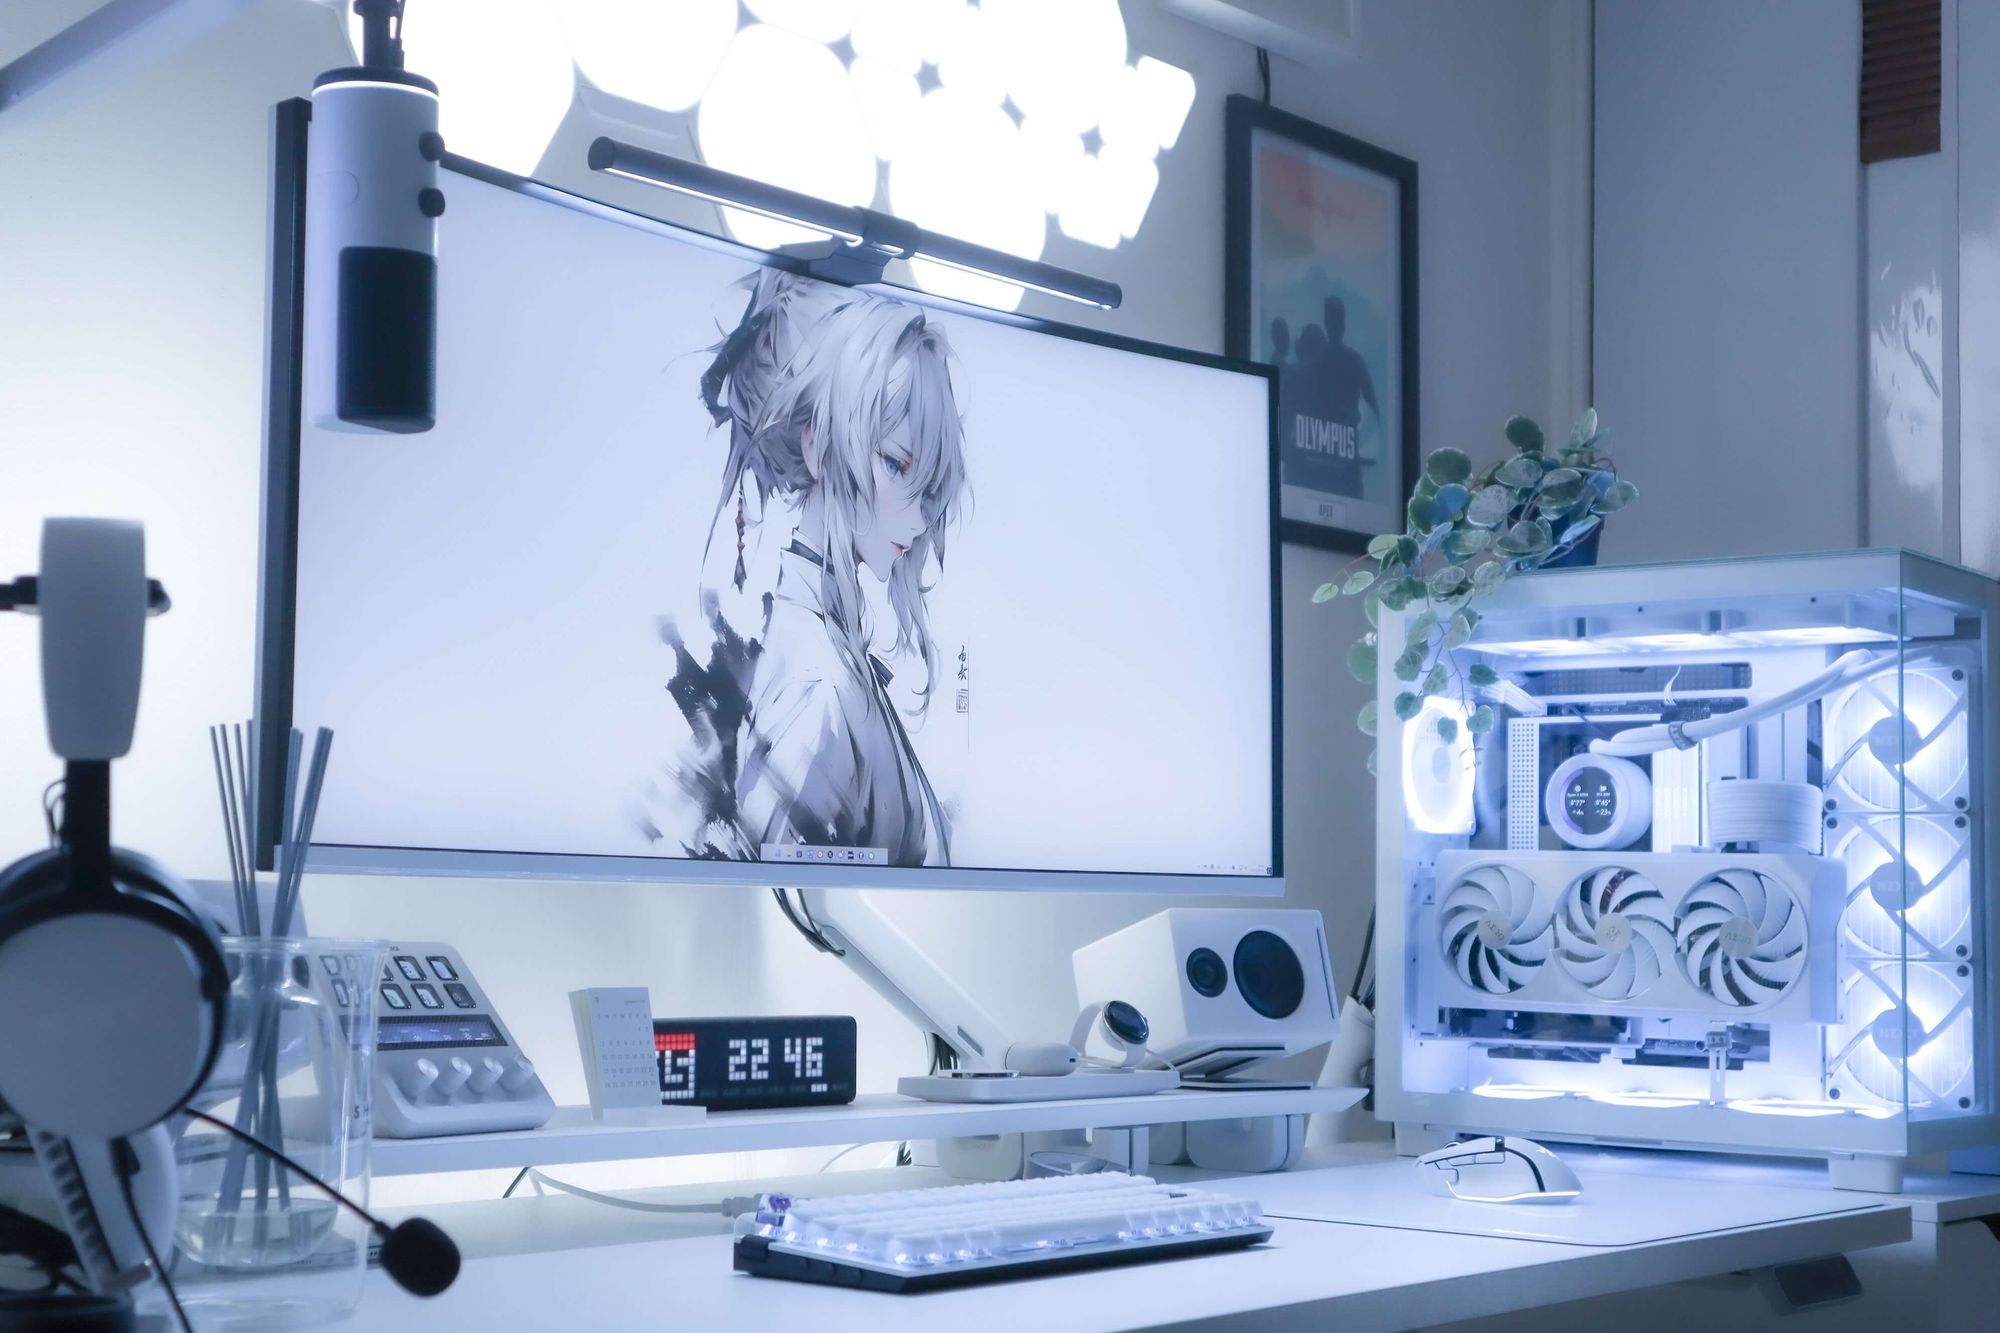
Building a custom PC is a rewarding journey that combines creativity, technical skill, and a bit of patience. From carefully selecting each component to fine-tuning settings for maximum performance, you’ve transformed an assortment of parts into a powerful, personalized machine. With over 90 essential tips to guide you along the way, this process becomes less daunting, empowering you to avoid common mistakes, maximize compatibility, and achieve optimal performance suited precisely to your needs.
Beyond the immediate satisfaction of booting up a machine you’ve built yourself, there are lasting benefits to a custom PC. Unlike pre-built systems, your custom build can be easily upgraded, repaired, and maintained over time, adapting to your changing needs without requiring a full replacement. By understanding the function of each component and making informed choices, you’ve created a system that is not only high-performing but also versatile and future-ready.
Ultimately, building a custom PC is more than just assembling hardware; it’s about gaining deeper insight into how computers work, building a skill set that will be valuable for years to come, and having a machine that truly reflects your personal style and requirements. As technology continues to evolve, your knowledge and experience will serve as a foundation, allowing you to adapt and expand your PC with confidence. Congratulations on your custom build, and welcome to a world of endless possibilities for upgrades, optimizations, and new achievements!

