Your iPhone as Your Personal Document Assistant
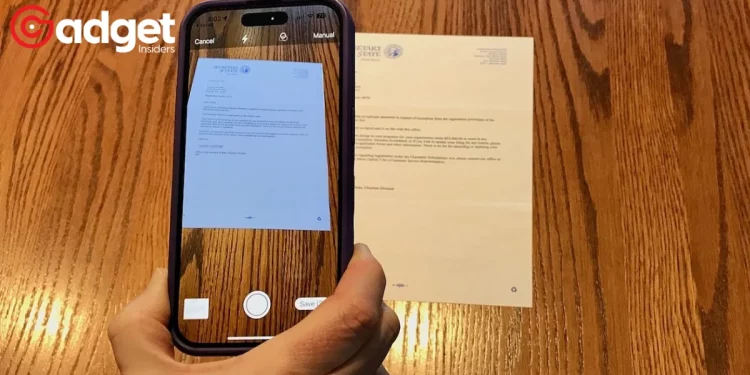
We all know that iPhones are versatile tools, capable of doing much more than making calls or sending messages. One such utility is document scanning—be it for storing receipts, business cards, or book covers. Gone are the days of relying on third-party apps for this functionality. Now, your iPhone can scan documents directly, without any additional software. Plus, it syncs your notes and captures across all your Apple devices.
“The ability to scan documents with your iPhone alone is a productivity boost as you can synchronize all your notes and captures across the Apple devices.”
In this article, we’re delving deep into how to unlock your iPhone’s full scanning capabilities. So let’s get started.
Scanning Documents Made Easy with the Notes App
Step-By-Step Guide to Notes App Scanning
- Opening Notes: Open the Notes app and either choose an existing note or create a new one.
“Open the Notes app and an old or new note. The scanner is a core feature now.”
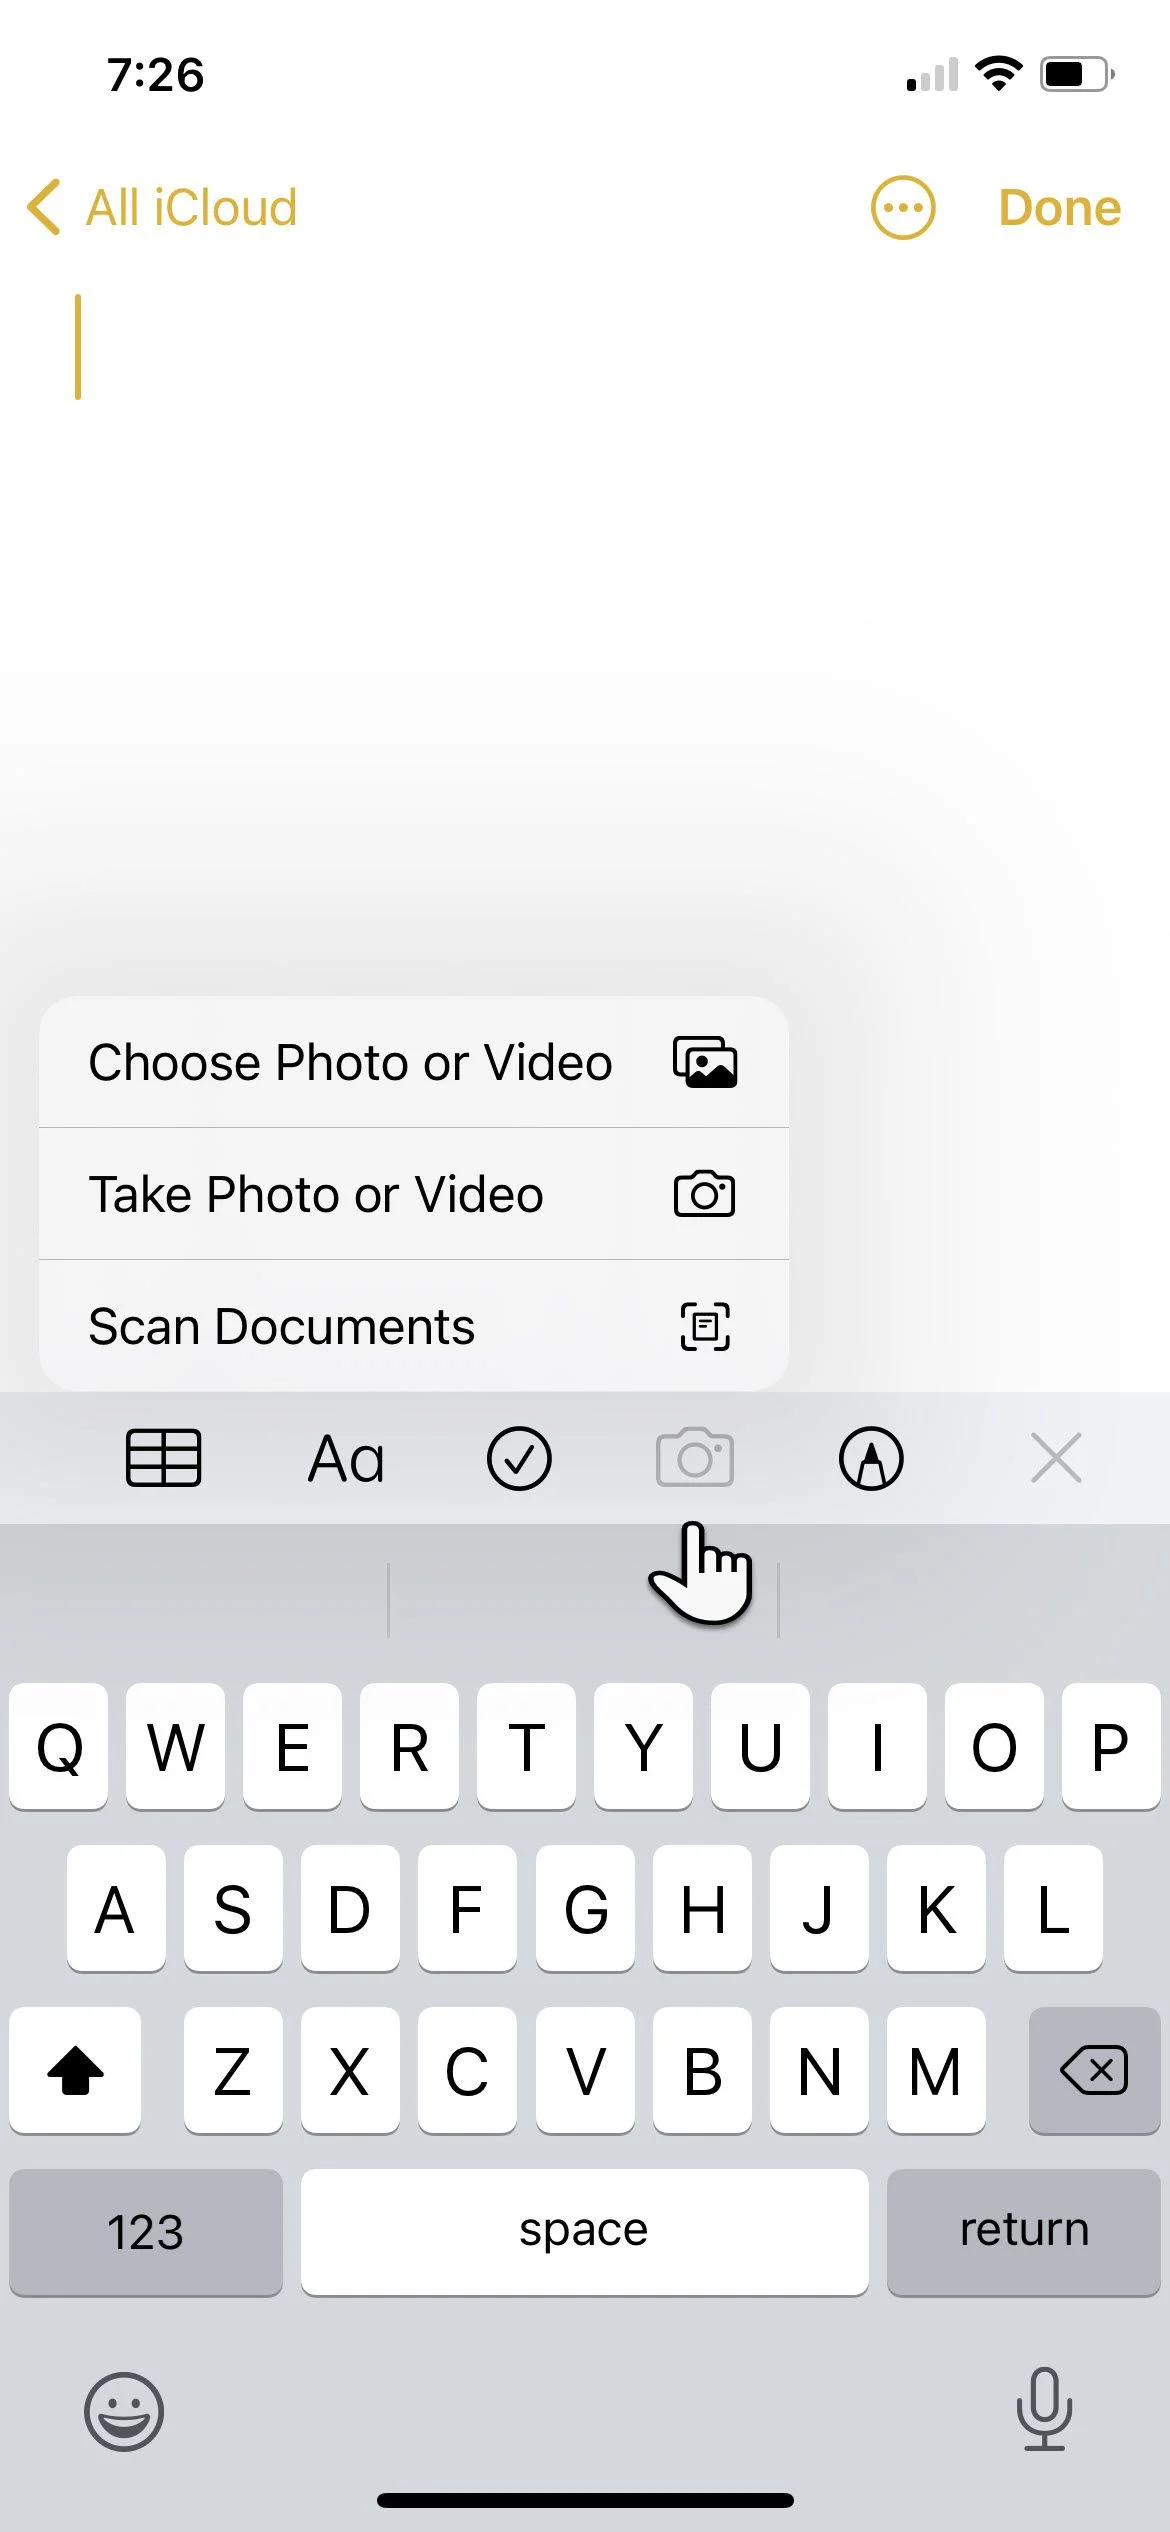
- Activating Scanner: Tap the camera icon at the bottom of the screen.
“Tap the camera icon at the bottom of the screen.”
- Starting Scan: From the popup menu, choose the “Scan Documents” option.
“Select the Scan Documents option from the popup menu.”
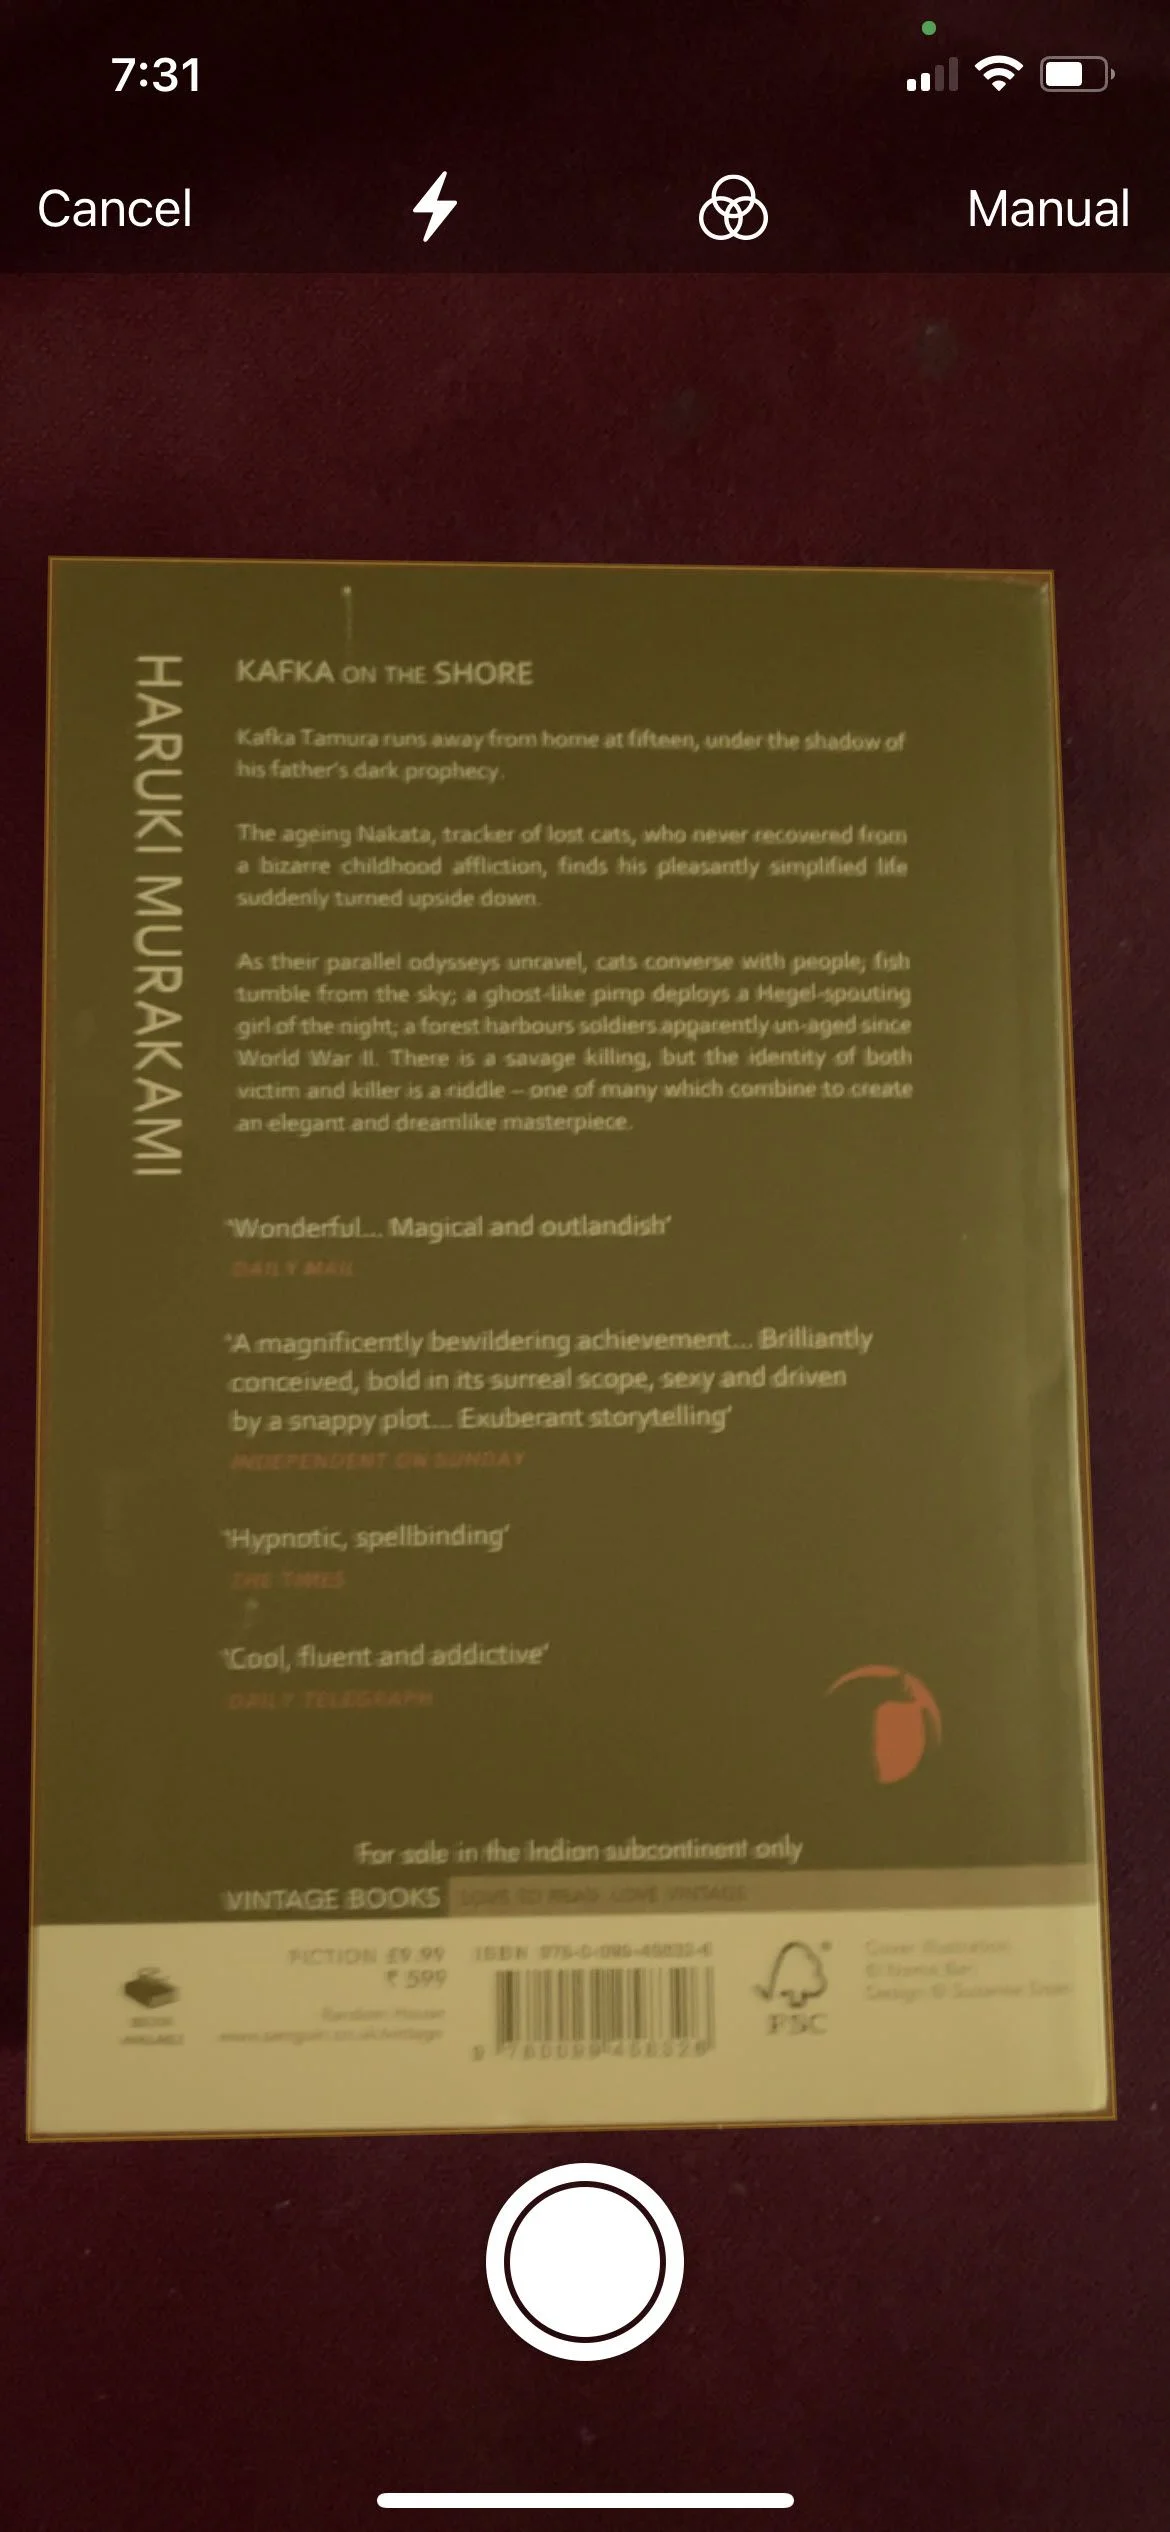
- Scan Configuration: Point your camera at the document. The default scan option is set to automatic mode and color.
“The camera opens and now you can point the camera at whatever you want to scan. The default scan option is automatic mode and color.”
Customizing Your Scan
- Color Options: A top row of icons allows grayscale or black/white adjustments.
“A top row of icons lets you choose from grayscale or black/white for the scan.”
- Manual Adjustments: After focusing, either let the camera fire automatically or use the shutter or volume buttons for a manual capture. You can adjust scan corners manually.
“Once the document is in focus, the camera fires automatically. You can also use the shutter button or the volume buttons to take a scan manually.”
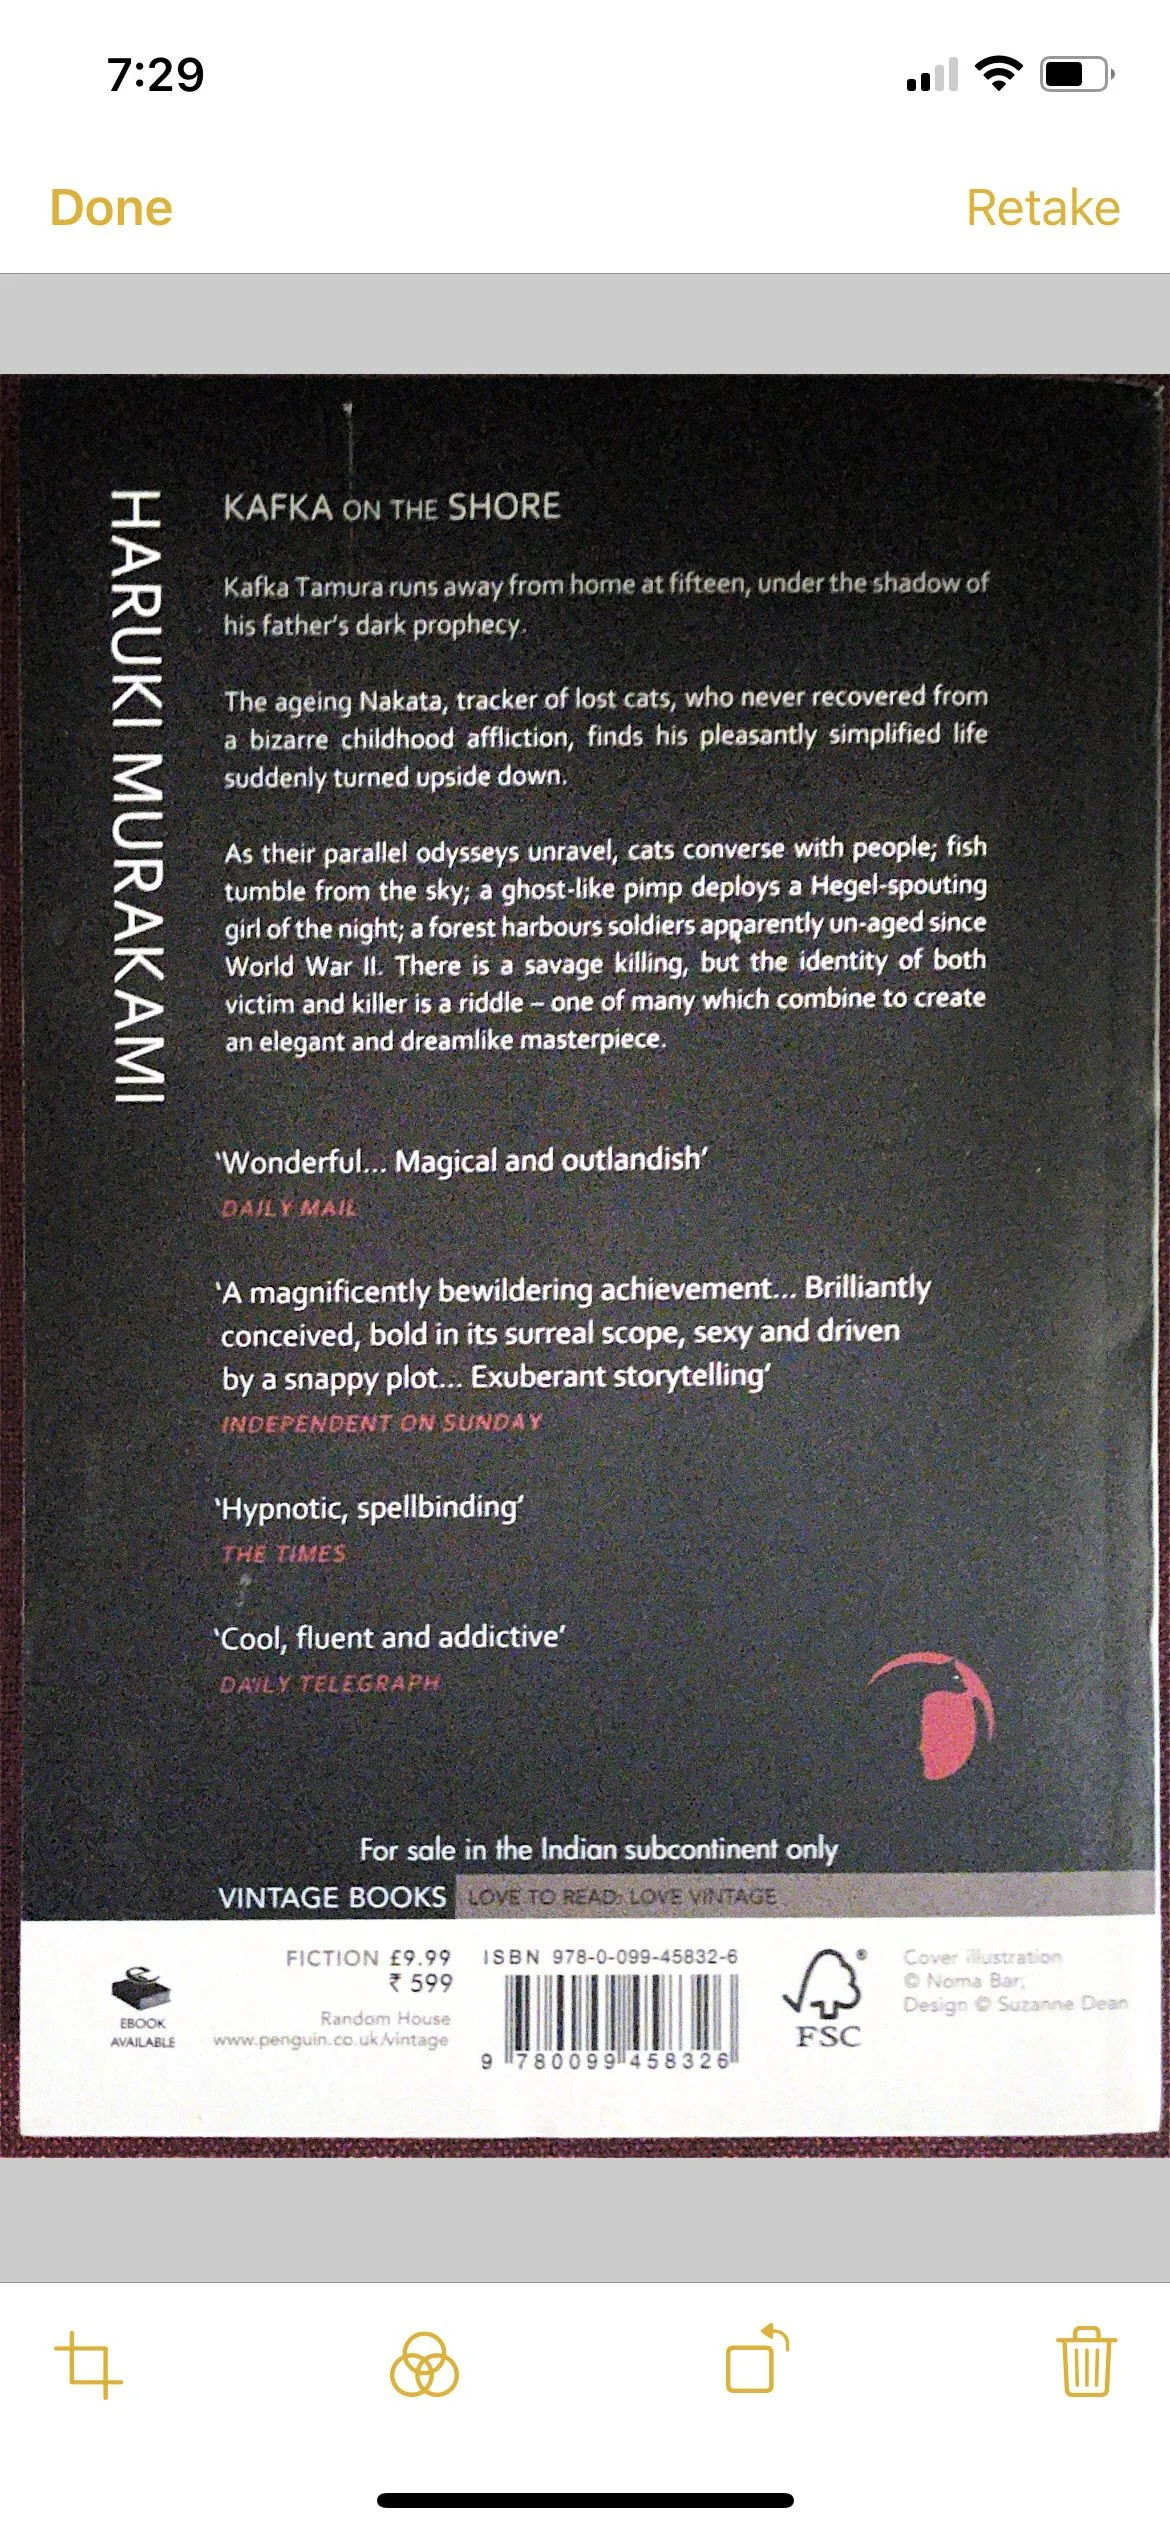
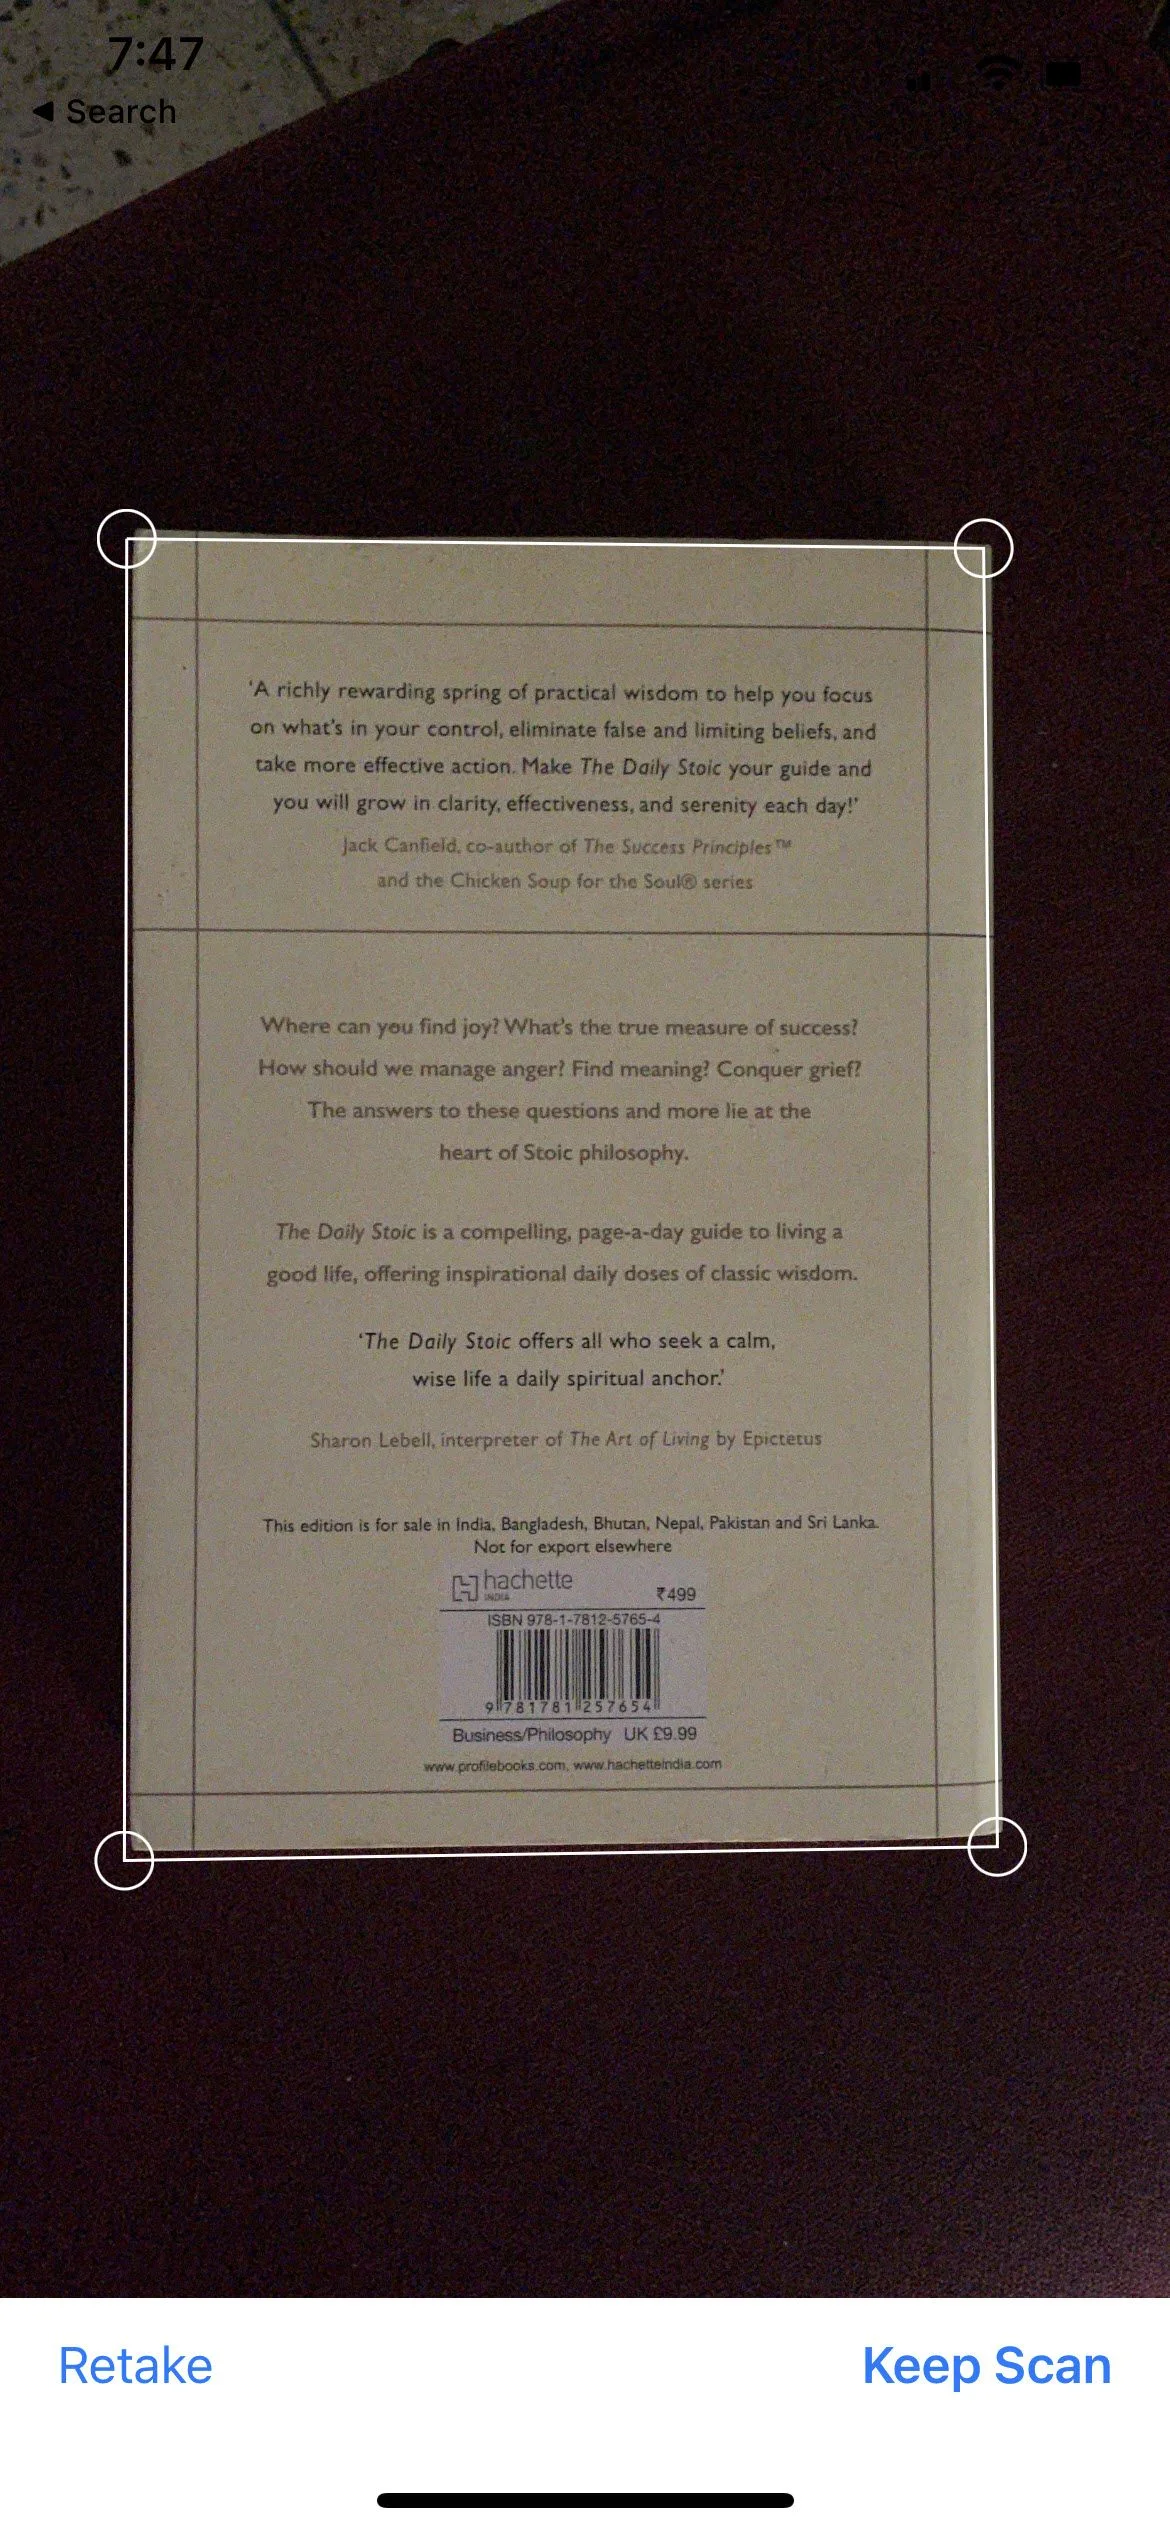
- Post-Scan Actions: After scanning, tap ‘Keep Scan’ if everything looks good or ‘Retake’ for a do-over.
Post-Scan Management
- Save your scan to the note you started with by tapping the “Save” button.
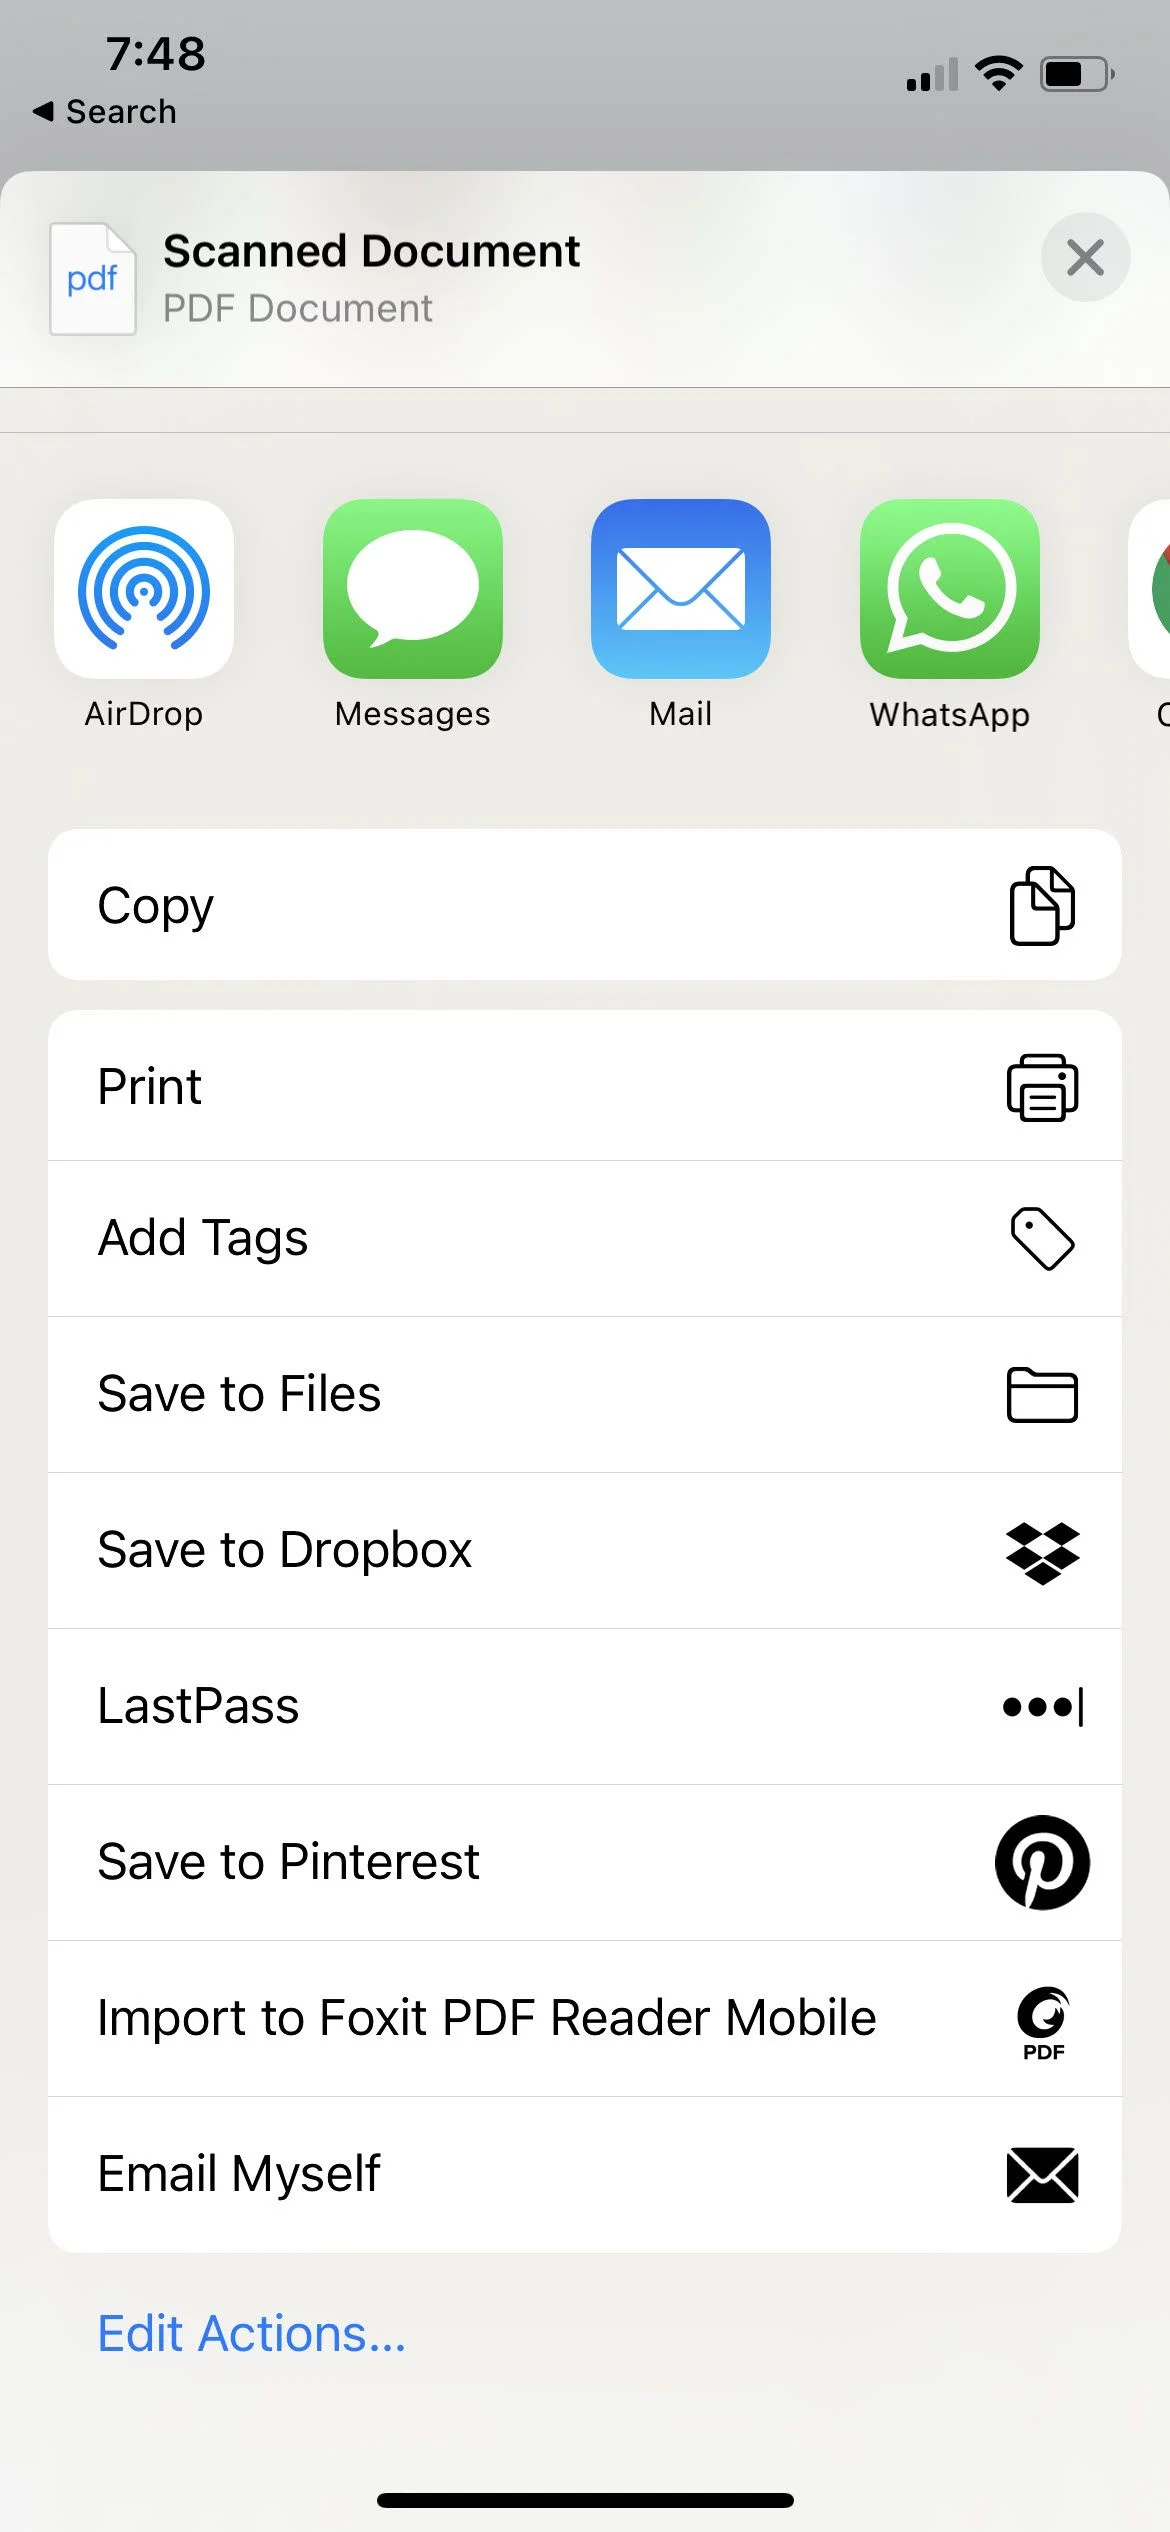
- To share or upload the scanned document to other platforms like Google Drive, WhatsApp, or via email, just hold down on the preview and tap “Share.”
“Want to move the document scan out of the Notes app? Share it or upload it to any other app like Google Drive, send it as an email attachment, create a PDF, or share via WhatsApp.”
- You can also annotate your scanned document using markup tools within the Notes app.
Explore the Files App for Enhanced Document Management
Introduced with iPhone 11, the Files app extends your document scanning capabilities, especially if you’re keen on saving scans directly to iCloud Drive or other third-party cloud services.
Getting Started with Files App Scanning
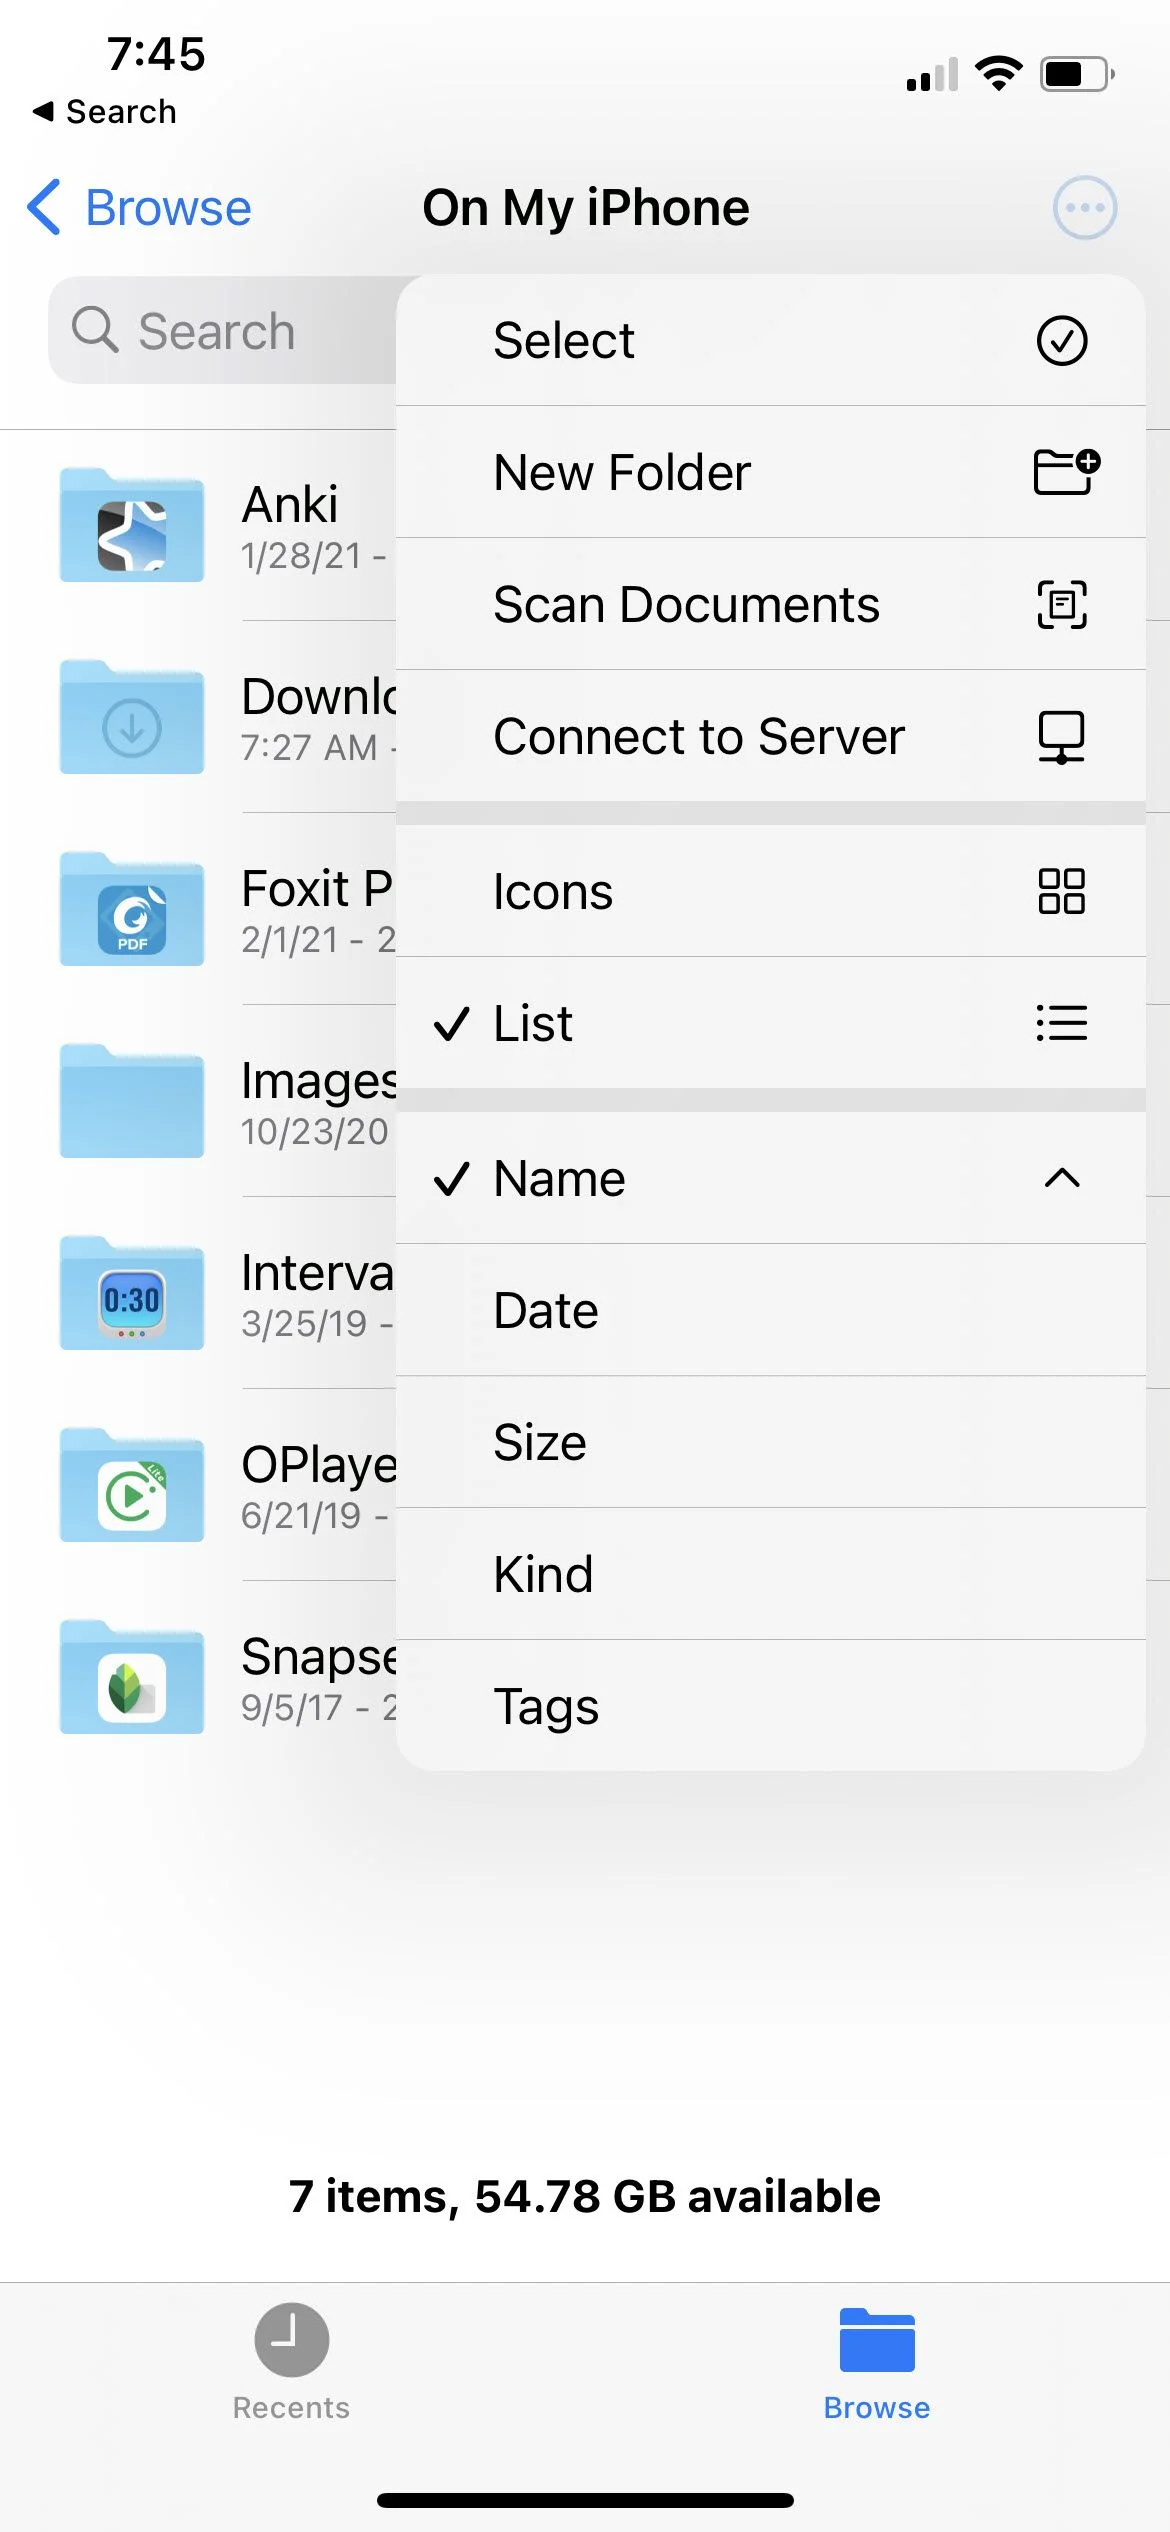
- Navigate to Files: Open the Files app.
- Menu Access: Tap the ellipsis icon (three dots) on the top-right corner.
“Tap the ellipsis icon (three dots) on the top-right corner of the screen. Select Scan Documents.”
- Choose Scan Documents: Just like the Notes app, point your camera to focus on the document and proceed with capturing.
“Use the Camera to focus on the document. This works like the document scanning process on the Notes app from here on.”
- Edge Adjustments: Customize the edges of your scan manually.
- Save Your Scan: Choose the folder where you’d like to save your scan.
“The Files app prompts you to save the scan to a folder of your choice. If the scan was started inside a specific folder, it is saved to the same folder.”
Supercharge Your Scanning with Microsoft Lens
Microsoft Lens is a robust document scanner with additional features that integrate seamlessly if you’re an avid Microsoft Office user.
How to Use Microsoft Lens for Scanning
- Mode Selection: Open the app and select your desired capture mode like Whiteboard, Document, or Photo.
“Open Microsoft Lens and swipe across the screen to select the right capture mode.”
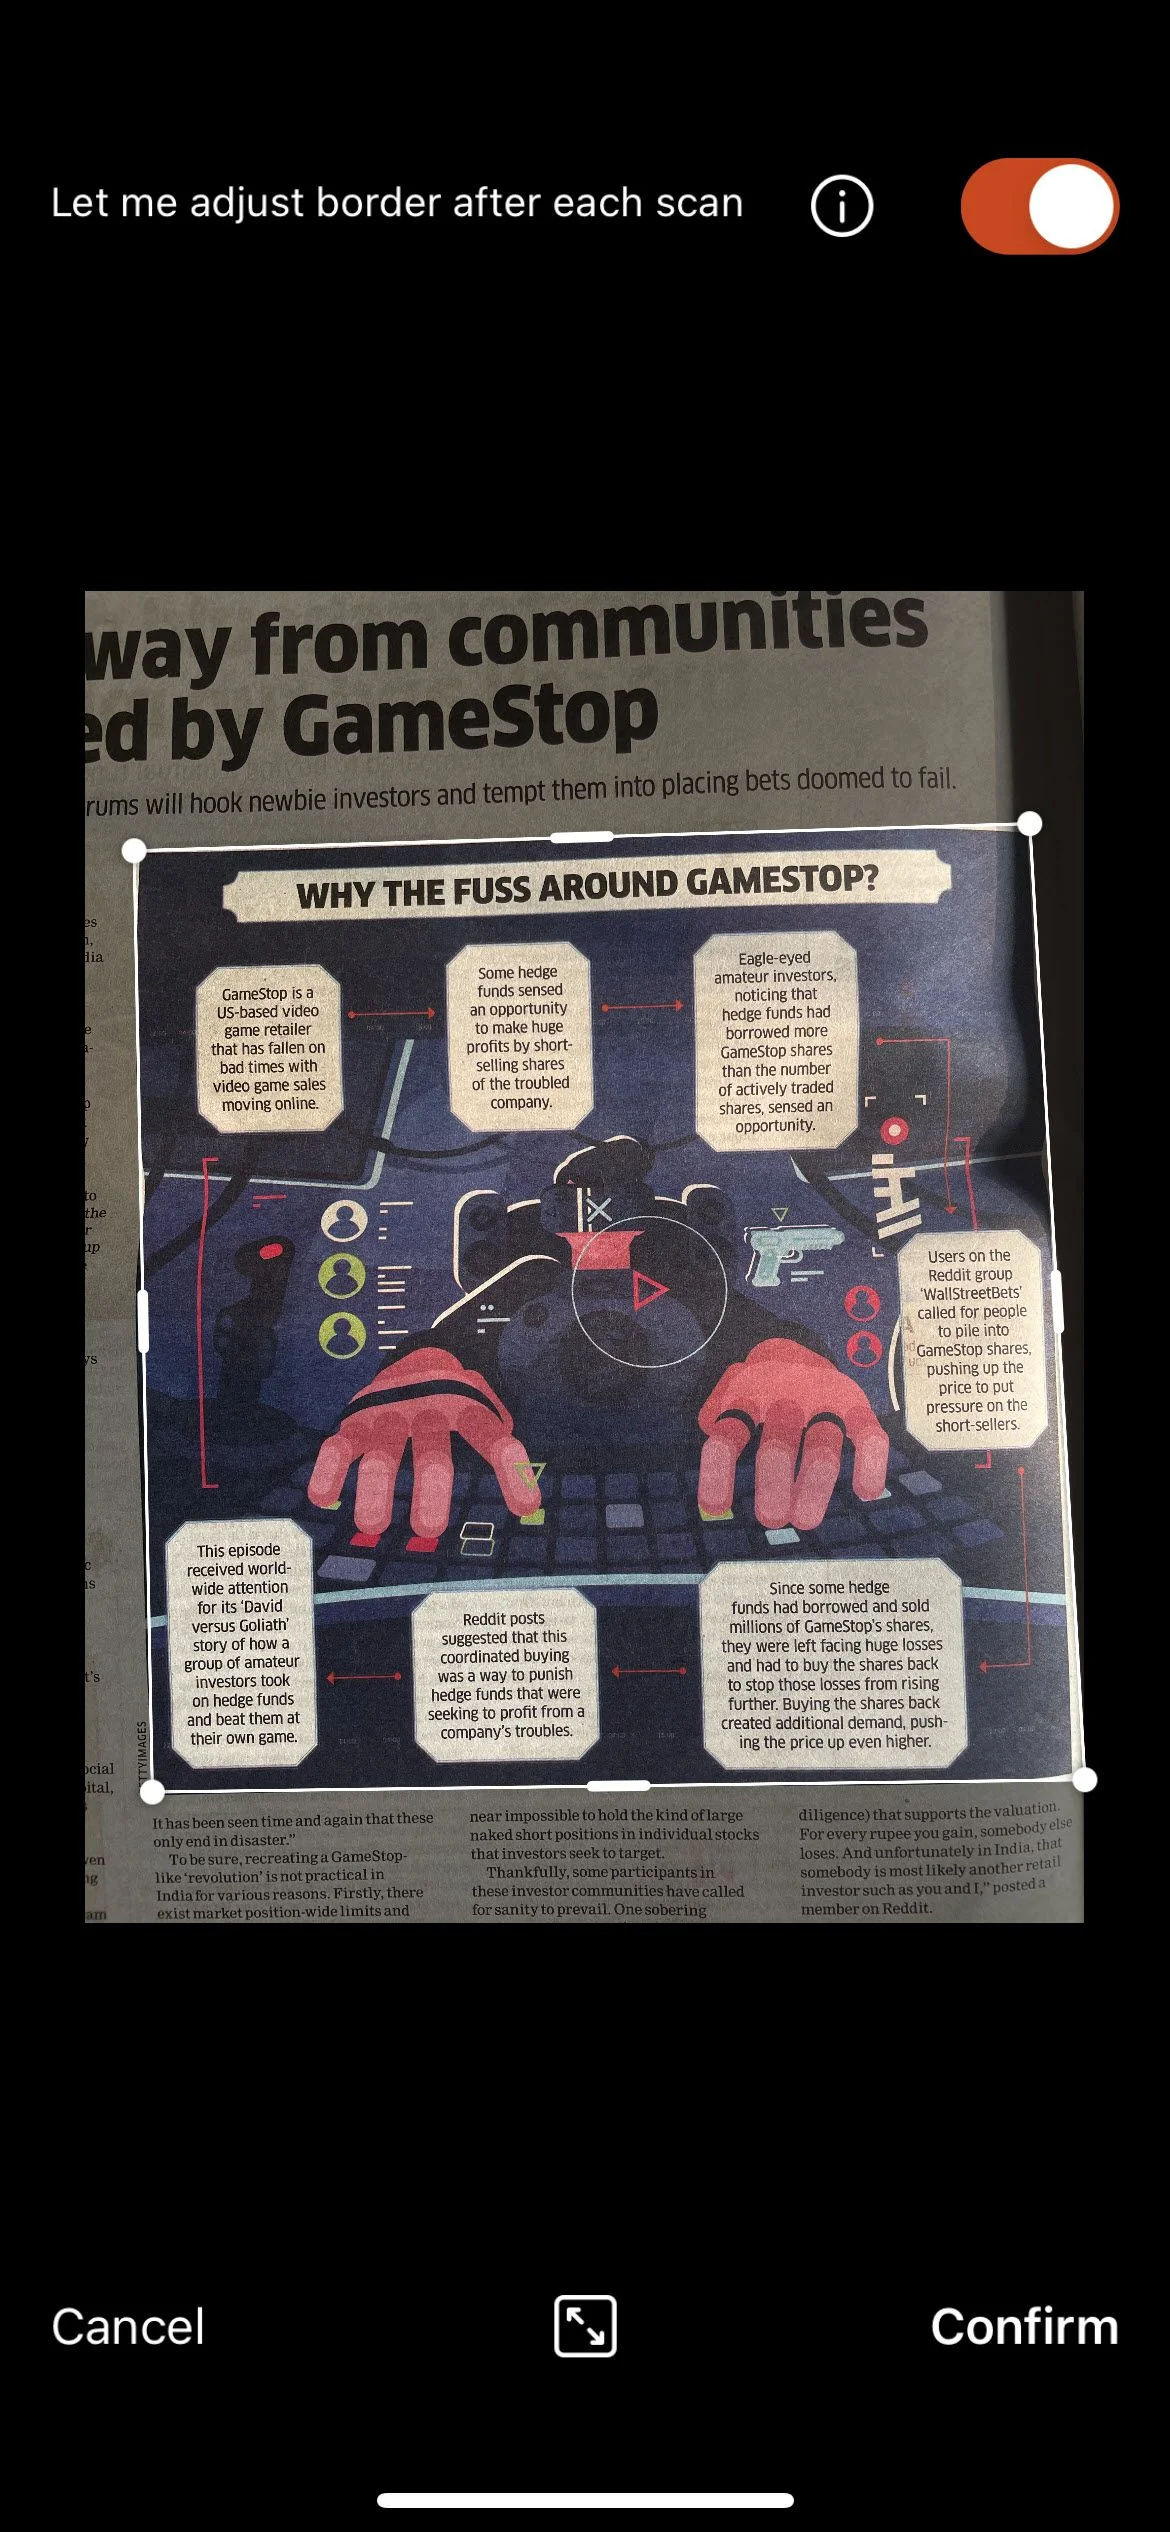
- Capture: Adjust the position to fit the orange bounding box around the document and tap the round Camera button.
“Point the camera at the subject. Adjust the position so that the orange bounding box frames the document perfectly.”
- Post-Capture Edits: After capturing, you can add new images, apply filters, and even annotate before saving.
“Finetune the capture. You can Add a new image to your scan, apply a Filter to the image, Crop, Rotate, or Delete the image.”
- Export Options: Save to the Photo Library, export as a PDF, or even send the scan to a Microsoft Office app.

Bonus: Quick QR Code Scans
Scanning QR codes is a snap. Open the iOS Camera app, point it at the QR code, and tap the notification that appears to access the linked page.
“Open the iOS Camera app from the Home screen, Control Center, or directly the Lock screen.”
Maximizing Your iPhone’s Scanning Potential
Your iPhone is more than capable of managing everyday scanning tasks. For large volumes, a dedicated device might be preferable. However, for most users, the built-in options suffice. Keep your scans organized by exporting them to cloud storage or integrating them into richer documents with macOS features like Continuity Camera.
“Think of tricks to boost your document organization skills with the scanner. For instance, don’t keep the scans on the phone. Export them to an archiving space on the cloud or on your computer or use the Continuity Camera feature to make richer documents with macOS.”
Your iPhone is truly your all-in-one document assistant. With these tips, you’ll be scanning like a pro in no time.

