The Convenience of Network-Attached Storage (NAS)
Network-Attached Storage (NAS) has become a game-changer in the realm of data accessibility. The beauty of NAS is its compatibility with almost any device, including smartphones and tablets. Once you have completed the setup, accessing your files on Android or iPhone becomes a breeze. This guide will walk you through the steps, making the process simple and efficient.
Setting Up Your NAS Device: The First Step
Preparing Your NAS for Connection
The initial setup of a new NAS drive is generally straightforward, although it may vary based on your router type. The process typically involves the following steps:
- Connecting the Storage Device: Connect your storage device to your router via USB or Ethernet.
- Router Configuration: Access your router’s configuration portal in a web browser. The necessary address and login credentials are often found on a sticker on the router.
- Storage Configuration: Look for the attached storage or network storage option in the portal and follow the setup process to get your drive connected.
- Troubleshooting: If you encounter issues, refer to your router’s user manual or reach out to the manufacturer for support.
Important Note: Before connecting a storage drive to your router, ensure it is formatted. For drives that have been used with other devices, they should be ready. For new drives, format them using a computer, opting for FAT32 or ExFAT formats to ensure compatibility with Android, iOS, Windows, Mac, and Linux.
Accessing NAS on Android Devices
Locating Your NAS on Android
Once your NAS is set up, the next step is to direct your Android device to its location. Begin by selecting a file manager that supports network storage. Some Android phones come with a built-in file manager, or you can download one from the Play Store, such as FX File Explorer.
Step-by-Step Instructions:
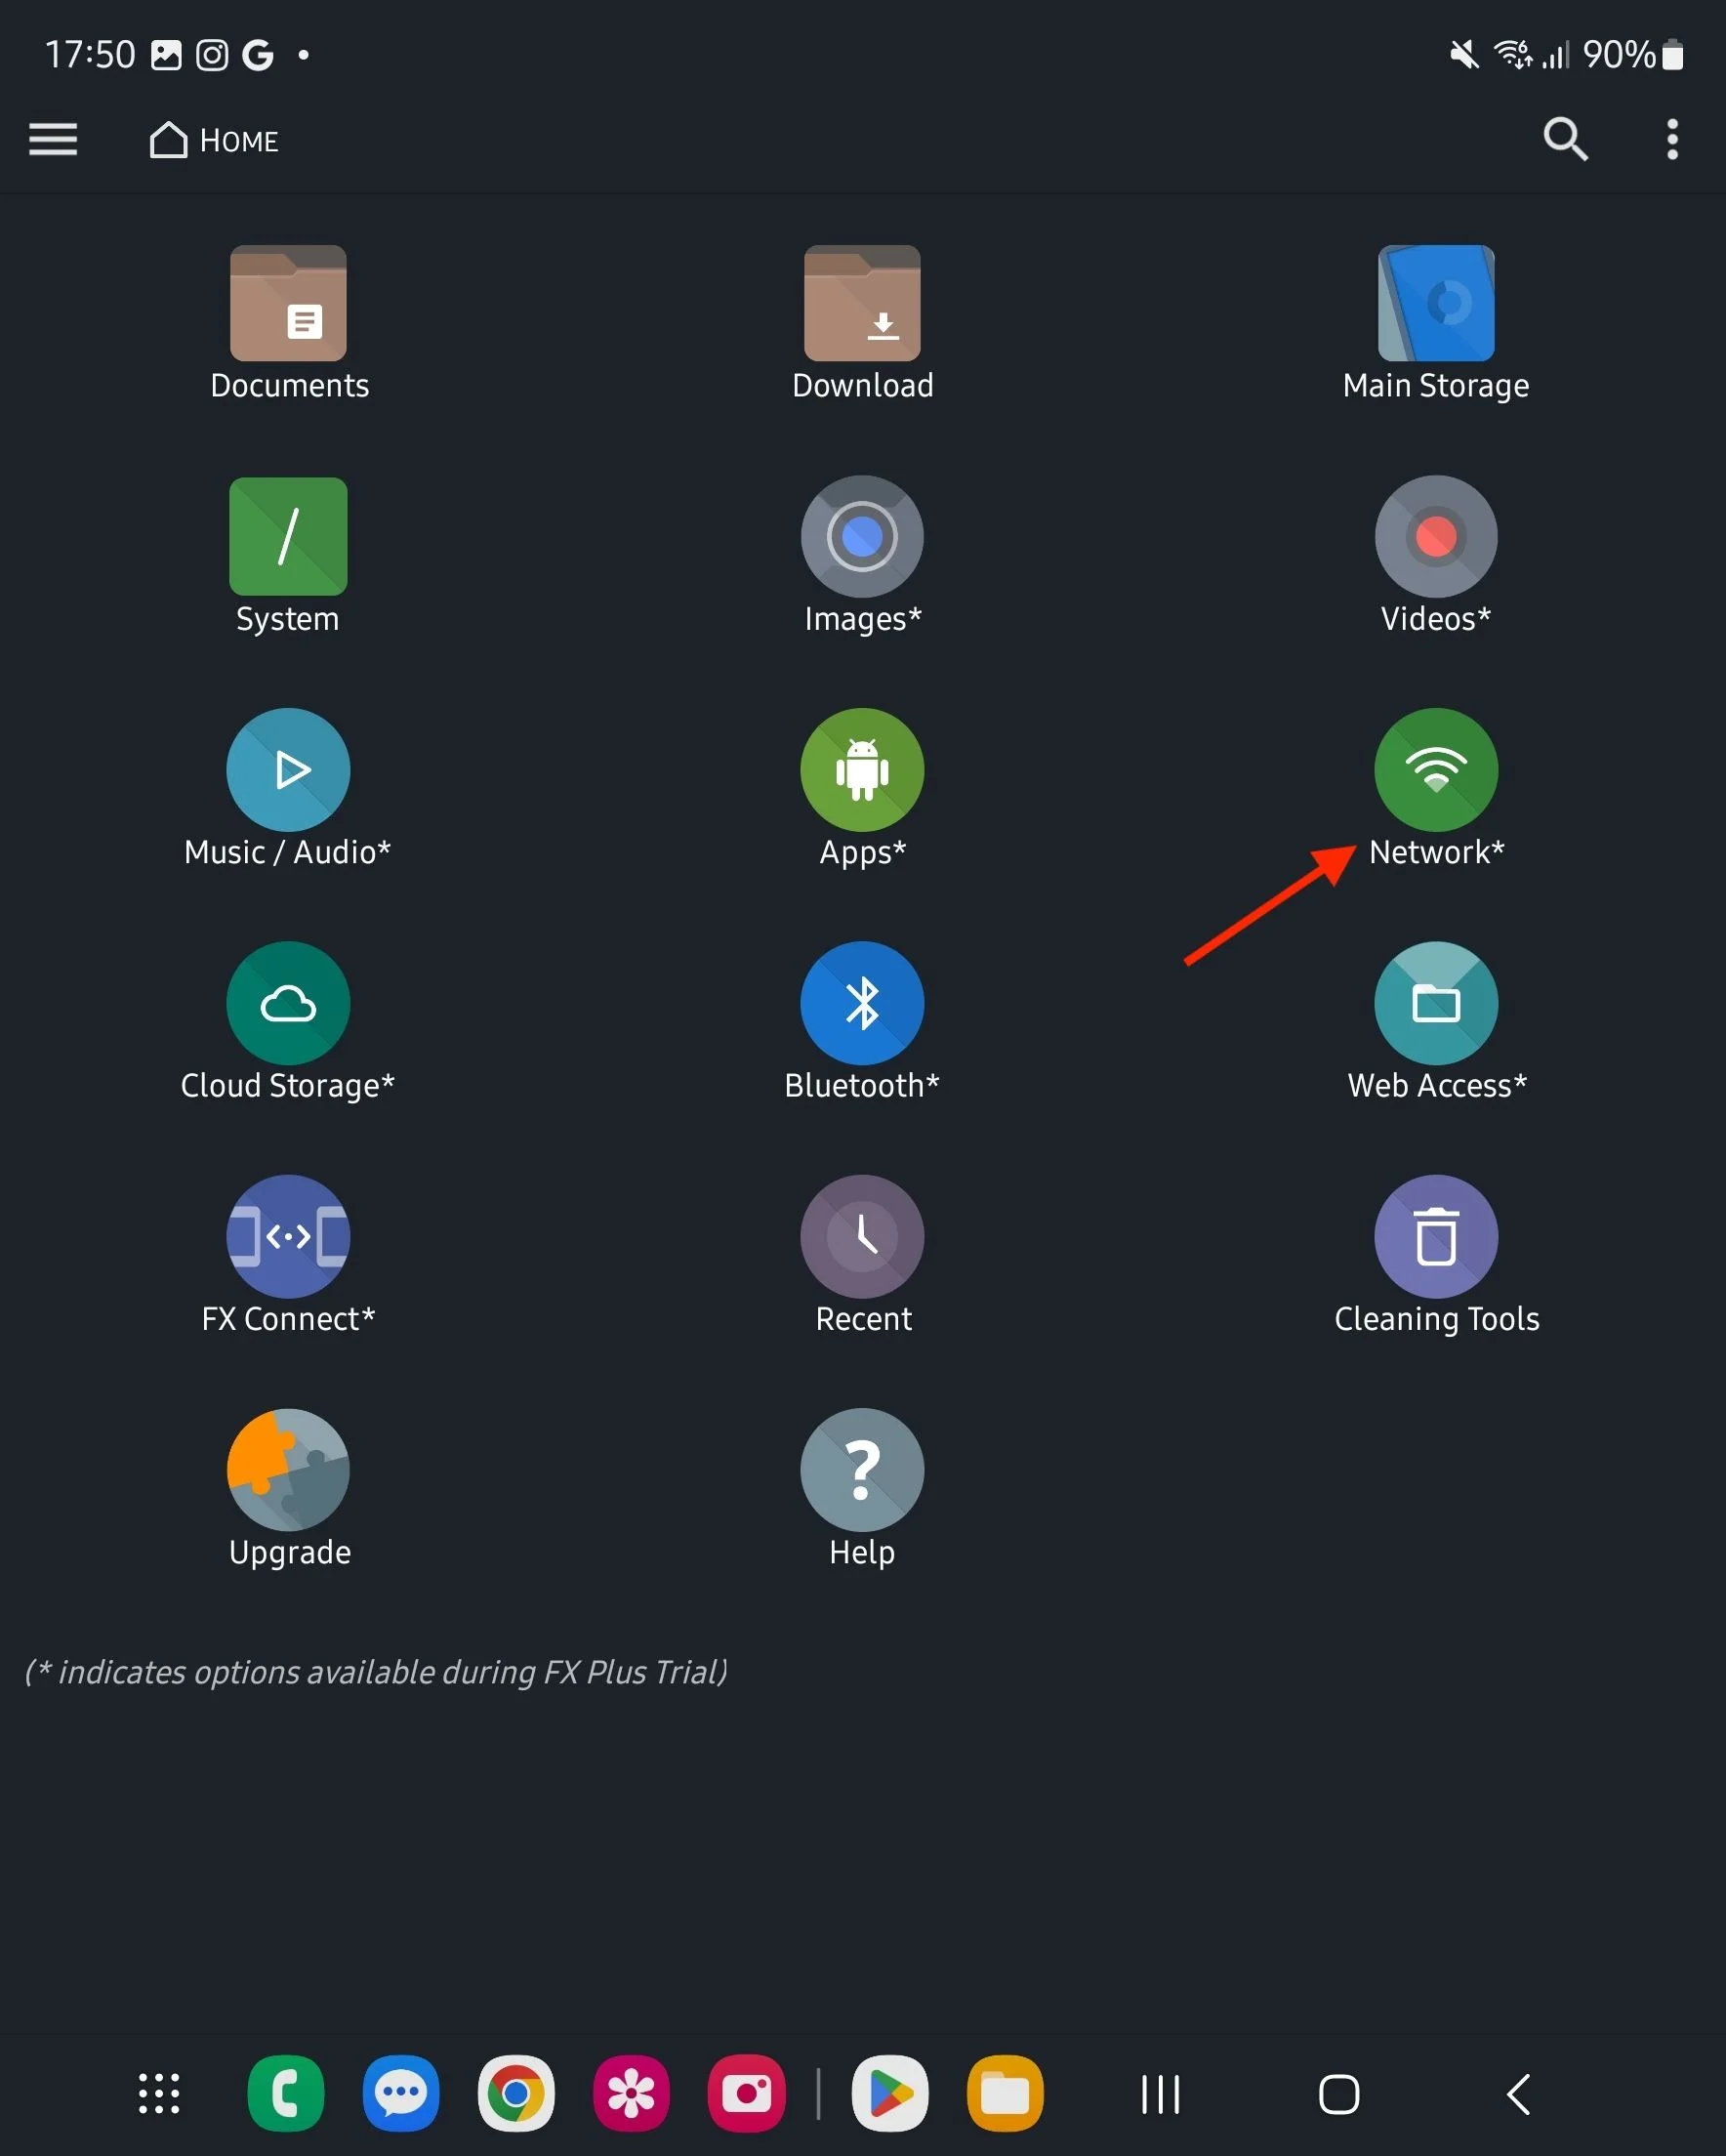
- Open your file manager app.
- Tap the Network or Network storage option, and choose the NAS protocol your router uses.
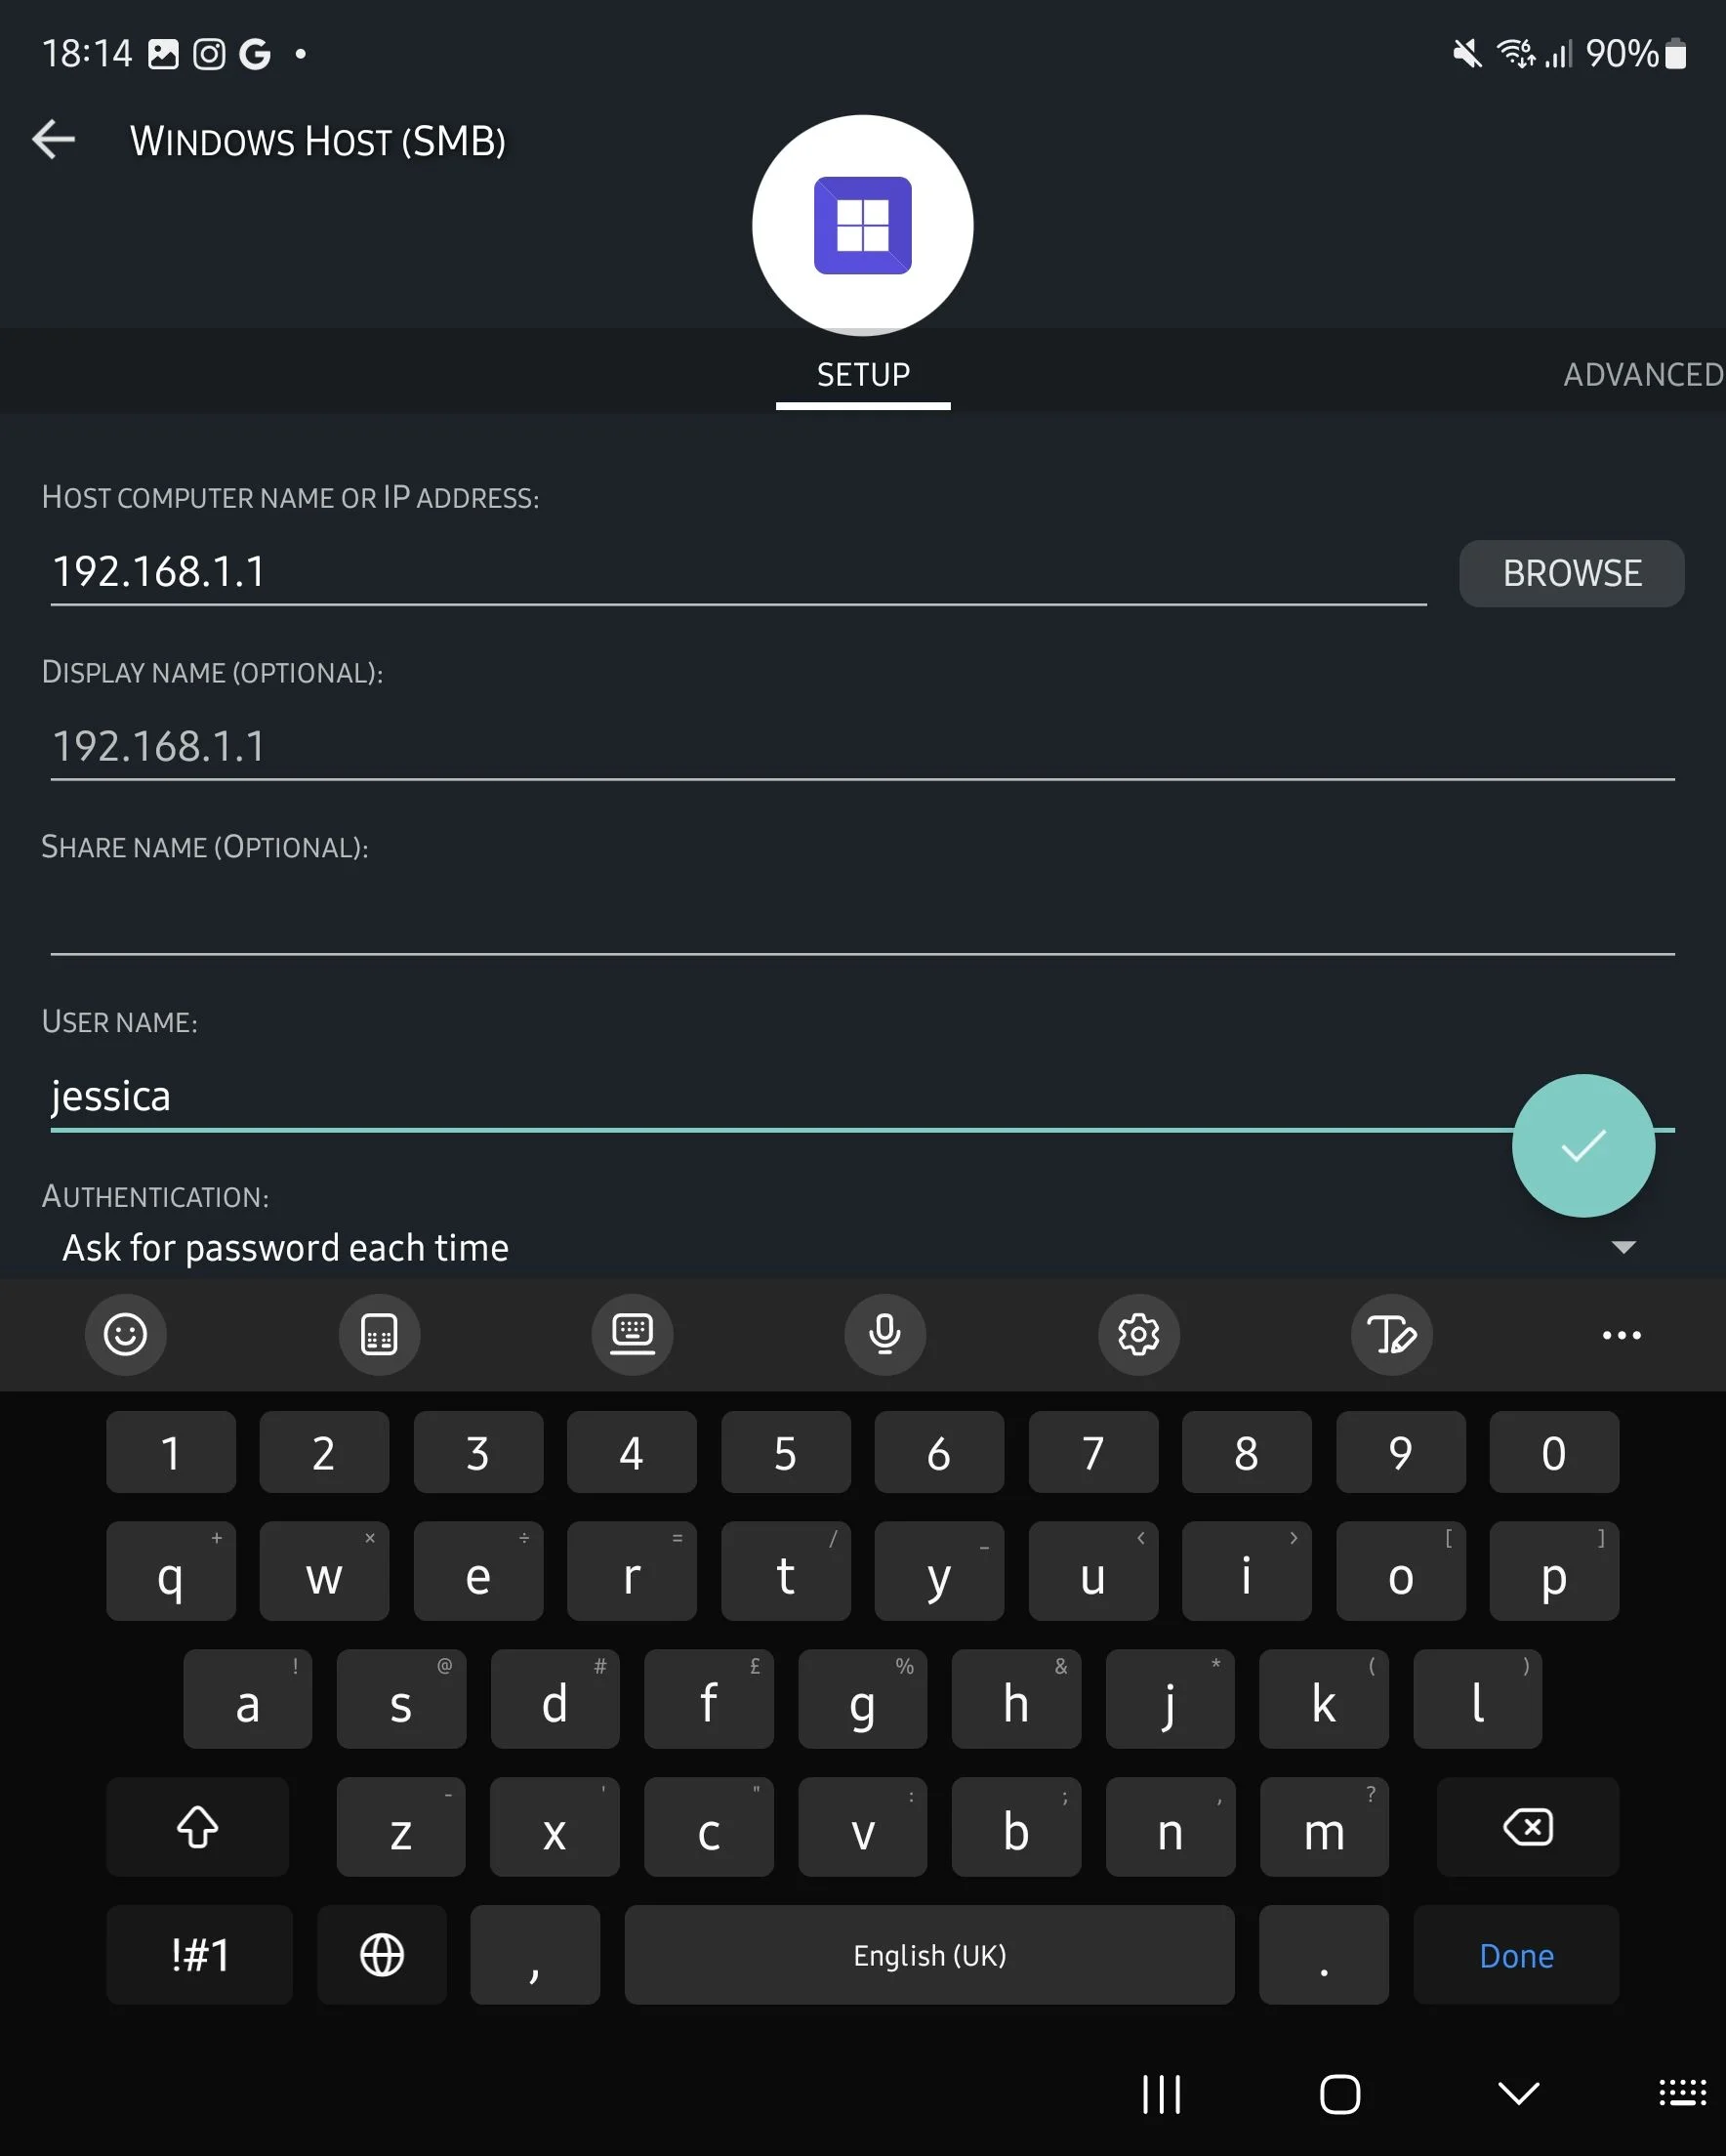
- Enter the storage drive’s location, found in your router’s configuration portal, typically starting with
ftp://orsmb://, followed by an IP address. - Input your username and password if required, then tap ‘Done’ or ‘Connect’.
Once connected, you can freely access your NAS and its files from your Android device. Remember, network drives may need reconnection after a device restart.
NAS Integration with iPhones
Seamless Connectivity with iOS
The Files app in iOS makes connecting to NAS drives straightforward. Here’s how to get started:
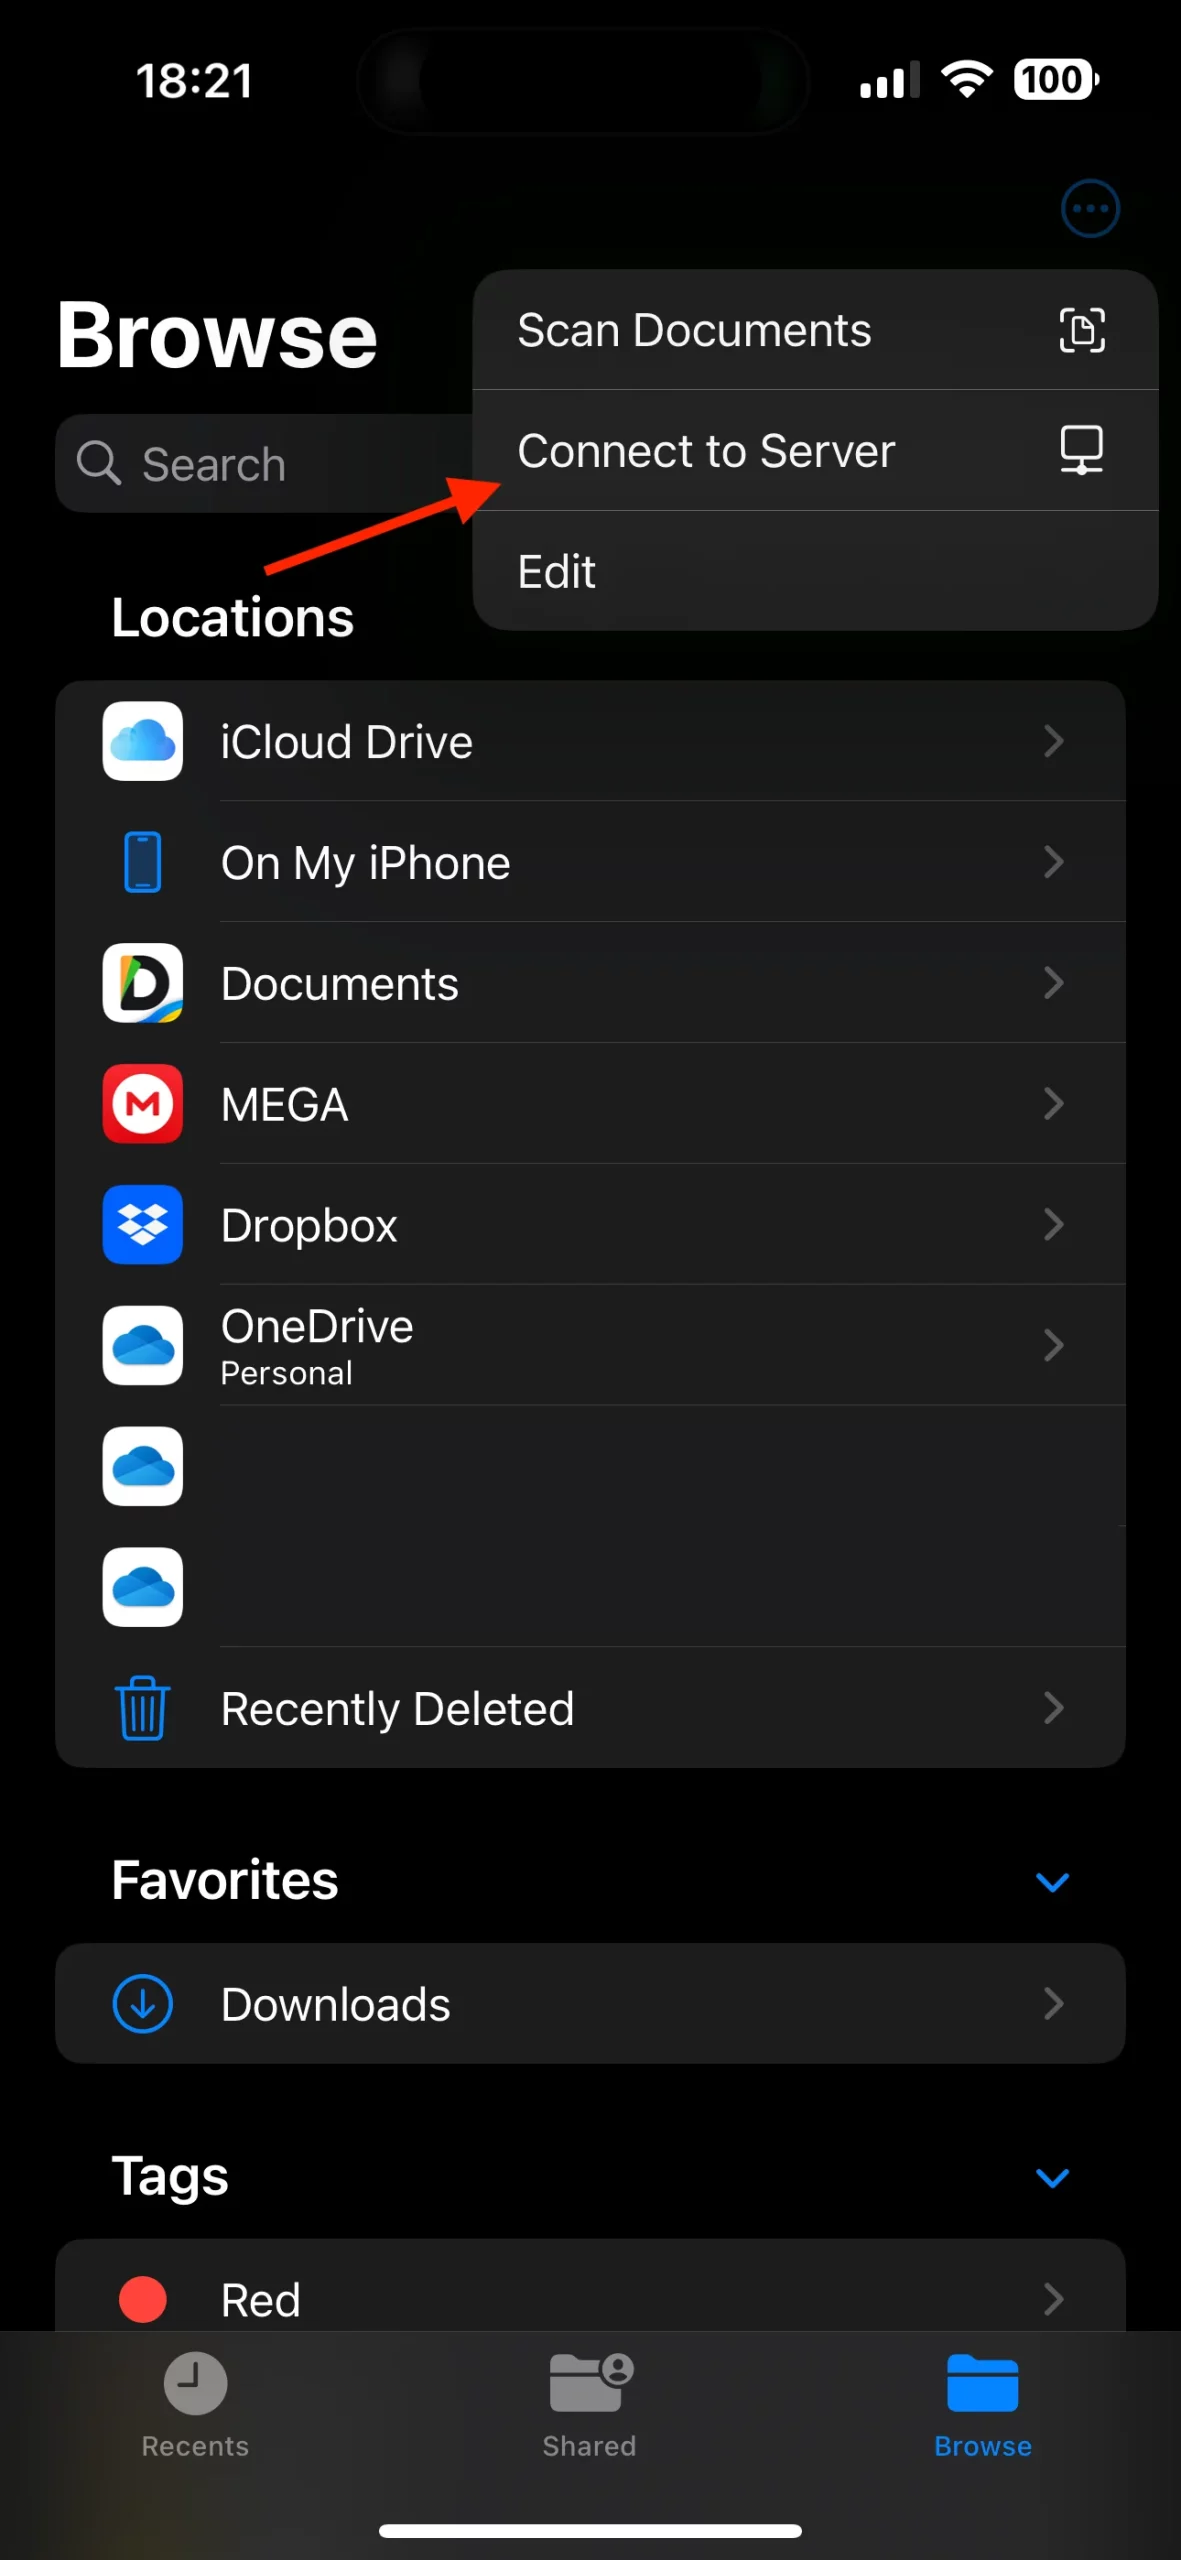
- Open the Files app and select the Browse tab.
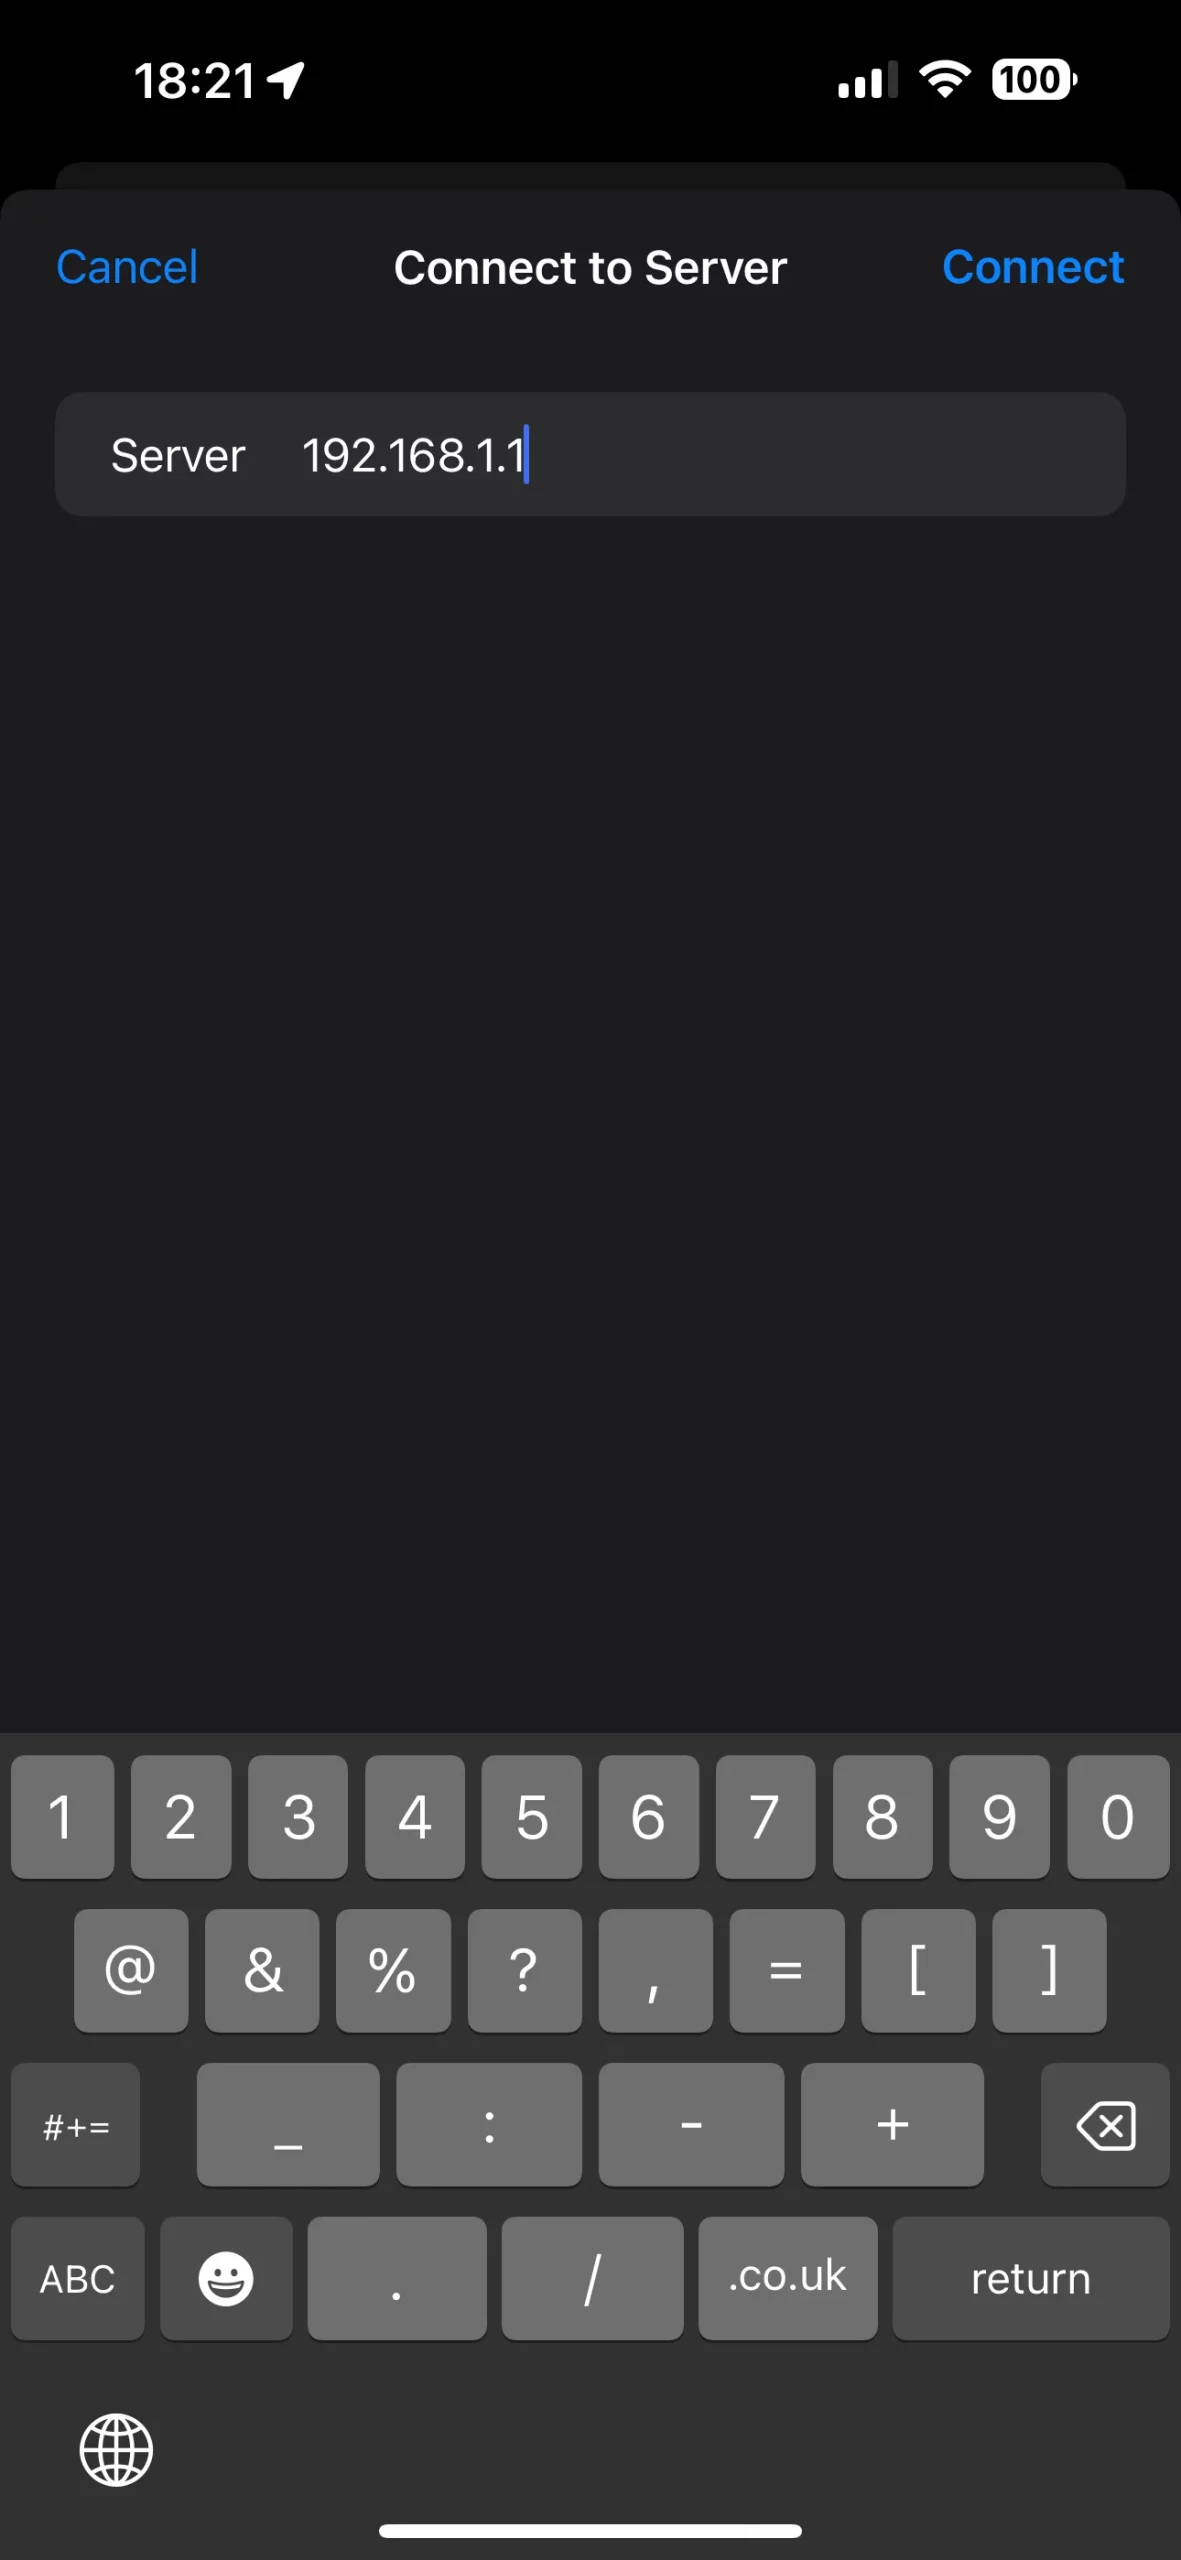
- Tap the three dots in the top-right corner, then select ‘Connect to Server’.
- Enter your NAS’s IP address and tap ‘Connect’.
- Provide your username and password if needed, then hit ‘Next’.
Your NAS drive will now be accessible within the Files app, as well as other apps that use Files for storage, like Pages and Keynote.
Leveraging NAS on Your Mobile Devices
Beyond the Setup: NAS in Everyday Use
The most challenging aspect of NAS is the initial setup. After that, it functions similarly to cloud storage services, offering access to your files across various devices. NAS is especially beneficial for those cautious about cloud storage and for transferring large files. With some additional setup, you can even access your NAS remotely from anywhere in the world.
NAS integration into your digital lifestyle on Android and iPhone enhances not just your accessibility to files but also ensures your data remains within your control. Following these straightforward steps will have you enjoying the benefits of NAS on your mobile devices in no time.

