
Smartphone photography has revolutionized the way we capture the world around us. With advancements in camera technology, AI-powered enhancements, and creative editing tools, your smartphone can now compete with professional cameras in many scenarios. Whether you’re a casual photographer or an aspiring pro, learning effective photography techniques can take your smartphone photography to the next level.
This article will explore 90+ smartphone photography techniques, divided into specific groups based on their functionality and purpose. These groups include basic photography skills, composition techniques, lighting strategies, portrait photography, landscape photography, creative photography, editing techniques, and advanced smartphone photography tricks.
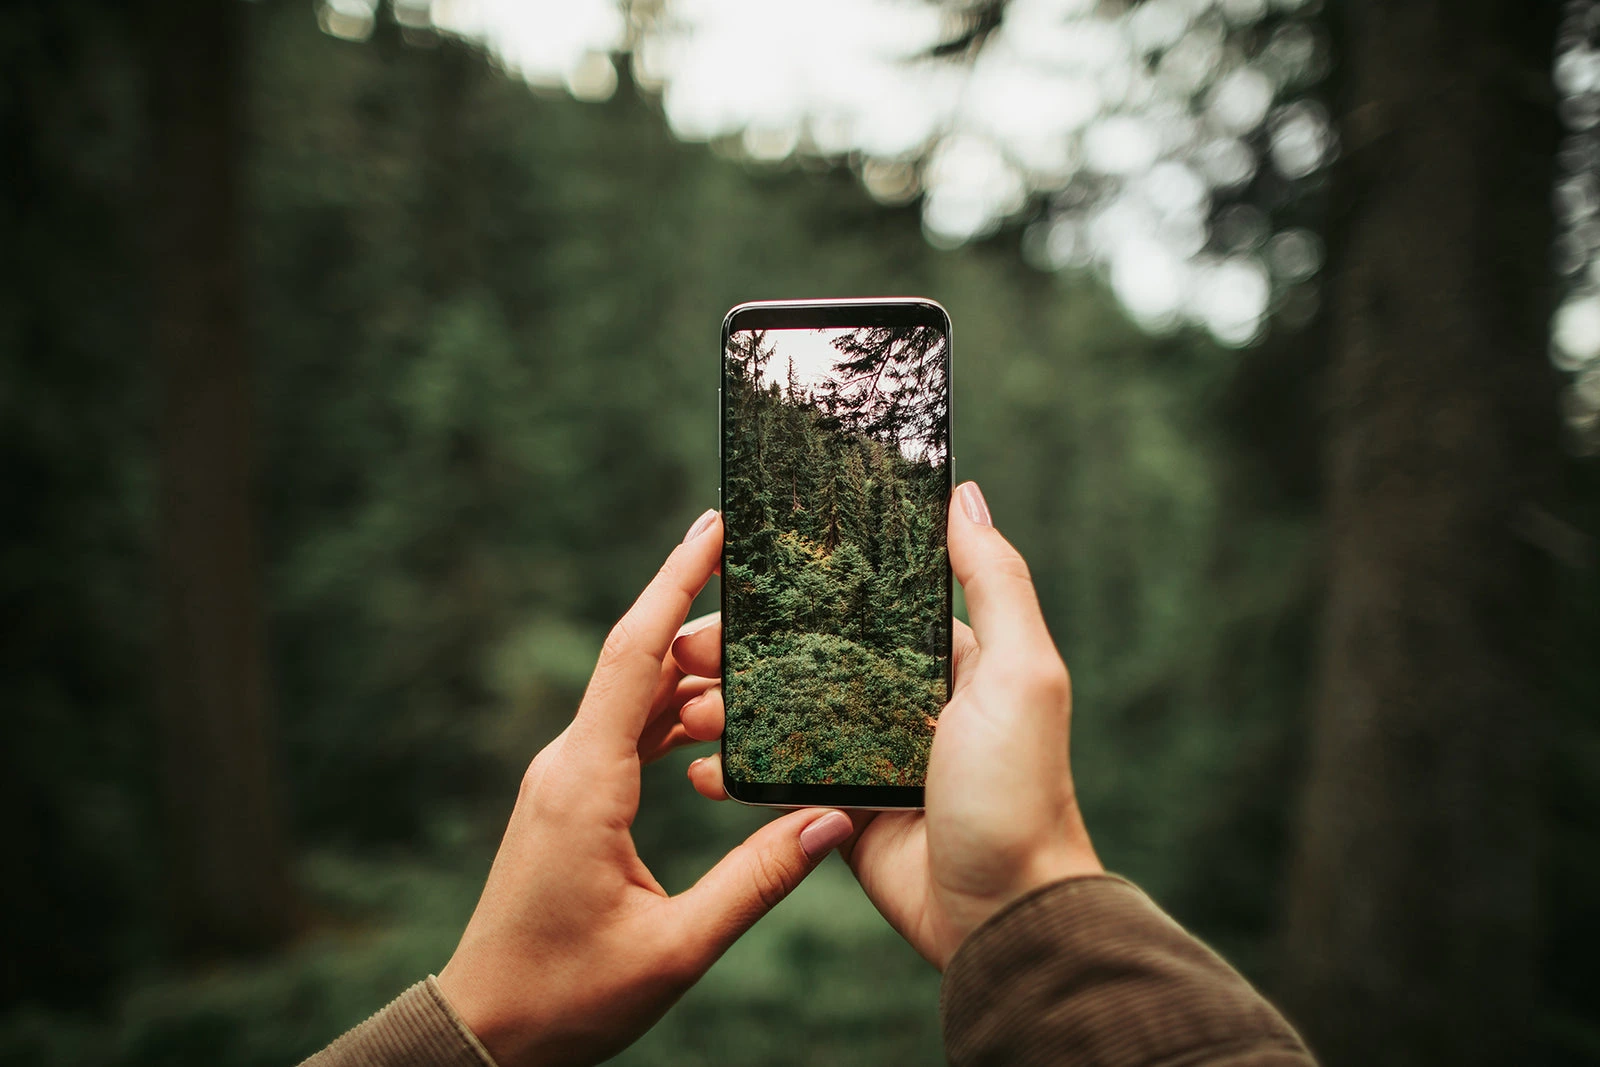
Essential Smartphone Photography Techniques for Beginners
Before diving into advanced techniques, it’s crucial to master the basics. These foundational techniques will improve photo quality, enhance focus, and ensure you get the best shots every time. Whether you’re taking pictures for social media or personal memories, these skills will help you maximize your smartphone camera’s potential.
-
Clean Your Camera Lens Regularly – Your phone’s camera lens can easily get smudged with fingerprints and dust, leading to blurry or hazy photos. Before taking a shot, wipe the lens with a microfiber cloth for a clearer image.
-
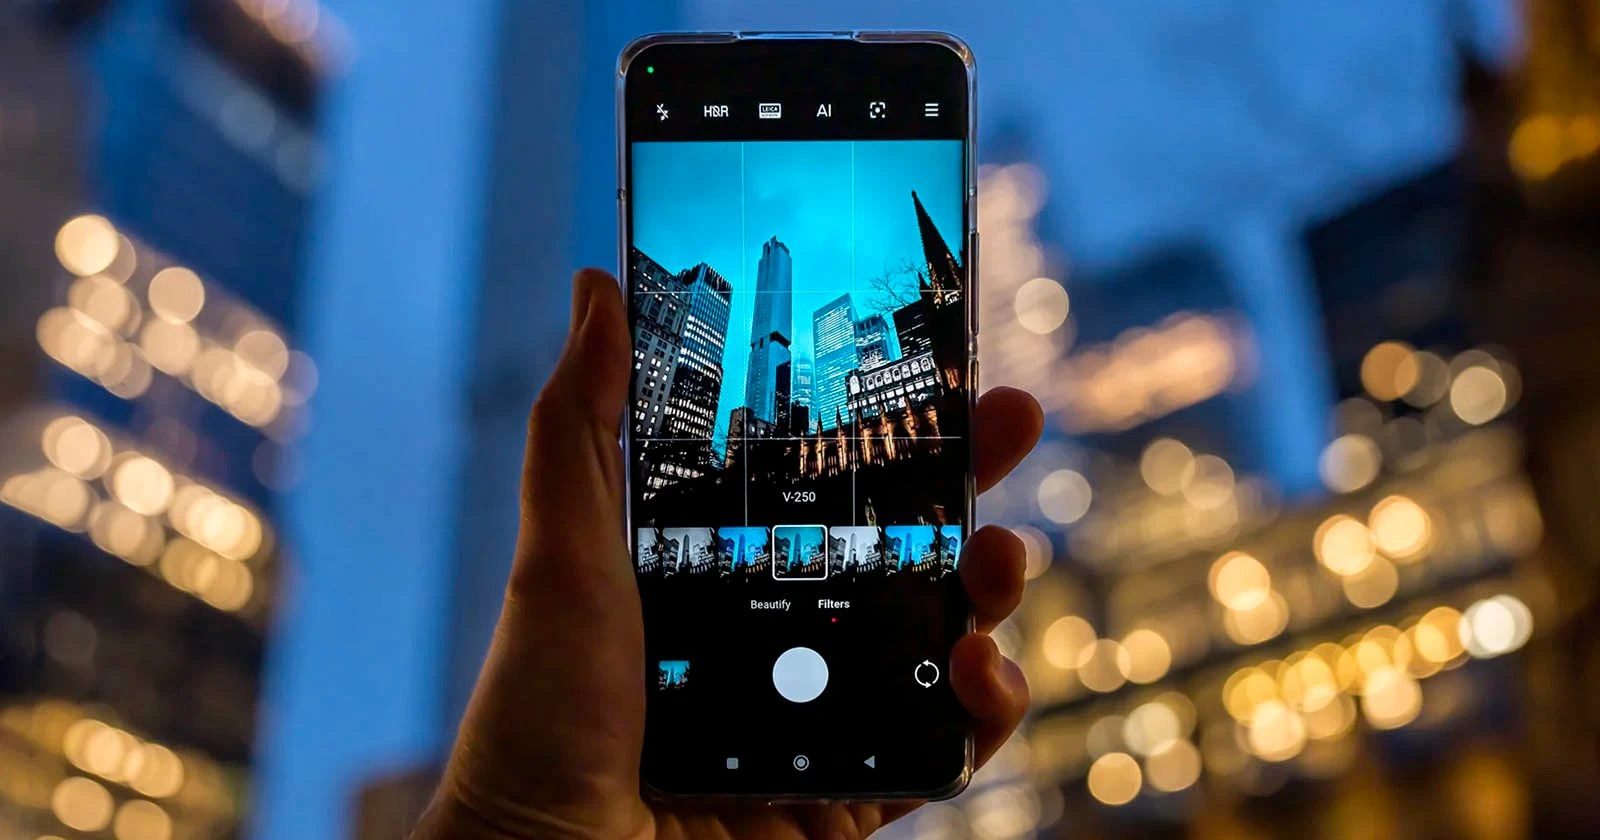
Use the Rule of Thirds – Enable the grid lines in your camera settings and position your subject along the intersecting points to create a balanced, visually appealing photo.
-
Tap to Focus for Sharp Images – Smartphones use auto-focus, but tapping on your subject ensures the sharpest focus where you want it. This is especially useful for close-up shots and portraits.
-
Adjust Exposure Manually – Most smartphone cameras allow you to adjust brightness by dragging your finger up or down on the screen. Use this feature to prevent overexposure in bright settings or underexposure in dark scenes.
-
Avoid Using Digital Zoom – Digital zoom reduces image quality and creates pixelated photos. Instead, move closer to your subject or use optical zoom if available.
-
Use HDR Mode for Balanced Lighting – HDR (High Dynamic Range) enhances shadows and highlights, making images more detailed. Use it in high-contrast scenes, such as sunsets or landscapes.
-
Shoot in Natural Light Whenever Possible – Artificial light can cause harsh shadows and unnatural colors. Try to capture images in natural daylight for the best results.
-
Use Burst Mode for Action Shots – When photographing moving subjects, press and hold the shutter button to take multiple photos quickly. This helps you choose the sharpest image later.
-
Experiment with Different Angles – Avoid taking photos from eye level only. Try low angles, high angles, or side perspectives to make your shots more dynamic and unique.
-
Keep Your Hands Steady or Use a Tripod – Shaky hands can result in blurry photos. Use a smartphone tripod or rest your hands against a stable surface for better stability.
Explanation: These beginner-friendly techniques lay the foundation for clear, sharp, and well-composed images. By mastering these simple adjustments, you can significantly improve the quality of your smartphone photos.

Composition Techniques for Stunning Photos
Composition is one of the most fundamental aspects of photography. It’s not just about what you capture—it’s about how you arrange the elements in your frame to create an impactful, visually appealing photo. A well-composed image guides the viewer’s eye and enhances the overall storytelling of the scene. Even with an average camera, strong composition techniques can make your photos stand out.
Smartphone photography, in particular, benefits greatly from intentional composition. Unlike DSLRs, where photographers can control various settings manually, smartphone cameras rely more on composition, lighting, and perspective to create professional-looking images. By applying these techniques, you can turn an ordinary scene into an extraordinary photograph. Whether you’re capturing landscapes, portraits, street photography, or everyday moments, these composition rules will help elevate your smartphone photography skills.
-
Use Leading Lines – Roads, pathways, fences, and even staircases naturally guide the viewer’s eye into the image. Using leading lines in your composition creates a sense of depth and movement, making your photos more engaging.
-
Frame Your Subject – Look for natural frames within your environment, such as arches, windows, tree branches, or doorways. Framing helps direct attention to the subject while adding an artistic touch.
-
Incorporate Symmetry for Balance – Symmetrical compositions often create a sense of order and harmony. Buildings, reflections in water, and geometric patterns make for pleasing, perfectly balanced images.
-
Use Negative Space to Highlight Your Subject – Sometimes, less is more. By leaving empty space around your subject, you allow the viewer to focus solely on the main subject, creating a minimalist and striking photo.
-
Experiment with Perspective and Depth – Adding elements in the foreground, middle ground, and background creates depth, making your photo feel more three-dimensional. Try capturing a scene from a low angle or an unusual viewpoint for a unique effect.
-
Try the Golden Ratio – The golden spiral or golden rectangle is an advanced composition technique used in art and photography. Unlike the rule of thirds, this technique follows a naturally occurring mathematical pattern found in nature, guiding the eye smoothly across the image.
-
Use the Diagonal Method – Positioning elements along diagonal lines makes a photo feel more dynamic and energetic. This technique works great for action shots, cityscapes, and architectural photography.
-
Focus on Patterns and Repetition – Our eyes are naturally drawn to repeating patterns like tiled floors, lines of trees, or rows of buildings. Breaking the pattern with a subject (e.g., a person standing among identical columns) adds visual interest and contrast.
-
Capture Reflections for Unique Effects – Water puddles, glass buildings, mirrors, and even shiny surfaces like metal can be used to create stunning reflection shots that add a surreal and artistic touch to your photos.
-
Balance Colors and Contrast – Using complementary colors (e.g., blue and orange) or increasing contrast (e.g., dark shadows with bright highlights) makes your photos more striking and visually compelling.
Explanation: Composition is what separates a snapshot from a professional-looking image. By intentionally positioning your subject, adjusting angles, and following these techniques, you can make your smartphone photos look well-structured and artistic. Mastering composition helps you tell better visual stories and ensures your photos capture the viewer’s attention instantly.

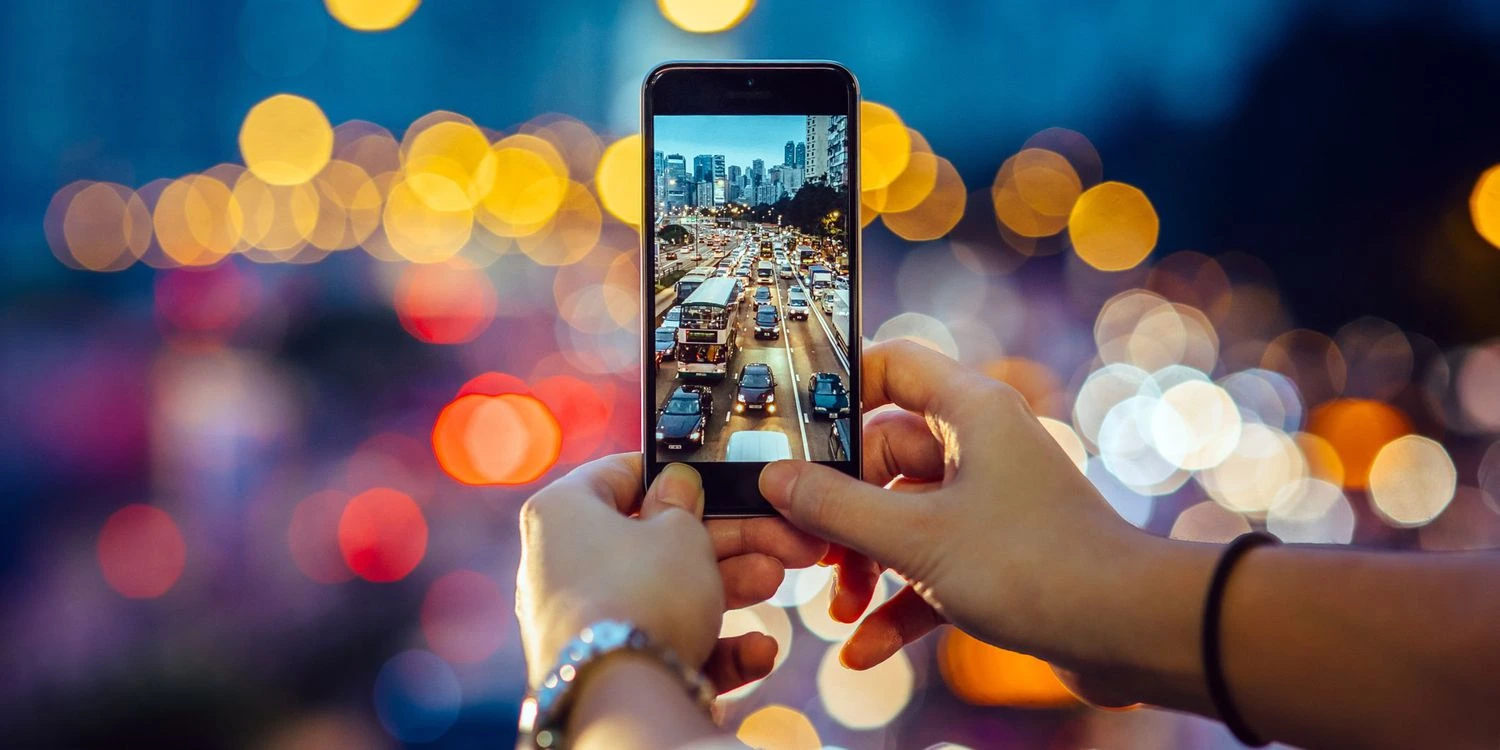
Lighting Techniques for Perfect Photos
Lighting is the most powerful tool in photography. It affects mood, clarity, shadows, and colors, ultimately determining whether your photo looks professional or poorly lit. Unlike DSLRs, which have larger sensors that capture more light, smartphone cameras rely heavily on proper lighting to achieve sharp, well-exposed images.
Understanding how to use and manipulate light can transform ordinary photos into breathtaking works of art. Whether you’re taking portraits, landscapes, or night photography, these lighting techniques will help you enhance details, improve brightness, and add a creative touch to your smartphone photography.
-
Use Soft Light for Flattering Portraits – Direct sunlight can create harsh shadows and unflattering highlights on faces. For better results, use soft light sources, like shade, diffused window light, or overcast skies.
-
Golden Hour Magic – The best time for photography is during the golden hour, which occurs shortly after sunrise and before sunset. The light is warm, soft, and diffused, creating a beautiful glow that enhances portraits, landscapes, and architecture.
-
Avoid Harsh Midday Sun – Shooting under direct noon sunlight can result in overexposed areas and deep, dark shadows. If unavoidable, find shade, use a reflector, or adjust exposure manually.
-
Experiment with Backlighting – Placing the light source behind your subject can create stunning silhouettes or glowing rim lights around the edges. This technique adds drama and a storytelling element to your photos.
-
Use Artificial Light Creatively – Streetlights, neon signs, fairy lights, and LED strips can be used to create atmospheric and visually interesting photos, especially in low-light conditions.
-
Capture Shadows for Artistic Impact – Strong shadows add depth, contrast, and mood to your images. Play with different light angles to see how shadows interact with your subject.
-
Use a Reflector or White Paper for Fill Light – If one side of your subject is too dark, bounce light back onto it using a white surface, a reflector, or even a phone flashlight.
-
Adjust White Balance for Accurate Colors – If your photo looks too blue (cool tones) or too yellow (warm tones), adjust the white balance setting to restore natural color accuracy.
-
Experiment with Long Exposure at Night – Use apps that allow long exposure settings to capture stunning light trails, moving water, or the night sky. A tripod is recommended to prevent motion blur.
-
Use Flash Wisely – Flash can sometimes overexpose subjects or create unnatural skin tones. Instead, try night mode or increase brightness manually for low-light photography.
Explanation: Light can make or break a photograph. Proper lighting techniques enhance details, colors, and depth, creating professional-quality smartphone photos. By understanding how light interacts with subjects, you can control exposure, add mood, and bring out the best in every shot.
Portrait Photography Techniques for Stunning Smartphone Shots
Portrait photography is one of the most popular forms of photography, and smartphones are now equipped with portrait mode, AI enhancements, and manual adjustments to create professional-looking portraits. Whether you’re capturing a friend, a family member, or a self-portrait, these techniques will help you take sharp, well-lit, and artistic portrait shots using just your smartphone.
-
Use Portrait Mode for Blurred Backgrounds – Most modern smartphones offer portrait mode, which creates a shallow depth of field effect (bokeh) to keep your subject in focus while blurring the background.
-
Find the Best Lighting for Flattering Skin Tones – Soft, even lighting enhances skin texture and tone. Use window light, shade, or golden hour lighting for the best effect.
-
Shoot from Eye Level for a Natural Look – Holding the camera at eye level or slightly above ensures the most flattering angles for your subject.
-
Use a Reflector or White Paper to Reduce Shadows – If your subject has harsh shadows, use a reflector or a white surface to bounce light back onto their face.
-
Guide Your Subject for a Natural Pose – Encourage relaxed and natural expressions rather than stiff, forced poses. Having your subject slightly turn their body creates a more dynamic portrait.
-
Use Leading Lines to Draw Attention to the Face – Background elements like railings, pathways, or architectural features can direct focus toward the subject.
-
Frame the Face Using Objects in the Environment – Position your subject inside a window, doorway, or under tree branches to add an artistic framing effect.
-
Experiment with Black and White for Dramatic Portraits – Converting an image to black and white emphasizes facial expressions, texture, and contrast.
-
Blur the Foreground for a Cinematic Look – Position objects close to the camera to create a soft foreground blur, adding depth and dimension.
-
Use a Telephoto or 2x Zoom for Better Proportions – Shooting with a slight zoom (instead of using the default wide-angle lens) reduces distortion, making facial features look more natural.
Explanation: Portrait photography is all about lighting, posing, and background control. By mastering these techniques, you can create professional-quality portrait shots with your smartphone.
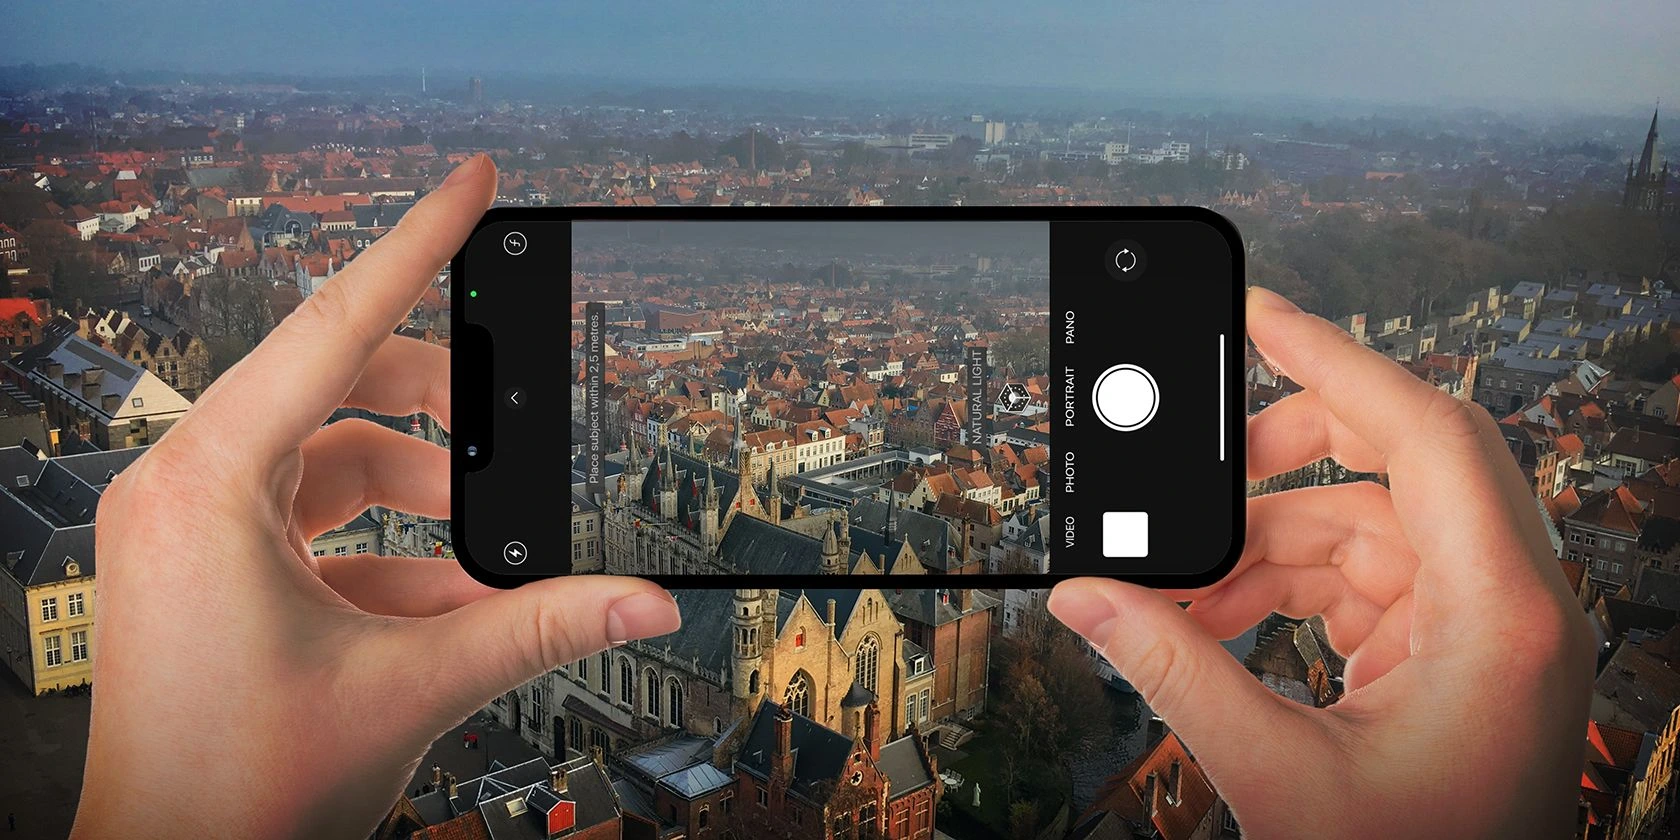
Landscape Photography Techniques for Capturing Breathtaking Scenes
Landscape photography requires a different approach than portraits. It’s about capturing the grandeur of nature, vast cityscapes, or scenic environments. Smartphones may not have interchangeable lenses, but they can still produce breathtaking landscape images with the right techniques.
-
Use the Rule of Thirds for Balanced Landscapes – Place key elements like horizons, trees, or mountains along the grid lines to create a visually balanced image.
-
Shoot During Golden Hour for Stunning Colors – Early morning and late afternoon provide warmer, softer lighting, perfect for landscapes.
-
Use HDR Mode to Capture Details in Shadows and Highlights – HDR (High Dynamic Range) mode enhances details in bright skies and dark foregrounds, creating well-balanced images.
-
Include a Foreground Element to Add Depth – Adding objects like rocks, flowers, or people in the foreground creates a sense of scale and depth.
-
Experiment with Panorama Mode for Wide Scenes – If the scene is too large to fit in a single frame, use panorama mode for a seamless wide-angle shot.
-
Use Reflections for Symmetry and Beauty – Lakes, rivers, and puddles create stunning reflections, making the photo more visually appealing.
-
Keep the Horizon Straight for a Professional Look – A tilted horizon can make the image feel unbalanced. Use grid lines or post-editing tools to correct alignment.
-
Adjust Exposure to Prevent Overexposed Skies – Tap on the brightest part of the scene to reduce exposure and retain details in the sky.
-
Capture Movement with Long Exposure Apps – Use apps like Slow Shutter Cam or ProCam to capture smooth waterfalls, cloud motion, or car light trails.
-
Use a Tripod for Sharp, Steady Shots – A smartphone tripod helps you take stable images, especially in low light or long exposure photography.
Explanation: Landscape photography requires patience, composition skills, and lighting awareness. These techniques will help you capture breathtaking nature and cityscape photos using just your phone.

Creative Smartphone Photography Tricks
Smartphone photography isn’t just about taking standard photos—it’s about being creative and thinking outside the box. These techniques will help you add a unique and artistic touch to your smartphone shots.
-
Shoot Through Objects for Unique Perspectives – Capture photos through glass, leaves, or fences for an interesting framing effect.
-
Use a CD or Prism for Light Reflections – Placing a CD or prism near the lens can create colorful light reflections in your image.
-
Play with Shadows for Dramatic Effects – Use shadows from fences, hands, or leaves to create unique patterns.
-
Capture Silhouettes with Backlighting – Position your subject in front of a bright light source (like a sunset) to create silhouette photography.
-
Create Double Exposure Effects with Apps – Apps like PicsArt allow you to blend two images for an artistic double exposure effect.
-
Use Water Droplets for Macro Shots – Placing a tiny water droplet on your smartphone lens can magnify tiny details, creating a DIY macro lens effect.
-
Experiment with Motion Blur for Dynamic Shots – Panning your phone while taking a shot can create intentionally blurred movement, making the subject look dynamic.
-
Try Color Splash Editing for Artistic Touch – Use editing apps to turn most of your image black and white while keeping one color vibrant.
-
Use Fairy Lights or Neon Lights for Aesthetic Shots – Night photography can be enhanced using small string lights or neon signs for a cinematic glow.
-
Turn Your Phone Upside Down for an Unusual Angle – Shooting with your phone upside down gives a fresh perspective and can enhance reflections.
Explanation: Creativity in smartphone photography is limitless. By trying new techniques, angles, and editing tricks, you can turn ordinary moments into extraordinary photos.
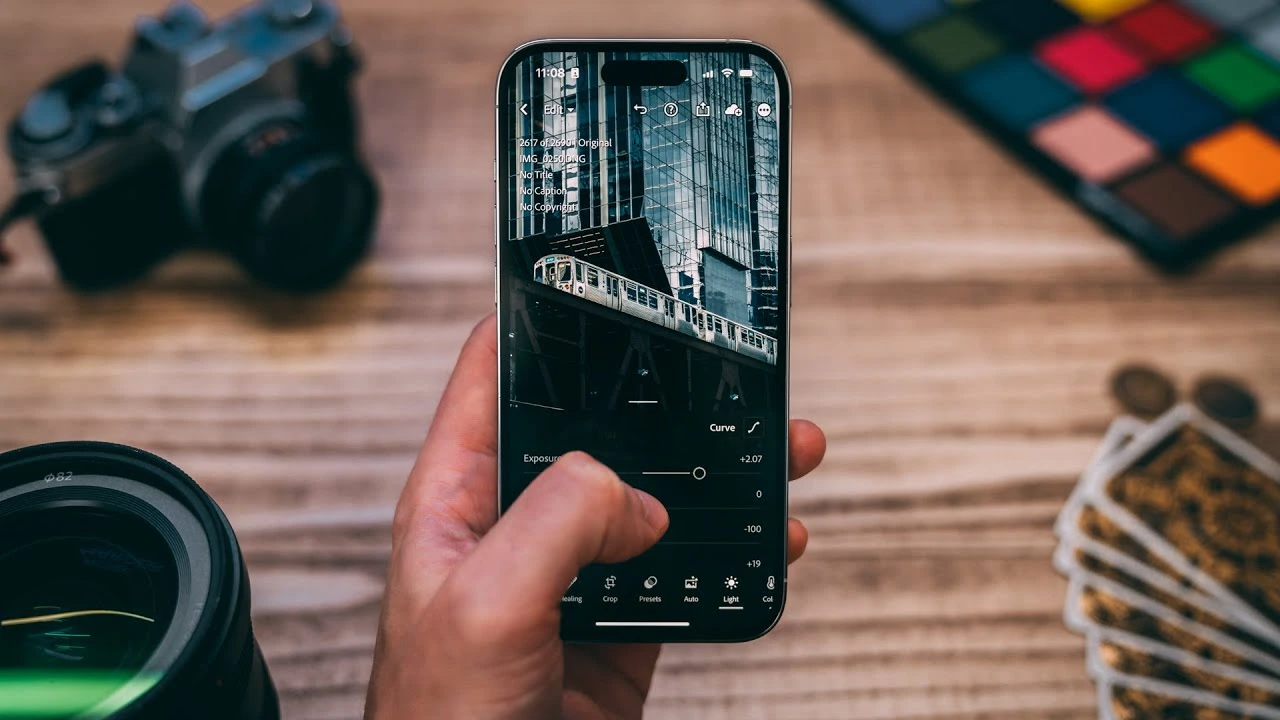
Smartphone Editing Techniques for Professional-Looking Photos
Taking a great photo is just the beginning. Editing enhances colors, contrast, sharpness, and composition, bringing your photos to life. Modern smartphone apps provide powerful editing tools that can rival professional desktop software. With the right techniques, you can turn an average photo into a masterpiece.
-
Use Lightroom Mobile for Advanced Editing – Adobe Lightroom Mobile offers powerful color grading, exposure adjustments, and RAW editing to fine-tune your images.
-
Adjust Exposure and Contrast for a Balanced Look – Brighten dark areas and enhance contrast to make details stand out without overexposing the image.
-
Use Selective Edits for Precise Adjustments – Apps like Snapseed allow you to edit specific parts of an image without affecting the entire photo.
-
Enhance Colors with HSL (Hue, Saturation, and Luminance) Tools – Adjusting individual colors makes skies bluer, greens richer, and skin tones more natural.
-
Remove Unwanted Objects with Healing Tools – Use tools like Snapseed’s Healing Brush or Photoshop Fix to erase distractions from your image.
-
Apply the Right Amount of Sharpness – Increase sharpness slightly to enhance details, but avoid over-sharpening, which can create unnatural edges.
-
Use Presets for a Consistent Style – Lightroom and VSCO offer presets that help maintain a consistent aesthetic across multiple photos.
-
Straighten and Crop for Better Composition – Adjust the horizon and framing to improve the overall balance of your image.
-
Reduce Noise for Cleaner Night Shots – Noise reduction tools help remove grainy textures in low-light photos.
-
Use Depth and Blur Effects for a Cinematic Look – Apps like Focos and AfterFocus allow you to simulate DSLR-style depth of field effects.
Explanation: Editing enhances the visual impact of a photo, correcting imperfections and bringing out the best details. With the right tools and adjustments, smartphone photos can rival those taken with professional cameras.

Night Photography Techniques for Clearer Low-Light Shots
Smartphones have improved in low-light photography, but taking sharp, noise-free night photos still requires special techniques. These tips will help you capture detailed, well-exposed night shots without excessive graininess or blur.
-
Use Night Mode for Better Low-Light Performance – Most modern smartphones feature Night Mode, which combines multiple exposures for a brighter, sharper night shot.
-
Stabilize Your Phone with a Tripod – Holding the phone steady reduces motion blur and allows for better long-exposure photos.
-
Adjust Exposure Manually to Control Brightness – Tap on the darkest area of the scene and adjust exposure manually to balance light levels.
-
Use Light Trails for Creative Night Shots – Slow shutter apps allow you to capture moving car lights or glowing cityscapes for a dramatic effect.
-
Increase ISO Carefully to Reduce Noise – Higher ISO brightens dark images but can introduce graininess. Adjust ISO moderately to avoid excessive noise.
-
Find Artificial Light Sources for Illumination – Use streetlights, neon signs, or candlelight to create atmospheric night photos.
-
Experiment with Silhouettes Against City Lights – Position your subject in front of bright backgrounds to create silhouettes with glowing city lights.
-
Avoid Flash for Natural-Looking Night Shots – Flash can create harsh lighting and unnatural shadows. Instead, use a longer exposure or external lighting.
-
Shoot in RAW Format for More Flexibility – RAW images capture more details in shadows and highlights, allowing for better post-processing adjustments.
-
Use Black and White for a Classic Night Look – Low-light images often look more artistic and less noisy in black and white.
Explanation: Shooting at night presents unique challenges, but by using tripods, night mode, and manual controls, you can achieve clear, visually stunning nighttime images.

Professional Smartphone Photography Tricks
If you want to take your smartphone photography to a professional level, these techniques will help you capture images that look like they were shot with a DSLR.
-
Use External Lenses for More Versatility – Clip-on lenses like wide-angle, macro, and telephoto lenses expand your creative options.
-
Master Pro Mode for Full Manual Control – Many smartphones allow you to adjust shutter speed, ISO, white balance, and focus manually.
-
Use ND Filters for Balanced Exposure in Bright Conditions – Neutral Density (ND) filters reduce glare and overexposure, making them ideal for outdoor photography.
-
Shoot in RAW for High-Quality Editing – RAW images store more details and allow for better adjustments in post-processing.
-
Use Grid Lines for Perfect Alignment – Grid lines help keep the horizon straight and improve symmetry.
-
Experiment with Forced Perspective – Position objects creatively to make them appear larger or smaller using clever angles.
-
Create a Cinematic Look with Anamorphic Lenses – Special smartphone lenses mimic the widescreen effect seen in movies.
-
Use Long Exposure for Water and Cloud Motion – Apps like Slow Shutter Cam let you blur moving water and sky for a dreamy effect.
-
Use a Gimbal for Smooth Video Shots – A gimbal stabilizer eliminates shakiness, making smartphone videos look professional and cinematic.
-
Photograph RAW Portraits for More Detailed Skin Tones – RAW mode allows you to adjust highlights, shadows, and skin texture without loss of detail.
Explanation: These techniques help you take smartphone photography beyond casual snapshots, allowing you to produce high-quality, professional-level images.
Expert-Level Smartphone Photography Techniques for Advanced Users
Photography is more than just clicking a button—it’s an art form that requires creativity, technical understanding, and an eye for storytelling. While many smartphone users stick to automatic settings and basic compositions, professional and expert photographers explore more advanced techniques to achieve stunning, high-quality images.
This final section focuses on expert-level smartphone photography techniques that push your creative boundaries. These techniques will help you create magazine-worthy images, cinematic videos, and professional-quality artistic photos. Whether you’re interested in abstract photography, surreal editing, or mastering the technical side of smartphone cameras, these methods will provide you with the tools and knowledge to produce truly exceptional work.
-
Use AI Photography Apps for Enhancement – Advanced AI-powered apps like Lensa, Remini, and Topaz Labs can sharpen, enhance details, and add professional-style effects to your smartphone photos.
-
Utilize Computational Photography Features – Many flagship smartphones now use computational photography, which combines multiple frames and AI algorithms to enhance images beyond what traditional cameras can do. Features like Google Pixel’s Astrophotography Mode allow you to capture detailed night sky shots without professional equipment.
-
Use Optical Zoom Instead of Digital Zoom – Unlike digital zoom, which simply crops into the image and reduces quality, optical zoom maintains clarity. If your phone has a telephoto lens, use it instead of pinching to zoom.
-
Create Cinematic Portraits with Controlled Lighting – Professional photographers carefully control lighting for portraits. Use soft lighting setups, reflectors, or even a simple desk lamp to shape light and create dramatic effects. Apps like Focos allow you to adjust depth and lighting intensity after taking the photo.
-
Use the Fibonacci Spiral for Perfect Framing – The Fibonacci Spiral (Golden Spiral) is a composition technique used in fine art and photography. It helps create natural movement in an image, guiding the viewer’s eye toward key focal points. Many editing apps have a golden ratio overlay to help you adjust your composition.
-
Master Monochrome Photography for Stronger Composition – Shooting in black and white (B&W) removes distractions caused by color, allowing you to focus on lighting, contrast, textures, and emotions. Many professional photographers shoot in RAW format and convert to B&W in post-processing for a richer, more dynamic look.
-
Use a Color Grading App for Movie-Like Effects – Movie directors use color grading to set a specific mood in films. You can apply the same technique using apps like Mojo, Darkroom, or Lightroom Mobile to create a cinematic, moody aesthetic in your smartphone photography.
-
Apply Motion Blur for Artistic Creativity – Moving the camera intentionally during exposure creates abstract motion blur effects, often used for artistic or impressionist photography. Apps with manual shutter speed controls allow you to experiment with this effect.
-
Experiment with Double Exposure for Surreal Photography – Double exposure blends two images into a dreamlike composition. Apps like Snapseed and Photoshop Express let you overlay two photos, merging portraits with landscapes or abstract elements for a unique artistic effect.
-
Develop Your Own Photography Style – Instead of mimicking trends, discover what makes your photography unique. Whether it’s a specific color palette, editing style, subject matter, or lighting technique, having a signature style makes your photos instantly recognizable.

Smartphone photography has evolved into a powerful and accessible creative tool. With the right techniques, anyone can take professional-quality photos without expensive camera equipment. Whether you’re a beginner mastering basic composition and lighting or an expert experimenting with cinematic storytelling and AI-enhanced photography, there’s always something new to learn and explore.
By applying these 100 smartphone photography techniques, you can:
📸 Capture high-quality, detailed images in all lighting conditions.
📸 Master composition and framing to create visually stunning shots.
📸 Use AI and editing tools to enhance and refine your photos.
📸 Experiment with creative styles, from black and white to motion blur.
📸 Develop your own photography identity and artistic vision.
As smartphone technology advances, so do the possibilities for pushing the boundaries of mobile photography. Keep practising, exploring new techniques, and most importantly—enjoy the creative process.


