Building your own PC is an exciting and rewarding experience, allowing you to create a machine tailored to your specific needs. Whether you’re assembling a PC for gaming, video editing, streaming, or general use, a DIY build offers more flexibility, better performance, and cost efficiency compared to pre-built options. However, for beginners, the process can be overwhelming due to the wide range of components, compatibility concerns, and potential assembly challenges.
To make the process smooth and successful, it’s important to plan carefully, understand hardware compatibility, and follow best practices during assembly. This guide provides 90+ essential tips, categorized into groups to help you at every stage of your PC-building journey. Each section focuses on a specific aspect of the build, including planning, choosing components, assembling the system, troubleshooting issues, and optimizing performance. By following these guidelines, you’ll be able to build a powerful, efficient, and long-lasting PC with confidence.
Essential Planning Tips Before You Start
Proper planning is the foundation of a successful PC build. Many first-time builders make the mistake of buying parts impulsively without considering factors like compatibility, upgradability, and budget allocation. A well-planned build ensures optimal performance, fewer headaches, and a smoother assembly process. Taking the time to research and organize everything before making any purchases can save you from expensive mistakes and unexpected roadblocks. These essential planning tips will help you get started on the right foot.
-
Determine Your Purpose and Budget
Before purchasing components, define what you will use your PC for—whether it’s gaming, video editing, office work, or everyday browsing. Your needs will determine which components to prioritize. Set a realistic budget and divide it wisely among the CPU, GPU, RAM, storage, motherboard, and cooling to avoid overspending in one area while neglecting others. -
Research Component Compatibility
Not all components work together, and incompatibilities can lead to system instability. Check if the CPU is compatible with your motherboard, the RAM matches the required frequency, and the power supply can handle your components. Websites like PCPartPicker can help you verify compatibility before purchasing. -
Choose the Right Form Factor
PC cases come in different sizes—ATX, Micro-ATX, and Mini-ITX—each requiring specific motherboards and cooling solutions. Decide on your preferred size based on space availability, airflow needs, and expansion options. Smaller cases may look sleek but can restrict airflow and limit upgradeability. -
Plan for Future Upgrades
Technology advances rapidly, and having upgrade options ensures your PC remains relevant for years. Choose a motherboard with extra RAM slots, additional PCIe slots, and a power supply with higher wattage than your current needs so you can upgrade later without replacing everything. -
Check Cooling and Airflow Requirements
Overheating can drastically reduce performance and damage components over time. Research if your CPU requires additional cooling beyond stock options and whether your case has good ventilation with enough fan mounts. Understanding airflow direction and proper fan placement will help in keeping temperatures low. -
Select a Reliable Power Supply Unit (PSU)
A low-quality PSU can damage your components or cause system crashes. Always opt for a reliable brand with at least an 80 PLUS Bronze efficiency rating. Ensure the PSU has enough wattage to support your system and extra headroom for potential future upgrades. -
Decide Between HDD, SSD, or NVMe Storage
Traditional HDDs offer high storage capacity at a lower price, while SSDs significantly improve boot times and application loading speeds. NVMe SSDs are even faster and ideal for gaming and productivity tasks. A combination of an SSD for the operating system and an HDD for bulk storage offers the best of both worlds. -
Ensure You Have the Right Tools and Workspace
A clutter-free, static-free workspace is essential. A Phillips-head screwdriver, anti-static wrist strap, and a magnetic tray for screws will make the assembly process smoother. Avoid working on carpets to prevent static discharge that can damage sensitive components. -
Understand BIOS and Driver Installation
Once your PC is built, you’ll need to update your BIOS, install necessary drivers, and configure settings for optimal performance. Motherboard manufacturers regularly release BIOS updates that improve stability and compatibility with newer components. -
Have a Backup Plan in Case of Issues
Sometimes, things don’t go as planned. If a component doesn’t work, be prepared to troubleshoot by checking connections, resetting BIOS settings, or replacing faulty parts. Always buy from retailers with good return policies to avoid losing money on defective hardware.
📝 Explanation: These planning tips lay the groundwork for a smooth PC-building experience. Taking time to research and prepare everything in advance prevents compatibility issues, overheating problems, and unnecessary expenses. A well-planned build is a successful build.
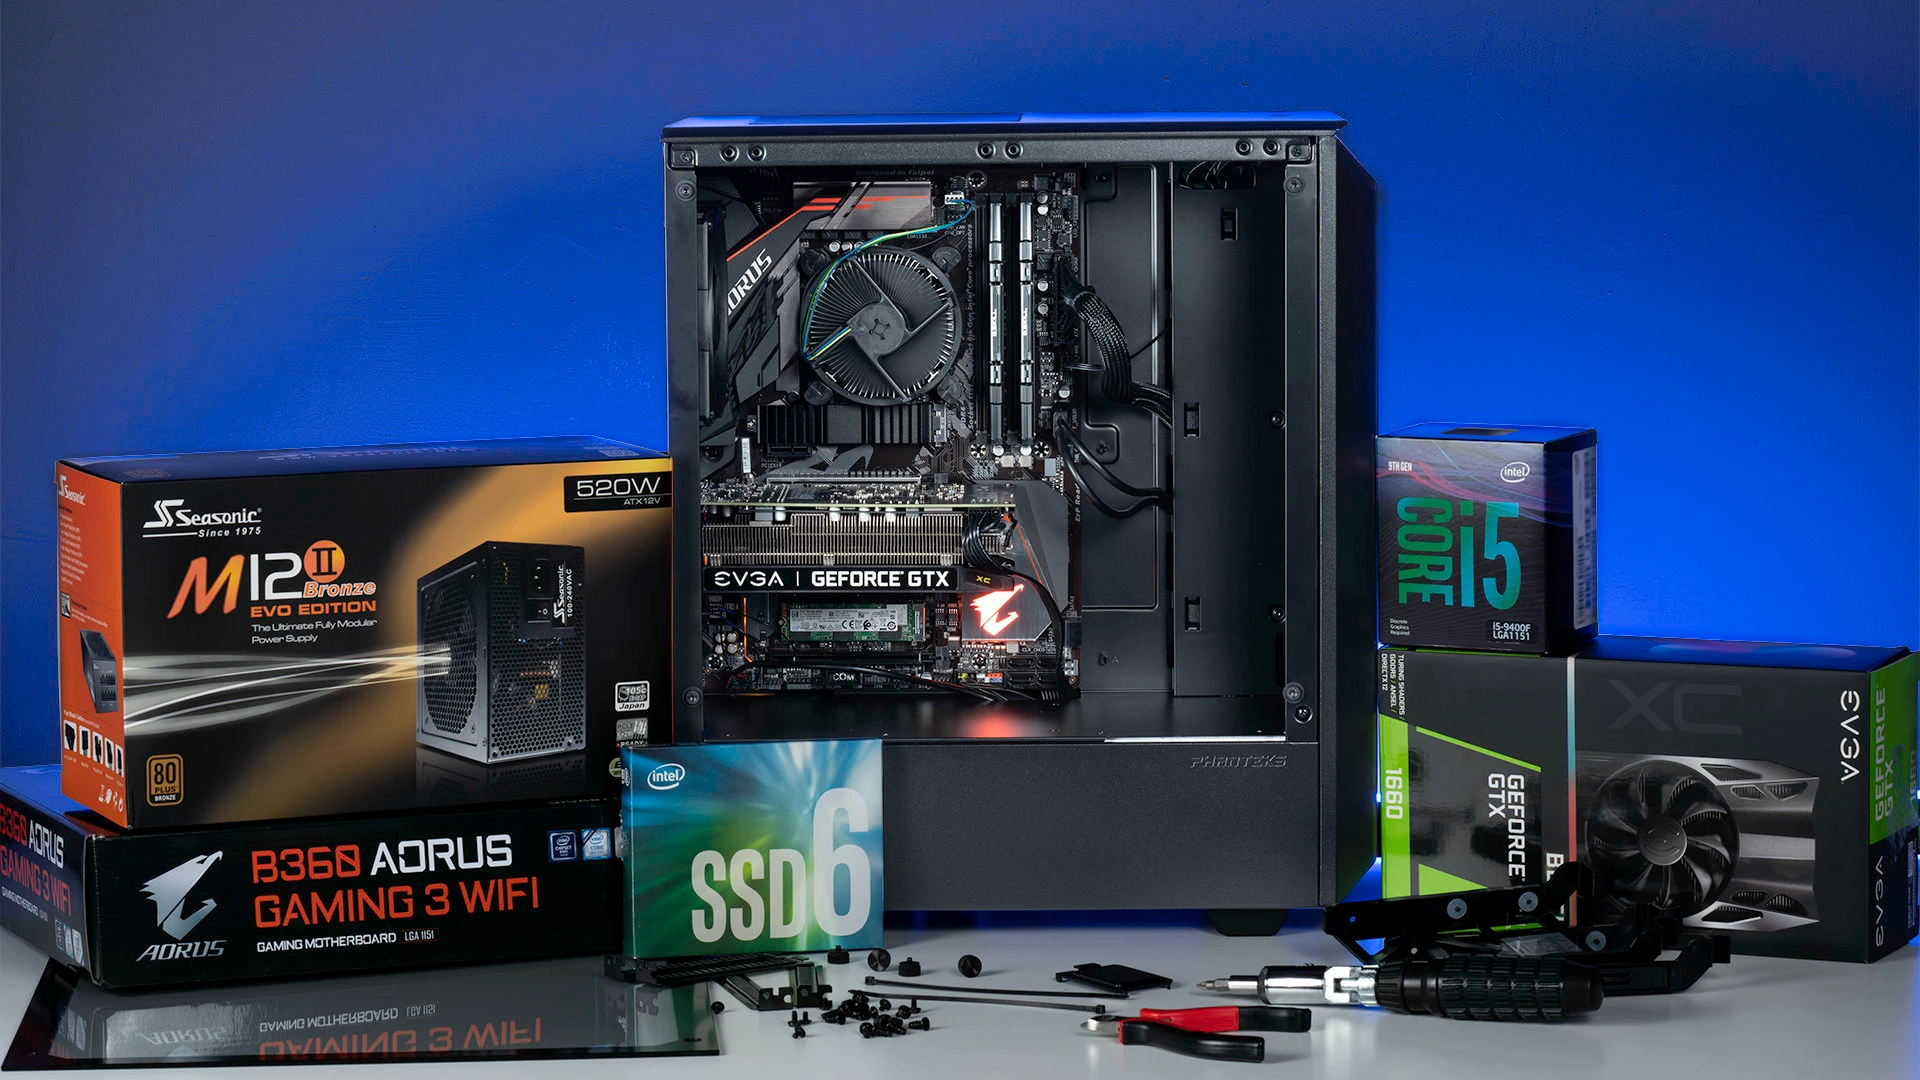
Tips for Choosing the Right Components
Selecting the right components is the most critical step in building a PC, as each part affects performance, compatibility, and future upgrade potential. Many beginners make the mistake of focusing on just one high-performance component, like the GPU, while neglecting other crucial parts such as the CPU, power supply, and cooling system. A well-balanced PC ensures that all components work harmoniously together without bottlenecking or overheating. This group will guide you through choosing the right components for a smooth and efficient build.
11. Pick a CPU That Matches Your Needs
The central processing unit (CPU) is the brain of your PC, responsible for running applications, gaming, and multitasking. Intel and AMD are the two major CPU brands. For gaming, a high single-core performance processor (e.g., Intel i7/i9 or AMD Ryzen 5/7) is ideal. For content creation and multitasking, a multi-core processor (e.g., AMD Ryzen 9 or Intel Core i9) is recommended. Avoid overspending on a high-end CPU if your workload doesn’t require it.
12. Pair Your CPU with the Right GPU
The graphics processing unit (GPU) is crucial for gaming, video editing, and 3D rendering. If you play games at 1080p resolution, a mid-range GPU like the NVIDIA RTX 4060 or AMD RX 7600 is enough. For 1440p or 4K gaming, opt for an RTX 4070/4080 or AMD RX 7900 series. If you don’t play games or do graphical work, an integrated GPU (built into some CPUs) might be sufficient. Always ensure your CPU and GPU are well-matched to avoid performance bottlenecks.
13. Choose at Least 16GB of RAM
For modern computing, 16GB of RAM is the minimum recommended amount, providing smooth performance for gaming and productivity. If you’re using your PC for video editing or 3D modeling, opt for 32GB or more. Check your motherboard’s maximum RAM speed and compatibility before purchasing. If possible, buy RAM in a dual-channel configuration (2x8GB or 2x16GB) for better performance.
14. Pick the Right Motherboard for Expansion and Compatibility
Your motherboard determines which CPU, RAM, and storage options you can use. Ensure the motherboard is compatible with your processor’s socket type (e.g., AM5 for AMD, LGA 1700 for Intel). Consider features like built-in Wi-Fi, extra USB ports, and M.2 slots for SSDs. If you plan to upgrade in the future, choose a motherboard with extra PCIe slots, RAM slots, and connectivity options.
15. Opt for an SSD Over an HDD for Faster Performance
A solid-state drive (SSD) is significantly faster than a traditional hard disk drive (HDD). Boot times, application loading, and file transfers are much quicker on an SSD. For best performance, choose an NVMe SSD (M.2 slot) over a SATA SSD. A good setup is a 1TB SSD for the operating system and frequently used programs, plus a 2TB HDD for large files.
16. Choose a Power Supply with Enough Wattage
The power supply unit (PSU) must be powerful enough to handle your components. Use an online PSU calculator to determine how much wattage you need. If your system requires 500W, get at least a 650W PSU to leave room for future upgrades. Choose a high-quality PSU with an 80 PLUS Bronze, Silver, or Gold efficiency rating to ensure stable power delivery.
17. Pick a Case with Good Airflow and Cable Management
The PC case should be large enough to fit all your components and provide good airflow for cooling. Look for cases with mesh front panels, multiple fan mounts, and enough space for cable management. A mid-tower ATX case is a good balance between size and expandability. Avoid small cases unless you need a compact build, as they can limit cooling and component compatibility.
18. Select a CPU Cooler That Matches Your Needs
If you’re using a high-performance CPU or planning to overclock, consider an aftermarket air or liquid cooler. While most CPUs come with stock coolers, they may not be efficient enough under heavy workloads. Tower coolers with large heat sinks or all-in-one (AIO) liquid coolers provide better cooling and quieter operation.
19. Choose Modular or Semi-Modular PSUs for Cleaner Builds
A fully modular PSU allows you to connect only the necessary cables, reducing clutter and improving airflow inside your case. Semi-modular PSUs offer a balance between price and convenience, with fixed motherboard cables but removable power cables. This feature simplifies cable management and enhances aesthetics.
20. Buy a Monitor That Matches Your PC’s Performance
Your monitor should be compatible with your GPU’s capabilities. For gaming, a 144Hz or 240Hz refresh rate monitor with low response time improves performance. If you’re editing photos or videos, a 4K, color-accurate display is essential. Ensure your GPU supports G-Sync (NVIDIA) or FreeSync (AMD) to reduce screen tearing.
📝 Explanation: Choosing the right components ensures stability, performance, and future upgradeability. Each part should complement the others to avoid performance bottlenecks and maximize efficiency. Beginners should focus on balancing price and quality to build a well-rounded PC without overspending.
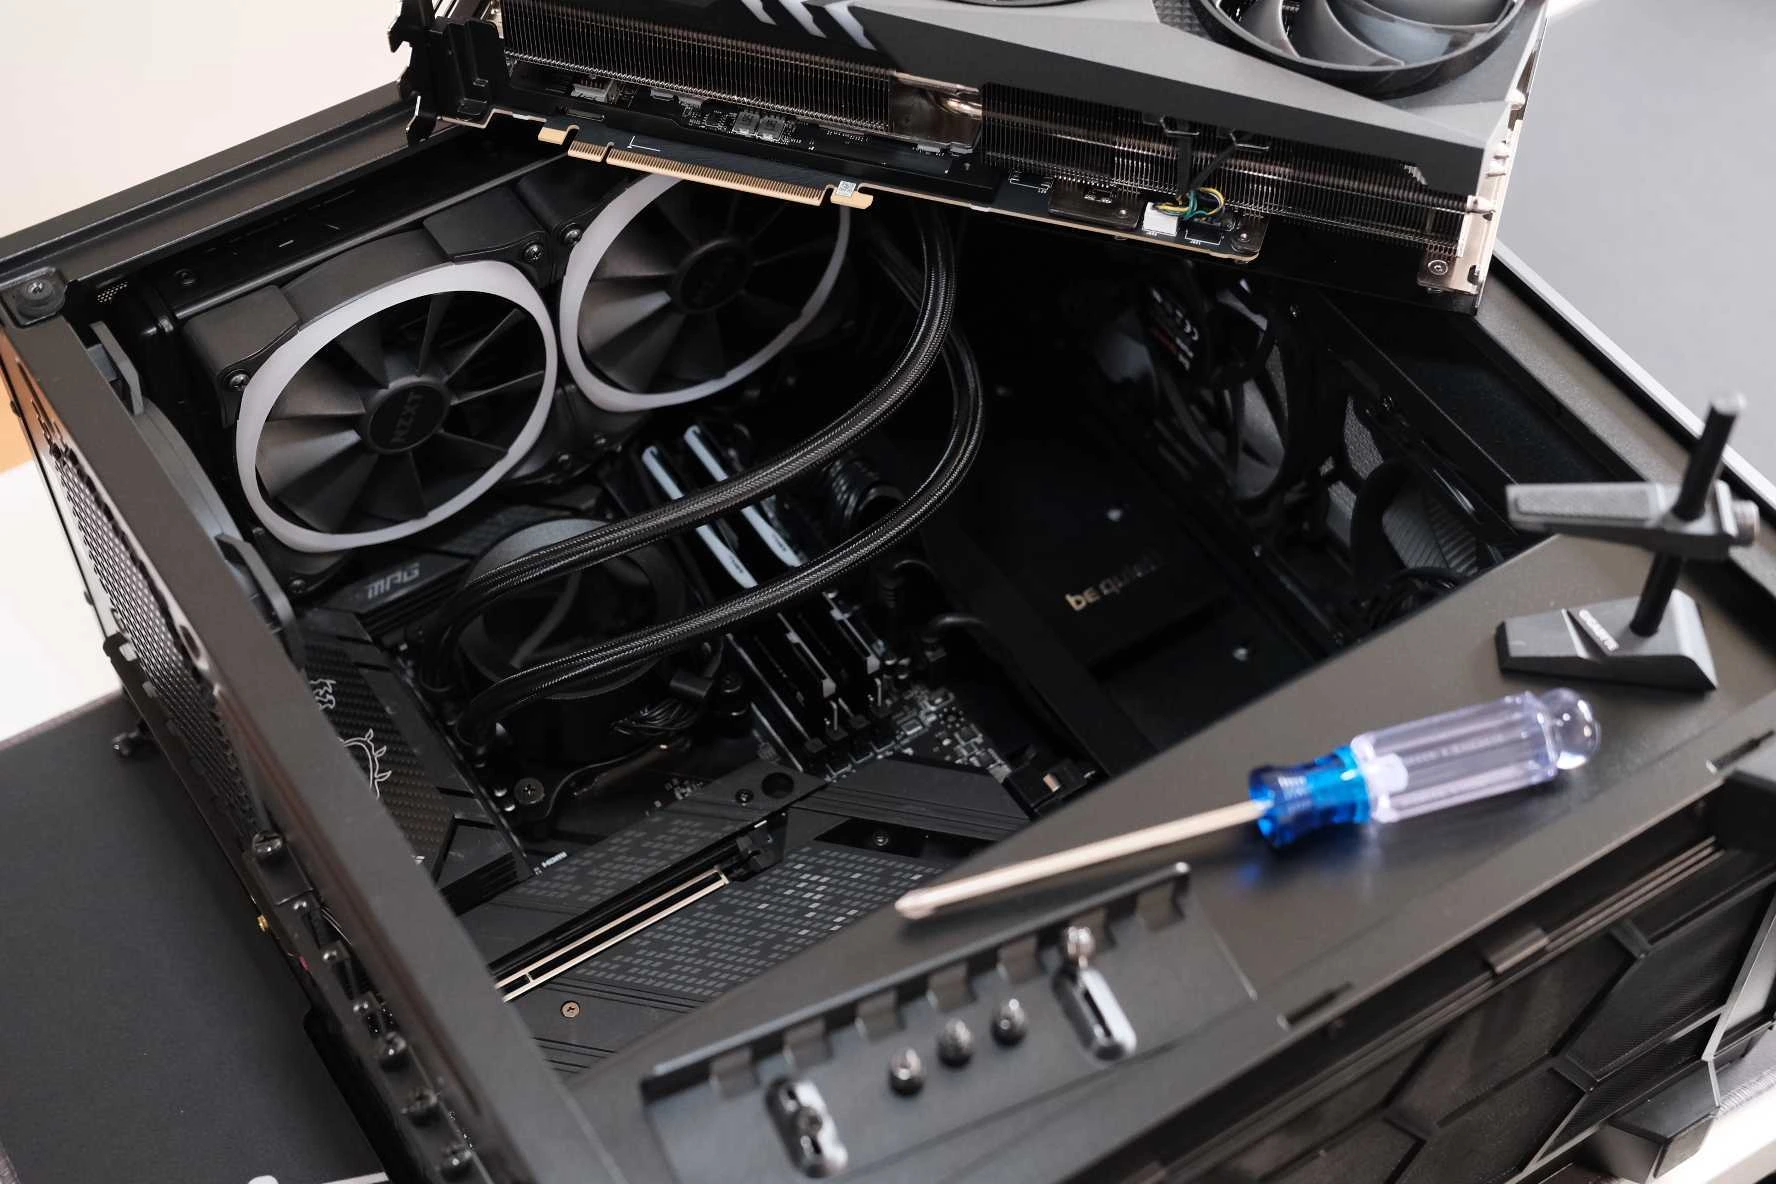
Assembly and Installation Tips for a Smooth Build
Now that you have all your components, it’s time to put everything together. While assembling a PC is straightforward, first-time builders can encounter common mistakes like improper connections, bad cable management, or forgetting crucial installation steps. Following these assembly tips will help you build your PC safely and efficiently without damaging components.
21. Read the Motherboard Manual Before Starting
Each motherboard has specific instructions for installing the CPU, RAM, and connectors. Read the manual to understand where each cable and component goes before starting.
22. Install the Power Supply First
The PSU should be mounted in the case before adding other components. This allows you to route cables properly and prevent interference with other parts.
23. Install the CPU Carefully
When placing the CPU into the socket, never force it down. Align the gold triangle on the CPU with the marking on the motherboard socket and gently secure it.
24. Attach the CPU Cooler Before Installing RAM
Some coolers are large and can block RAM slots. Install the cooler before adding RAM sticks to avoid clearance issues.
25. Apply the Right Amount of Thermal Paste
Too much thermal paste can spill onto the motherboard and cause overheating, while too little reduces cooling efficiency. Apply a pea-sized dot in the center of the CPU before placing the cooler.
26. Install RAM in the Correct Slots
For dual-channel RAM, use the recommended slots (often slots 2 and 4) for maximum performance. Check your motherboard manual for exact placement.
27. Connect Front Panel Cables Carefully
The front panel connectors (power button, USB ports, etc.) must be plugged into the correct pins on the motherboard. Use the manual to ensure proper alignment.
28. Secure the GPU Properly in the PCIe Slot
Gently insert the GPU into the PCIe slot until it clicks. Secure it with screws to prevent sagging or disconnection.
29. Route Cables Neatly for Better Airflow
Messy cables block airflow and make future upgrades difficult. Use cable ties and case routing holes for a cleaner look.
30. Double-Check All Connections Before Powering On
Ensure all power cables, data cables, and cooling fans are properly connected before turning on your PC for the first time.
📝 Explanation: Proper assembly techniques ensure stability, longevity, and efficient cooling. Taking your time and following the manual can prevent costly mistakes and frustration.
Essential BIOS and First Boot Setup Tips
Once your PC is assembled, the next step is to set up the BIOS and prepare the system for the operating system installation. Many beginners overlook BIOS settings, but configuring them properly ensures stability, optimal performance, and compatibility. A successful first boot means all components are working correctly, and any necessary tweaks can be made before installing Windows or another OS. This group of tips will guide you through optimizing BIOS settings, troubleshooting boot issues, and preparing your PC for a smooth experience.
31. Ensure All Components Are Properly Connected Before Booting
Before pressing the power button, double-check all power and data connections. Loose cables, improperly seated RAM or GPU, and missing power connectors can prevent the PC from booting.
32. First Boot: Enter BIOS Immediately
On the first boot, repeatedly press the Delete (Del) or F2 key as the PC starts to enter the BIOS. This allows you to check if all components are recognized before installing the OS.
33. Update Your BIOS for Better Stability
Motherboard manufacturers frequently release BIOS updates to improve compatibility, performance, and security. If your motherboard has an outdated BIOS, consider updating it before installing the OS. Use the official manufacturer’s website to download the correct BIOS version.
34. Set RAM to the Correct Speed (Enable XMP or DOCP)
By default, RAM may run at lower speeds than advertised. Enable XMP (Intel) or DOCP (AMD) in the BIOS to ensure your memory runs at the correct frequency. This can significantly improve performance in gaming and productivity tasks.
35. Check CPU and GPU Temperatures in BIOS
A freshly built PC should run cool. If CPU temperatures are too high in BIOS (above 50-60°C when idle), check if the cooler is properly installed, thermal paste is applied correctly, and fans are functioning.
36. Set Boot Priority for Your OS Installation Drive
Before installing Windows or Linux, go into BIOS and set the USB drive (with the OS installation media) as the primary boot device. After installation, change the setting back to your SSD or HDD as the primary boot drive.
37. Disable Unnecessary Features for Better Stability
Some motherboards have auto-overclocking and power-saving features enabled by default, which can cause instability. If you’re a beginner, it’s best to disable auto-overclocking and adjust settings manually when you’re more familiar with your system.
38. Enable UEFI and Secure Boot for Modern Systems
If you’re installing Windows 11, ensure UEFI and Secure Boot are enabled in the BIOS. Many modern features, including faster boot times and enhanced security, require UEFI mode instead of Legacy BIOS.
39. Save BIOS Settings Before Exiting
Before exiting BIOS, double-check all settings and save changes. Most BIOS menus have an option to save and exit (F10 key in many cases). Failure to save settings means all adjustments will be lost when the PC restarts.
40. If the PC Fails to Boot, Reset BIOS
If your system fails to start, reset the BIOS by removing the CMOS battery for a few minutes or using the BIOS reset button on the motherboard. This restores the default settings and can resolve many startup issues.
📝 Explanation: Setting up BIOS correctly prevents compatibility issues, improves system stability, and ensures components function at their full potential. Beginners should familiarize themselves with BIOS options to maximize performance and avoid common mistakes.
Troubleshooting Tips for a Smooth Build
Even with careful planning, issues can arise during the first boot or after installing the OS. A common mistake beginners make is panicking when something doesn’t work immediately. In most cases, problems can be solved quickly with systematic troubleshooting. Instead of assuming a component is broken, follow these tips to diagnose and fix common PC issues effectively.
41. If Your PC Won’t Turn On, Check Power Connections
If pressing the power button does nothing, ensure that the power supply switch is on, the 24-pin motherboard power connector and 8-pin CPU power cable are firmly plugged in, and the power button cable is connected properly to the motherboard.
42. Check for Beep Codes or LED Indicators
Many motherboards have diagnostic LED lights or beep codes that indicate issues with CPU, RAM, or GPU. Refer to the motherboard manual to decode any signals your PC gives.
43. No Display? Try Re-seating the GPU
A common issue is a black screen on boot. If this happens, remove the graphics card, clean the PCIe slot, and reinsert it. Also, make sure the monitor is plugged into the GPU, not the motherboard.
44. If the PC Turns On but No BIOS Appears, Check RAM
Improperly seated RAM can cause boot failures. Remove the RAM sticks, reinsert them firmly into the correct slots, and try booting again.
45. Clear CMOS if Your PC Fails to Boot Repeatedly
If BIOS settings cause instability, reset the CMOS by removing the battery or using the motherboard’s clear CMOS jumper. This restores default settings and often resolves boot issues.
46. Listen for Unusual Fan Noises
Loud fan noise at startup could indicate a cable stuck in a fan blade or incorrectly installed cooling components. Open the case and ensure all cables are properly routed.
47. Verify Storage Drive Detection in BIOS
If your SSD or HDD isn’t showing up, check if data and power cables are securely connected. If using an M.2 NVMe SSD, confirm that it’s installed in the correct slot and is recognized in BIOS.
48. Blue Screen of Death (BSOD)? Check Drivers and RAM
Frequent BSOD errors are often caused by faulty RAM or driver issues. Run Windows Memory Diagnostic to test RAM and update all drivers from the motherboard and GPU manufacturer websites.
49. Use a Different Monitor or Cable for Display Issues
If you get no signal on your screen, try a different monitor or HDMI/DisplayPort cable. Sometimes, a faulty cable or incorrect input selection on the monitor is the real issue.
50. If Everything Fails, Test Components Individually
If troubleshooting doesn’t solve the issue, test components one by one. Try booting with one RAM stick at a time, swapping the GPU, or using a different power supply to isolate the faulty part.
📝 Explanation: Troubleshooting is an essential skill for any PC builder. Many issues that seem like hardware failures are often just minor installation mistakes. Instead of assuming the worst, follow a step-by-step process to identify and resolve problems.

Tips for Optimizing PC Performance After Build
Once your PC is built and successfully running, it’s important to optimize performance to get the most out of your hardware. Many beginners overlook this step and assume their system will run at its best automatically, but fine-tuning settings, updating drivers, and monitoring system health can improve speed, stability, and longevity. Whether you’re a gamer, content creator, or casual user, these tips will ensure your PC runs smoothly, efficiently, and at peak performance.
51. Install the Latest GPU Drivers Immediately
Outdated graphics drivers can cause game crashes, low frame rates, and compatibility issues. Always download the latest GPU drivers from the official NVIDIA or AMD website rather than relying on Windows automatic updates.
52. Update Motherboard, Chipset, and Audio Drivers
Motherboard and chipset drivers ensure that your CPU, USB ports, and PCIe devices work properly. Download these drivers from the motherboard manufacturer’s website to improve stability and performance.
53. Run Windows Updates and Remove Bloatware
After installing Windows, run all necessary updates to get security patches and performance improvements. Also, uninstall unnecessary pre-installed software (bloatware) that slows down your system.
54. Enable XMP/DOCP in BIOS to Run RAM at Full Speed
By default, RAM often runs at lower speeds than advertised. Enable XMP (for Intel) or DOCP (for AMD) in BIOS to ensure your memory operates at the correct frequency for better multitasking and gaming performance.
55. Optimize Startup Programs to Improve Boot Time
Too many startup programs can slow down your system. Open Task Manager > Startup Tab and disable non-essential programs from launching at startup to improve boot speed.
56. Adjust Windows Power Settings for Maximum Performance
Windows defaults to a Balanced power mode, which limits CPU and GPU performance. Switch to High Performance mode in the Power Options for better responsiveness, especially for gaming and rendering tasks.
57. Monitor Temperatures to Prevent Overheating
Use software like HWMonitor, Core Temp, or MSI Afterburner to check CPU and GPU temperatures. High temperatures can throttle performance and shorten component lifespan. Ensure proper cooling by adjusting fan speeds and case airflow.
58. Set Up a Fan Curve for Better Cooling Efficiency
In BIOS or software like Fan Control or MSI Afterburner, set up a custom fan curve to ensure your CPU and GPU stay cool under load while minimizing noise when idle.
59. Test System Stability with Benchmarking Software
After building your PC, test stability with programs like Cinebench (CPU), FurMark (GPU), and MemTest86 (RAM). If your system crashes, it may indicate an unstable overclock, overheating, or defective hardware.
60. Enable Game Mode and Hardware-Accelerated GPU Scheduling
In Windows Settings > Gaming > Game Mode, enable Game Mode to prioritize gaming performance. Also, turn on Hardware-Accelerated GPU Scheduling for lower latency and improved FPS in supported games.
📝 Explanation: Optimizing performance ensures that your PC runs as efficiently as possible, preventing slowdowns and maximizing hardware potential. Simple adjustments like updating drivers, tweaking power settings, and monitoring temperatures can make a noticeable difference in speed and reliability.
PC Maintenance Tips to Keep Your System Running Smoothly
Building a PC is just the beginning—proper maintenance is key to keeping it running at peak performance for years. Over time, dust buildup, outdated software, and failing components can slow down or even damage your system. Regular maintenance improves performance, extends the lifespan of your hardware, and prevents unexpected failures. These tips will help you keep your system clean, efficient, and trouble-free.
61. Clean Your PC Regularly to Prevent Overheating
Dust accumulation can block airflow, causing overheating and reduced performance. Use compressed air to clean dust from fans, vents, and components every 2-3 months.
62. Reapply Thermal Paste Every 1-2 Years
Thermal paste between the CPU and cooler degrades over time, reducing heat dissipation efficiency. Reapply a fresh layer of high-quality thermal paste if CPU temperatures start rising abnormally.
63. Keep Your Software and Drivers Updated
Outdated software can lead to security vulnerabilities and compatibility issues. Regularly update Windows, motherboard drivers, and GPU drivers to ensure smooth operation.
64. Use a Surge Protector or UPS for Power Protection
Unexpected power surges can damage sensitive components. Use a surge protector or uninterruptible power supply (UPS) to protect your system from electrical fluctuations.
65. Regularly Check Storage Health with Diagnostic Tools
Use CrystalDiskInfo or SSD manufacturers’ diagnostic tools to monitor drive health. If an HDD or SSD starts showing bad sectors or failing read/write speeds, replace it before data loss occurs.
66. Manage Storage Space and Defragment Hard Drives
Keep at least 20-30% of your drive free for optimal performance. If using an HDD, defragment it regularly. For SSDs, avoid excessive writes to prolong lifespan.
67. Set a Schedule for Backing Up Important Data
Hard drives can fail unexpectedly. Use external drives, cloud storage, or backup software to protect critical files and prevent data loss.
68. Monitor System Logs for Potential Issues
Windows Event Viewer and tools like HWiNFO can help identify hardware failures before they cause major problems.
69. Replace Case Fans if They Become Noisy or Weak
Fans degrade over time, leading to poor airflow and higher temperatures. If a fan starts making unusual noises or spins slowly, replace it with a high-quality aftermarket option.
70. Keep Cables Organized to Improve Airflow
Messy cables block airflow and make upgrades harder. Use Velcro straps or cable ties to keep everything neat and improve cooling efficiency.
📝 Explanation: Regular maintenance prolongs the lifespan of your PC and prevents unexpected failures. Keeping dust under control, monitoring temperatures, and replacing ageing parts ensures your system remains fast, stable, and reliable.

Tips for Upgrading and Expanding Your PC
As technology advances, hardware upgrades can improve performance without building a new PC from scratch. Instead of replacing everything, strategic upgrades can extend the life of your current system and improve gaming or productivity performance. Knowing when and how to upgrade ensures you get the best value for your investment.
71. Upgrade Your RAM if Multitasking Feels Slow
If your system struggles with multiple applications, adding more RAM (16GB to 32GB) can improve responsiveness in heavy workloads.
72. Upgrade to an NVMe SSD for Faster Load Times
Switching from a SATA SSD or HDD to an M.2 NVMe SSD significantly boosts boot and application speeds.
73. Upgrade Your GPU for Better Gaming Performance
If your frame rates are low in newer games, upgrading to a newer GPU can dramatically improve graphics quality and smoothness.
74. Consider a More Powerful CPU for Demanding Applications
If gaming or editing performance is limited by your CPU, upgrading to a higher-core-count processor can improve multitasking and rendering times.
75. Improve Cooling for Better Performance and Longevity
Installing additional case fans, a better CPU cooler, or an AIO liquid cooler can lower temperatures and allow for better performance.
76. Add More Storage for Large Games and Files
If your storage is full, installing an additional HDD or SSD can provide extra space without affecting performance.
77. Upgrade Your Power Supply for Future-Proofing
If upgrading to a higher-end GPU or CPU, ensure your PSU has enough wattage and efficiency rating to handle the extra power draw.
78. Improve Network Speeds with a Better Wi-Fi Card or Ethernet
For online gaming or streaming, upgrading to a Wi-Fi 6 card or using a wired Ethernet connection can improve speeds and reduce lag.
79. Replace Aging Peripherals for a Better Experience
A better monitor, mechanical keyboard, and ergonomic mouse can enhance productivity and gaming comfort.
80. Check for BIOS and Firmware Updates Before Upgrading Components
Updating your BIOS and motherboard firmware ensures new hardware is fully compatible with your system.
📝 Explanation: Strategic upgrades prolong your PC’s lifespan and boost performance without requiring a full rebuild. Choosing the right upgrades at the right time maximizes value and ensures your system remains fast and efficient.
Advanced Tips for Overclocking and Performance Tuning
For those looking to push their PC beyond stock performance, overclocking can provide higher speeds, smoother gaming, and improved responsiveness. Overclocking involves adjusting CPU, GPU, or RAM settings to increase their clock speeds, resulting in better performance. However, it requires careful tuning, as incorrect settings can lead to overheating, instability, or component damage. This group of tips will help you safely overclock your system while maintaining stability and efficiency.
81. Understand the Risks and Benefits of Overclocking
Overclocking can improve performance in gaming, rendering, and multitasking, but it also increases heat output and power consumption. Ensure you have a proper cooling solution before overclocking.
82. Use Reliable Overclocking Software
For CPU overclocking, use BIOS settings or Intel XTU/AMD Ryzen Master. For GPU overclocking, MSI Afterburner or EVGA Precision X allows fine-tuning of clock speeds and fan curves.
83. Increase Clock Speeds Gradually
When overclocking your CPU or GPU, increase the clock speed in small increments (e.g., 50 MHz at a time) and test stability after each adjustment.
84. Stress Test Your Overclock for Stability
Use Prime95 (CPU), FurMark (GPU), and MemTest86 (RAM) to stress test your overclock. If your system crashes or overheats, dial back the settings.
85. Adjust Voltage Carefully to Avoid Damage
Increasing voltage can improve overclock stability, but too much can cause overheating and reduce component lifespan. Stick to safe voltage ranges specified by your CPU/GPU manufacturer.
86. Monitor Temperatures to Prevent Overheating
Use HWMonitor, Core Temp, or HWiNFO to check CPU and GPU temps. Keep CPU temps below 85°C and GPU temps below 80°C for safe overclocking.
87. Enable Power Limits and Thermal Throttling Protection
Some CPUs and GPUs have built-in power limits and thermal throttling to prevent damage. Keep these enabled to avoid excessive heat buildup.
88. Optimize RAM with Manual Timings
For advanced users, manually adjusting RAM latency timings in BIOS can provide faster memory performance, improving gaming and application speed.
89. Save Stable Overclock Profiles
Once you find a stable overclock, save it as a profile in BIOS or your overclocking software. This lets you easily revert to a working setting if instability occurs.
90. If Overclocking Causes Crashes, Reset to Default
If your system becomes unstable or crashes frequently, reset BIOS settings to default and start fresh. Stability is more important than extreme overclocking.
📝 Explanation: Overclocking can boost performance, but it must be done carefully. Gradual adjustments, proper cooling, and stability testing are key to achieving higher speeds without damaging your hardware.
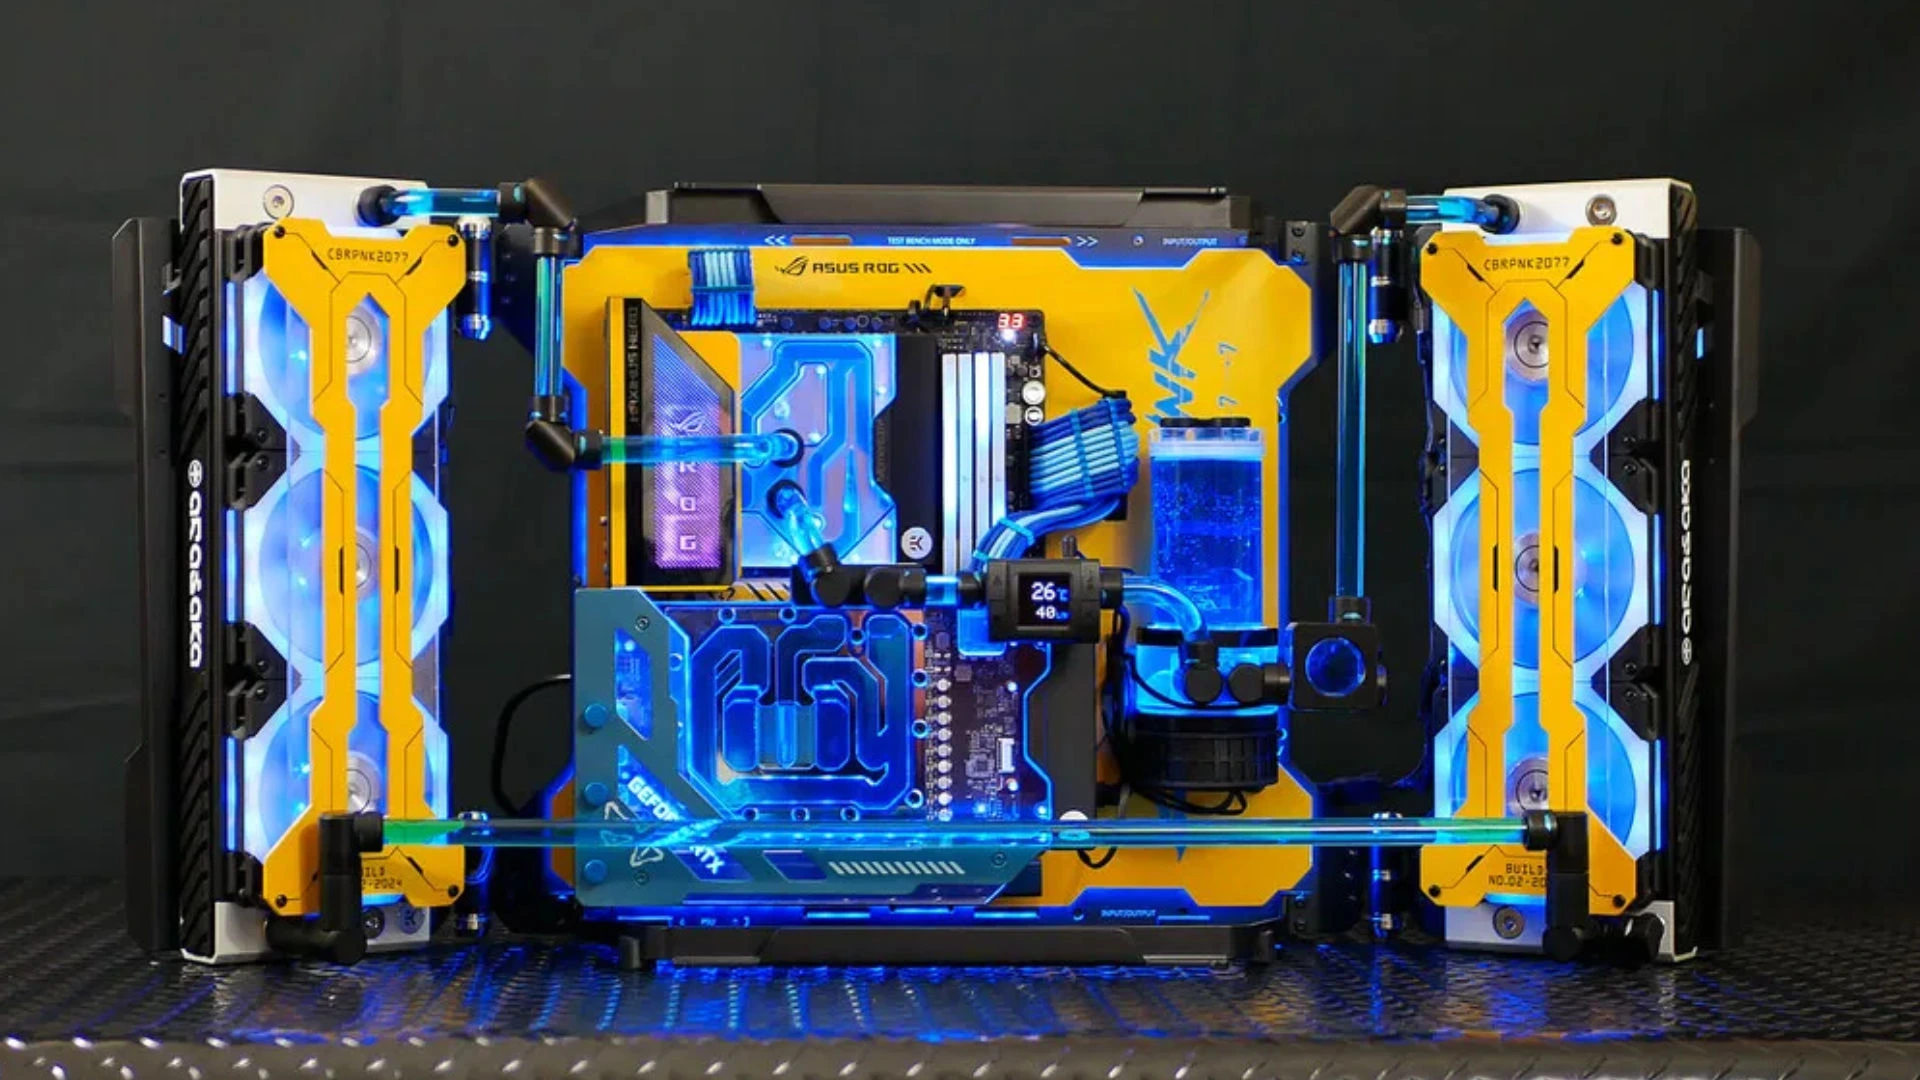
Tips for Water Cooling and High-End PC Builds
For enthusiasts building high-performance gaming rigs or workstation PCs, air cooling may not be enough. Custom water cooling loops and AIO (all-in-one) liquid coolers provide superior temperature control, quieter operation, and aesthetic appeal. However, water cooling requires careful planning, maintenance, and installation to prevent leaks or component damage. This group covers tips for setting up and maintaining liquid-cooled PCs.
91. Choose Between AIO and Custom Water Cooling
AIO (all-in-one) coolers are pre-built liquid cooling systems, easy to install and maintain. Custom loops offer better cooling and aesthetics but require more setup time and maintenance.
92. Use High-Quality Coolant and Tubing
Cheap coolant can cause clogs and corrosion in water cooling systems. Use distilled water with anti-corrosion additives or high-quality pre-mixed coolants.
93. Ensure Your Case Supports Water Cooling
Not all PC cases support radiators or large cooling loops. Check if your case has mounting space for 240mm, 280mm, or 360mm radiators before buying.
94. Test for Leaks Before Powering On the System
Before running a water-cooled system, do a leak test by running the pump without powering on the motherboard for at least 24 hours.
95. Clean and Maintain Water Cooling Systems Regularly
Flush your system and replace coolant every 6-12 months to prevent algae buildup, corrosion, or clogged tubing.
96. Use High-Static Pressure Fans for Radiators
Standard case fans are not effective for water cooling radiators. Use high-static pressure fans for better airflow through dense cooling fins.
97. Consider a Push-Pull Fan Setup for Better Cooling
If using a radiator, set up push-pull fan configurations (fans pushing air in + fans pulling air out) for maximum cooling efficiency.
98. Mount the Radiator in the Optimal Position
For AIO coolers, mount the radiator with tubes at the bottom to prevent air bubbles from getting trapped, which can cause pump noise or failure.
99. Monitor Pump Speed and Flow Rate
Use software like Corsair iCUE or NZXT CAM to monitor water pump speed and coolant temperature to ensure optimal cooling performance.
100. Only Build a Water-Cooled System If You Need It
Water cooling is great for aesthetic builds and extreme overclocking, but for most users, high-quality air cooling is sufficient. Only invest in liquid cooling if you need better cooling or want a visually stunning PC.
📝 Explanation: Water cooling provides better temperatures and aesthetics, but it requires careful installation, regular maintenance, and proper airflow planning. If done correctly, liquid cooling can improve performance and extend component lifespan.
Building your own PC is an incredible experience, giving you full control over performance, upgrades, and aesthetics. From choosing the right components to assembling, optimizing, and maintaining your system, each step contributes to a smooth, powerful, and efficient setup. This guide covered 100 essential tips, breaking down the process into planning, assembling, troubleshooting, optimizing, upgrading, and advanced performance tuning.
For beginners, the key to a successful first build is patience and research. Understanding compatibility, cooling, and power requirements prevents common mistakes and ensures your PC performs at its best. Once the system is up and running, regular maintenance and smart upgrades can extend its lifespan, keeping it relevant for years.
Whether you’re a casual gamer, aspiring content creator, or enthusiast looking to push hardware limits, these tips provide everything you need to confidently build and optimize a custom PC. By following these guidelines, you’ll be able to enjoy smooth performance, reduced troubleshooting headaches, and a machine tailored to your specific needs.


